Homeowner's 2026 Guide to Landscape Design Software 3d
Explore landscape design software 3d in our 2026 guide. Learn key features, workflows, and choose the right tool for your project.
You're probably in one of two places right now. You either have a yard that feels like a blank, awkward rectangle and you don't know where to begin, or you already have ideas but can't tell whether they'll look polished in real life or turn into an expensive do-over.
That's where 3D site design software helps. It turns vague thoughts like “maybe a patio here” or “what if we add a privacy hedge” into something you can see, adjust, and compare before buying materials or hiring anyone. Instead of committing to a plan from a flat sketch, you can test layouts, materials, planting styles, and circulation in a digital version of your space.
Modern tools also changed what site planning means. This is no longer just about drawing a few beds around a lawn. Today's platforms often combine drafting, modeling, and visualization in one place, which is why they've become part of normal professional practice across the industry, from all-in-one tools like Vectorworks Landmark to platforms that pull from SketchUp's library of more than 4 million pre-built 3D models through 3D Warehouse, as described in this landscape software overview.
Table of Contents
- From Dream to Design Your First Step in Digital Landscaping
- Key Capabilities From Blueprint to Virtual Reality
- A Tale of Two Workflows Homeowner vs Professional Use
- Choosing Your Tool A Practical Decision Checklist
- The Three Main Types of Landscape Design Software
- Accelerating Design with AI Platforms like OutdoorBrite
- Putting Your 3D Landscape Plan into Action
From Dream to Design Your First Step in Digital Landscaping
A homeowner stands at the back door, coffee in hand, looking at a yard that doesn't feel finished. There's patchy grass, a fence line that needs softening, and a patio that looked fine when the house was new but now feels too small. The ideas come fast. Fire pit, raised planters, maybe a path. Then the uncertainty shows up just as fast. Where should anything go, and how do you know it won't look crowded?
That's the moment 3D outdoor design software earns its place. It acts like a rehearsal space for your yard. You can try a curved bed instead of a straight one, test whether a pergola blocks too much view from the kitchen, or see if a row of shrubs makes the space calmer or just tighter.
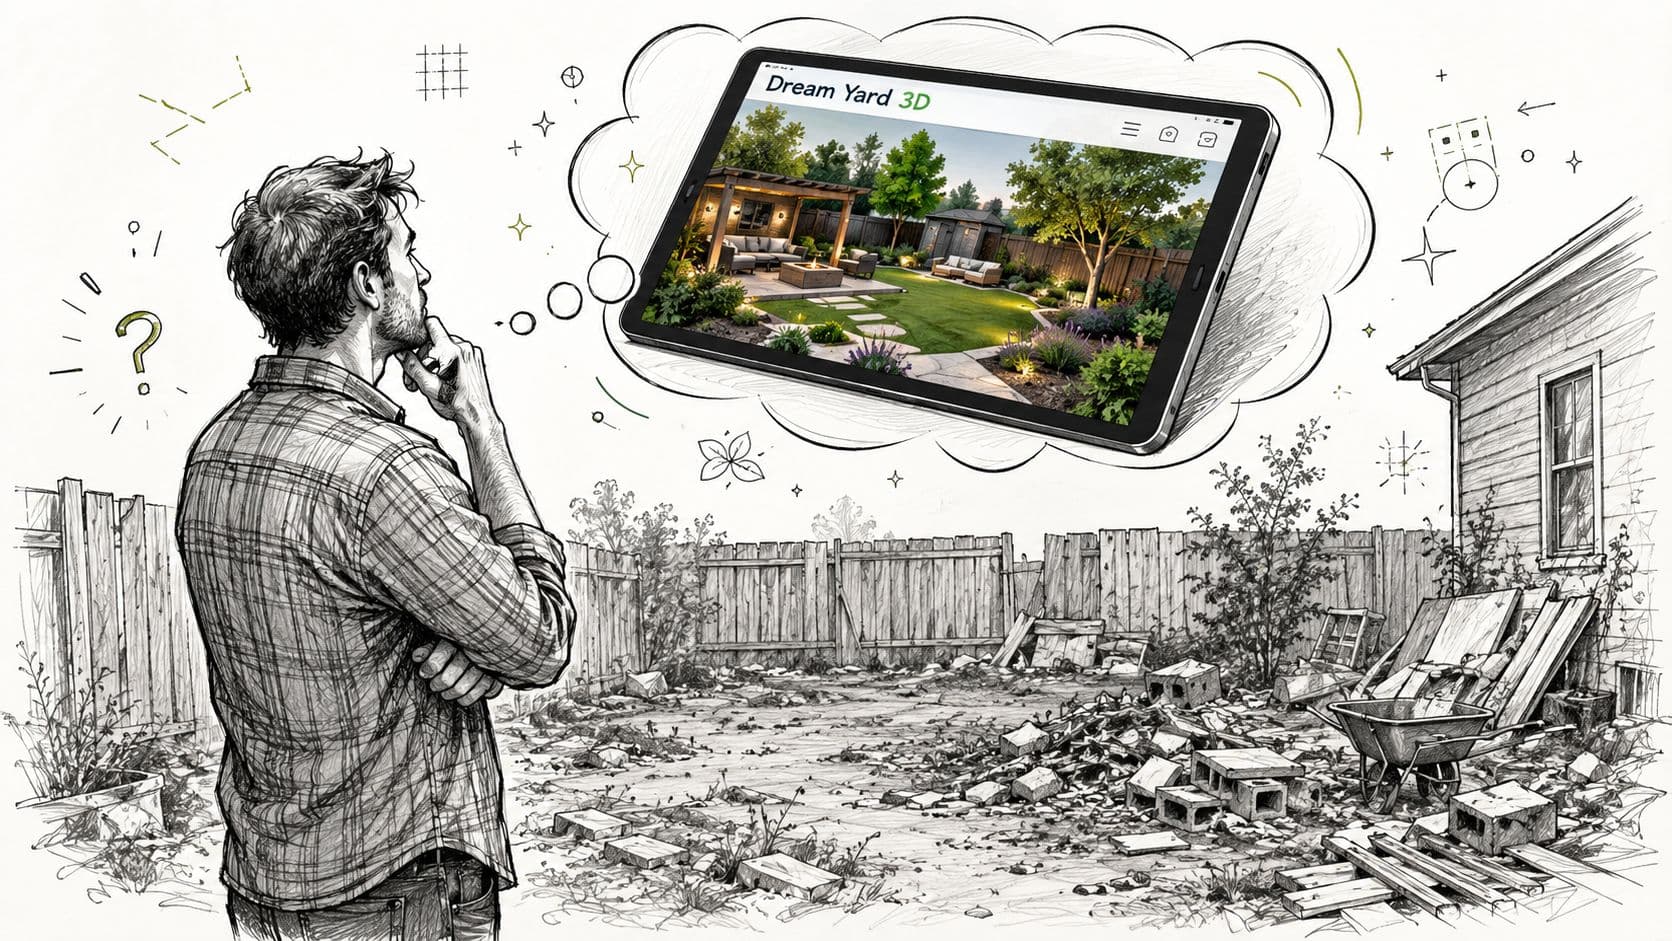
The best part is that it lowers the pressure of the first move. You don't need to know plant names, grading terms, or CAD commands on day one. You just need a way to stop guessing. A 3D plan gives shape to your instincts. It helps you answer practical questions like where people will walk, what becomes the focal point, and whether the yard feels balanced from the angles you use most.
Practical rule: If you can see the space before you build it, you'll make calmer decisions and fewer rushed purchases.
For a beginner, this software is less like engineering software and more like arranging furniture in a room. You move things around until the space starts making sense. For a new professional, it becomes a bridge between design intent and a client's understanding. In both cases, the big shift is the same. You stop talking about the yard in abstract terms and start seeing it as a place.
Key Capabilities From Blueprint to Virtual Reality
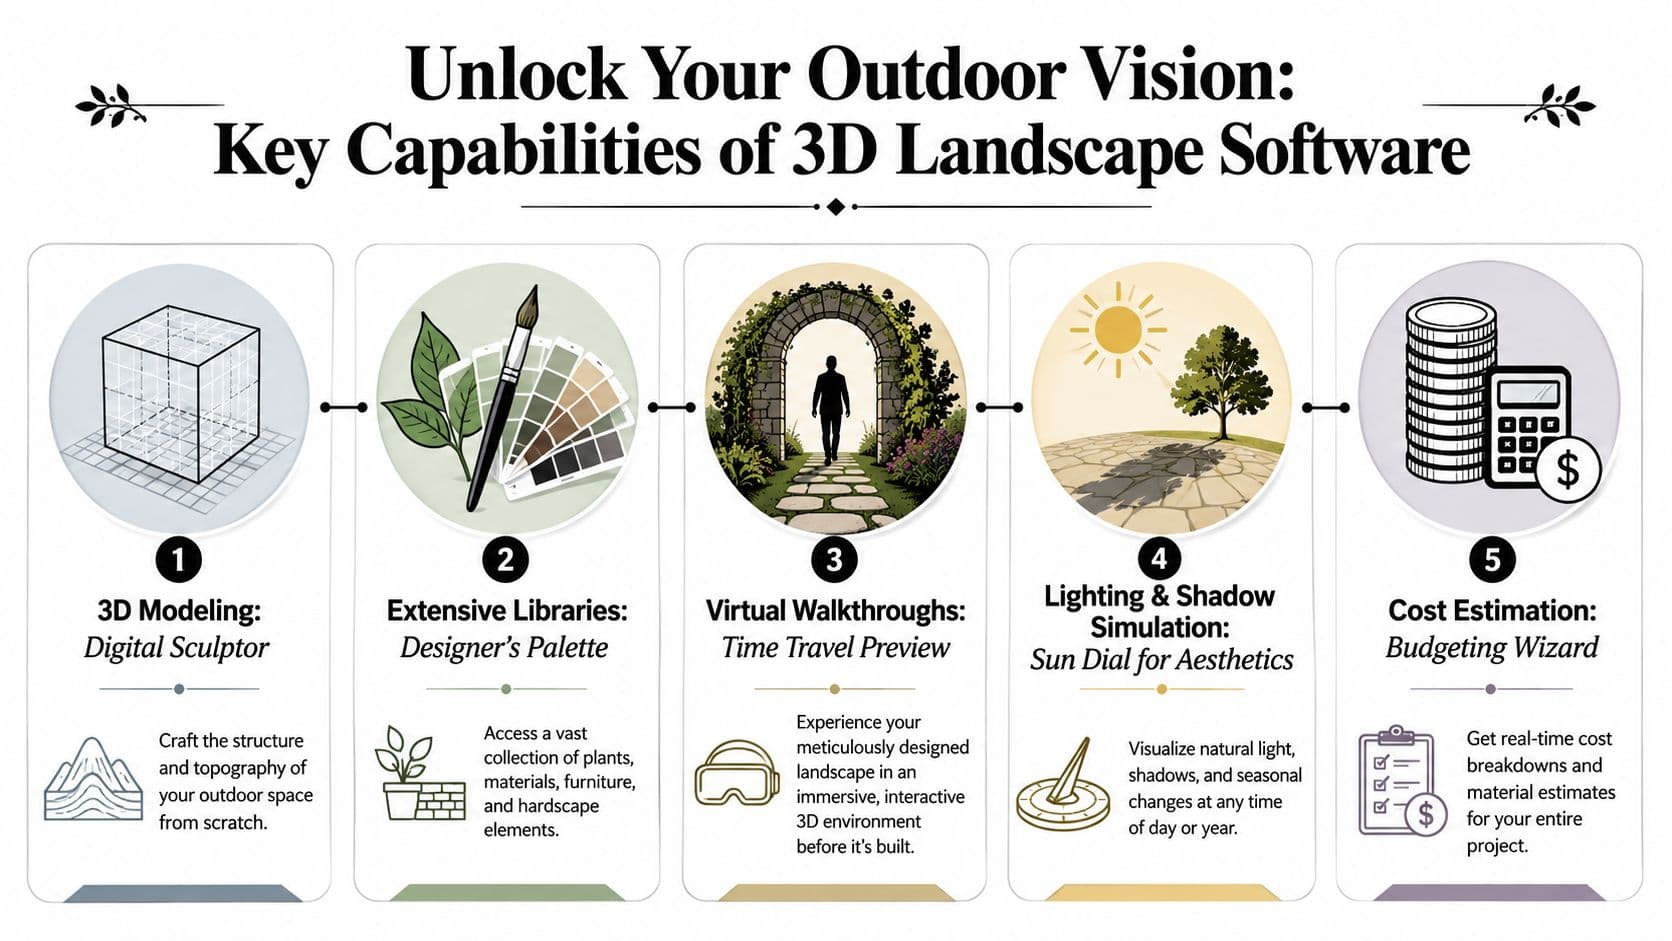
Open a 3D yard program for the first time and the screen can look busier than the job itself. The useful way to read it is by task. One set of tools shapes the site. Another lets you test plants and materials. A third shows you what those choices will feel like from ground level.
The capabilities that matter first
Start with 3D modeling. With it, you build the bones of the yard. You shape grade changes, place a patio, set the height of a wall, draw paths, and define where one outdoor room ends and another begins. If your property has slope, steps, drainage concerns, or tight clearances, this feature stops the design from drifting into wishful thinking.
Next comes the object and material library. A good library saves time because you can compare options without redrawing the whole scene. Swap pavers, change edging, test a hedge against a fence, or try a tree in two sizes. For a homeowner, that makes it easier to answer style questions quickly. For a professional, it speeds up client revisions and keeps presentations consistent.
Then there is rendering and walkthrough view. A plan view tells you where things go. A rendered perspective tells you how the space may feel at eye level. That difference matters. A path that reads as generous from above can feel narrow once you stand inside the model. A seating area that looks balanced on paper may seem exposed once shadows, wall height, and planting mass are visible.
If you want to understand why immersive previews help people make faster decisions, it helps to look outside the yard-design category too. Real estate teams rely on many of the same presentation habits covered in top no-cost virtual tour tools, especially when they need someone to understand scale and flow before setting foot on site.
What each feature changes in a real project
Some features sound flashy until you use them on an actual yard. Sun and shadow controls are a good example. They help answer practical questions, such as whether the dining area will bake at 4 p.m. or whether a small tree will cast enough shade to matter.
Measurement and layout tools do another kind of work. They keep a concept tied to real dimensions. That means your stepping-stone run is long enough, your planting bed fits the setback, and your fire pit area still leaves room for chairs to pull out.
For professionals, the bigger dividing line is often whether the software also supports 2D CAD drafting and construction notes. That is the point where a visualization tool starts to become a production tool. Programs built for detailed documentation can generate scaled plans, planting schedules, irrigation layouts, and sheets a contractor can price and build from. Homeowners usually do not need that depth at the idea stage. They need clarity sooner than they need documentation.
That split is why fast concept tools and technical drafting tools should not be judged by the same standard. If you are still comparing styles, experimenting with layout, or trying to get past a blank screen, tools using ai for landscape design can help you produce directions quickly. If you are preparing a permit set or coordinating with a builder, precision matters more than speed.
Use this short checklist when you compare platforms:
- Site-shaping tools: useful for slopes, berms, stairs, walls, and drainage-aware layouts
- Plant and material libraries: helpful for trying options without rebuilding the scene
- Walkthrough or orbit views: useful for checking views from patios, doors, and paths
- Measurement features: important when you need concept ideas to stay buildable
- Drafting support: necessary if the final output must guide installation, bidding, or approval
A simple rule helps here. Choose features based on the decision you need to make next, not the screenshot that looks most impressive.
A Tale of Two Workflows Homeowner vs Professional Use
One reason people pick the wrong software is that they shop by screenshots instead of workflow. A polished render can come from a tool that's perfect for a homeowner and completely wrong for a contractor. The reverse is also true. A platform that produces construction-ready plans may feel painfully slow if all you want is design direction for your own yard.
The split in the market is becoming clearer. Some tools are built for fast visualization and quick revisions. Others are built for documentation, coordination, and client approval. The important question isn't just “Does this look realistic?” It's whether the software helps you move from idea to decision without forcing a separate CAD process you don't need, a tradeoff described in this Houzz Pro overview of landscape designer software.
The homeowner path
For most homeowners, speed matters more than drafting depth. You're trying to answer questions like these:
- Do I want a modern yard or something softer and more traditional?
- Should the patio expand toward the lawn or toward the side yard?
- Would shrubs give privacy, or would a small tree do it better?
- Is gravel the right material, or will it feel too loose and unfinished?
You don't need a full bid set for that. You need confidence. The right workflow helps you compare options quickly, react emotionally to the visuals, and share ideas with a partner or family member without translating technical drawings.
Homeowner-friendly tools usually feel more visual from the start. You upload a photo, sketch a rough layout, or drag in common features. The output is useful when the goal is alignment. You're trying to get to “yes, that's the direction.”
Most DIY users don't need perfect technical depth at the beginning. They need a faster way to rule ideas in or out.
The professional path
A professional designer, contractor, or design-build firm works under different pressure. They need visuals, but visuals are only one part of the job. They also need dimensions, site constraints, documentation, revision control, and a clear handoff to estimating or construction.
That changes what “good software” means. A professional may need:
- Accurate base plans: The drawing has to reflect real measurements.
- Grading awareness: The software must account for elevation shifts, retaining conditions, and drainage implications.
- Presentation plus documentation: A client wants to approve the look, but the crew needs something buildable.
- Revision handling: Changes happen. The workflow must absorb them without starting over.
Many beginners get confused. A beautiful rendering can win client interest, but it won't automatically resolve site levels, irrigation details, or material coordination. For a pro, the software has to support both persuasion and execution.
The easiest way to tell which side you belong on is to ask a blunt question. Are you choosing a look, or are you delivering a project? If you're choosing a look, prioritize speed-to-decision. If you're delivering a project, prioritize precision-to-bid.
Choosing Your Tool A Practical Decision Checklist
Good software choice starts with honest self-diagnosis. Not taste. Not hype. Not the flashiest gallery.
A lot of online discussion still stays at the “pretty backyard” level, but the more important question is whether the software handles site realism well enough to help you avoid grading problems and make sure the design can be built, which is the overlooked issue highlighted in this discussion of terrain, elevation, and grading in landscape workflows.
Question one What are you trying to finish
If your goal is idea exploration, choose a tool that gets you from blank yard to visible options quickly. You want speed, style variety, and simple editing.
If your goal is construction planning, look for software that supports measured drawings, detailed layout, and terrain control. Those features may feel slower at first, but they matter once installers, masons, or irrigation crews get involved.
Question two How real does the site need to be
Flat lots are forgiving. Sloped lots are not.
If your yard has elevation change, drainage concerns, steps, retaining walls, or awkward transitions, don't choose based on plant libraries alone. Choose based on whether the tool helps you understand level changes and spatial fit. A clean rendering can still hide a bad grade decision.
Ask yourself:
- Flat and simple: Is this mostly lawn, beds, and a patio refresh?
- Moderately complex: Are you adding structures, multiple materials, or layered planting zones?
- Site-sensitive: Are slope, runoff, or grade transitions central to the project?
Question three How much complexity can you tolerate
Some tools feel intuitive in minutes. Others reward patience over time. Neither is better in the abstract. The right one depends on whether you want a concept quickly or a repeatable professional workflow.
Field note: A steep learning curve only makes sense if the software solves a problem you actually have.
If you're a homeowner working nights and weekends, a heavy CAD system can drain momentum before you make a single design choice. If you're a professional producing plans regularly, that same complexity may be worth it.
Question four What do you need to hand off
The final test is output. What will leave your computer and go to someone else?
A few common handoff needs:
- For family decision-making: clear visuals, alternate styles, before-and-after comparisons
- For a contractor conversation: dimensions, layout intent, material notes, reference images
- For a build team: precise drawings, grading clarity, planting and irrigation documentation
This checklist sounds simple, but it prevents a common mistake. People often buy software for the most exciting moment in the process, not the most important one. The exciting moment is seeing a pretty render. The important one is getting the project built with fewer surprises.
The Three Main Types of Landscape Design Software
Choosing software gets easier once you sort tools by workflow, not by brand name. A homeowner trying ideas for a weekend patio project does not need the same system a designer uses to produce buildable site plans. That divide matters more than the logo on the login screen.
A simple way to organize the market is to group tools into three types. Each one answers a different question.
Traditional CAD and BIM systems
These are drafting-first platforms built for accuracy, coordination, and documentation. They work like the measuring tape and construction set of the digital world. You use them when the plan must hold up during estimating, permitting, staking, and installation.
This category fits projects where exact dimensions, grading logic, utility conflicts, and layered plan sets matter. A designer or contractor can use these systems to describe what gets built, where it goes, and how it relates to the rest of the site. The trade-off is time and training. For many homeowners, that effort feels disproportionate to the job.
If your end goal is a construction-ready package, this is often the right class of tool.
Consumer-friendly 3D modelers
This middle category is where many serious DIY users and smaller design-build firms feel comfortable. It offers more hands-on control than an AI concept generator, but it usually asks less technical commitment than full CAD.
These tools are often strongest during the phase where you want to test layout ideas in a believable space. You can place a patio, adjust bed lines, try different screening options, and walk through the result in 3D. That makes them useful for people who want to see proportion before they commit money to materials.
They are a good fit for:
- Homeowners with patience: People who want more than a quick visual and do not mind learning a system
- Small firms: Teams that need presentation visuals and basic plan output
- Freelance designers: Users who sell concepts and need clearer client communication without a full technical stack
The limitation is precision depth. Some of these programs help you design well, but they are not always the best place to finish contractor-ready documents.
AI-powered instant renderers
This group starts from a different premise. Instead of building the whole yard piece by piece, you begin with a photo and generate directions quickly. That speed changes the first decision. You are no longer asking, "How do I model this?" You are asking, "Which direction feels right?"
For homeowners, this can remove the blank-page problem. For professionals, it can shorten early concepting and help clients react to style options sooner. A platform like Outdoorbrite is useful here because it serves the ideation stage well. It helps users test outdoor looks quickly before they invest time in detailed drafting.
This type is strongest at exploration. It is weaker at documentation. If you need exact elevations, construction callouts, or coordinated technical sheets, you will still need a more precise workflow later.
Here is the practical comparison:
| Software Type | Best For | Learning Curve | Typical Cost |
|---|---|---|---|
| Traditional CAD and BIM | Construction documents, grading, technical site planning | High | Varies by platform and license |
| Consumer-friendly 3D modelers | Design control, walkthroughs, homeowner to small-firm use | Moderate | Varies by platform |
| AI-powered instant renderers | Fast ideation, style testing, early concept approval | Low | Varies by platform and subscription |
Choose the type that matches your finish line. If you want confidence in a visual direction, start with speed. If you need something a crew can build from, start with precision.
Accelerating Design with AI Platforms like OutdoorBrite
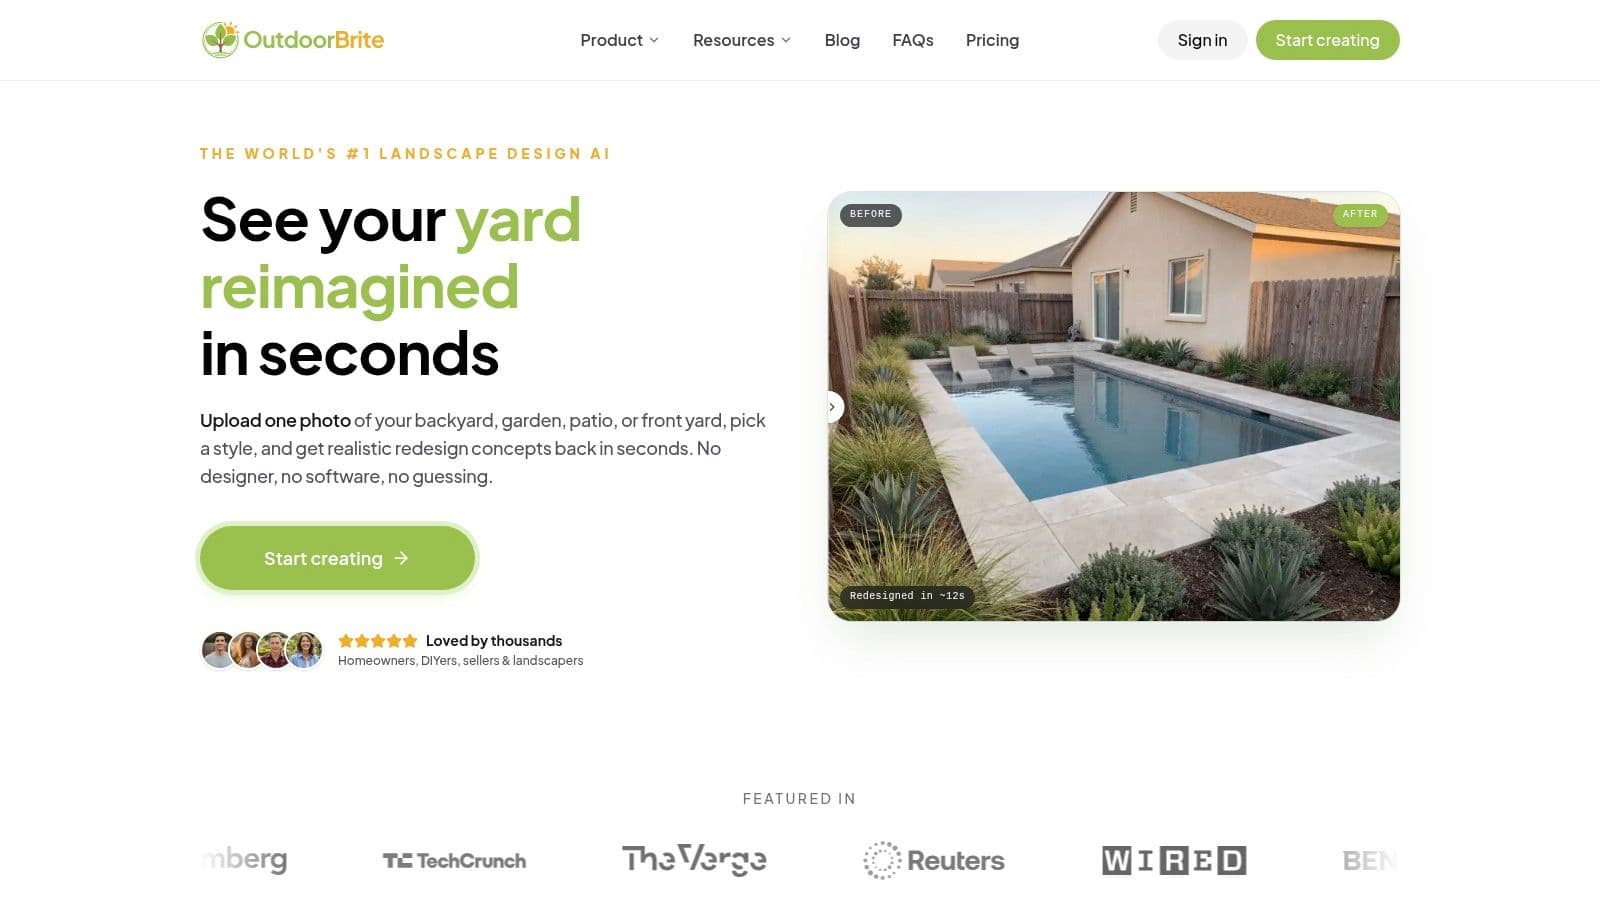
You walk outside, take one photo of the yard, and within minutes you are comparing a cleaner patio layout, fuller planting beds, and a more private fence line. That is the appeal of AI design platforms. They shorten the jump from vague ideas to visible options.
Why AI feels different from classic design software
Classic design tools usually ask you to build from the ground up. You place surfaces, walls, plants, and dimensions one decision at a time. That method gives you control, but it also asks for commitment early, before you even know which style deserves more attention.
AI flips that order. It starts with the site as it exists and generates directions first. For a homeowner, that can feel like having a sketch artist turn your preferences into rough concepts before anyone drafts a full set of plans. For a professional, it can speed up the earliest client conversations and help separate ideas worth developing from ideas that only sounded good in words.
That matters because many homeowners are not short on opinions. They are short on translation. They know they want the space to feel warmer, greener, more private, or easier to maintain. AI helps turn those adjectives into something visible.
There is also a time-saving case for 3D visualization more broadly. According to this overview of 3D visualization in landscape design, 3D visualization can reduce project planning time by up to 50%, while walkthroughs and photo-based renderings can improve decision-making and reduce revisions. That is the core value behind platforms such as Outdoorbrite. They help you compare directions quickly, before you spend hours refining the wrong one.
Where AI fits best
AI platforms do their best work when the question is, "Which direction should we pursue?" rather than, "What exactly will the crew build on day one?"
They are especially useful for:
- Style exploration: modern, cottage, Mediterranean, desert-inspired, low-maintenance
- Feature testing: wider patios, new bed shapes, paths, privacy screens, updated entry sequences
- Faster feedback: helping a spouse, client, or property owner react to realistic concepts instead of abstract descriptions
A short demo makes this easier to grasp. Watch how a simple site photo turns into several visual concepts in seconds, and pay attention to this key takeaway. AI is helping you choose a direction, not finish construction documents.
The limit is straightforward. If your project needs exact grading, detailed dimensions, material schedules, or permit-ready sheets, an AI concept is an early-stage tool. It helps you decide what should be developed further. The precision work still belongs to CAD or other drafting software built for technical documentation.
Putting Your 3D Landscape Plan into Action
The best outdoor design software 3D setup isn't the most advanced one. It's the one that matches your immediate goal. If you need quick visual direction, pick the fast path. If you need construction confidence, pick the precise path. Many projects use both at different stages.
A simple starting sequence
Start with the site as it exists. Take clear photos, note the problem areas, and identify what must stay. Then choose the software based on the decision you need to make next, not the entire life of the project.
A simple order works well:
- Clarify the goal: inspiration, family buy-in, contractor discussion, or build documents.
- Create a first concept: test layout and style before obsessing over details.
- Pressure-test the idea: check circulation, scale, sunlight, and grade-related concerns.
- Prepare a handoff: save views, notes, and any material ideas you'll need to share.
Three habits that save frustration
Small habits make a big difference once you begin using the software.
- Save comparison versions: Don't overwrite your first concept. Keep alternate layouts so you can compare them side by side.
- Export clean visuals: Use high-resolution outputs when sharing with family, clients, or contractors so details stay readable.
- Translate visuals into a shopping mindset: Even if the software isn't a full estimating platform, use it to create a rough materials thinking list. Surfaces, edging, plant groupings, lighting, and site prep should all be visible enough to discuss.
A clear concept drawing won't build the yard by itself, but it will make every next conversation sharper.
If you're still early in the process and want to test visual directions before moving into detailed planning, an ai generated backyard design workflow can be a practical starting point. It gives you something concrete to react to, which is often the hardest part of the whole project.
Outdoor projects get expensive when decisions stay fuzzy for too long. OutdoorBrite Money helps turn rough ideas into photorealistic outdoor concepts fast, so you can compare styles, plan with more confidence, and move into your next backyard decision with a clearer picture of what you want.
See your yard reimagined
Start creating