Landscape Design Templates: A Practical DIY Guide
Unlock your dream yard with our guide to landscape design templates. Learn to choose, adapt, and use templates for site plans, planting, and hardscaping.
You're probably staring at a yard that has potential and too many competing ideas. One corner wants to be a patio. Another wants raised beds. The fence line looks bare, the walkway feels awkward, and every photo you save online seems to belong to a completely different property than yours.
That's where people usually get stuck. Not because they lack taste, but because outdoor spaces are harder to improvise than they look. A yard has dimensions, slope, sun patterns, utility lines, circulation paths, and maintenance consequences. Once you start moving dirt, stone, or plants, guesswork gets expensive fast.
This is why professionals lean on outdoor design templates. A good template gives shape to a messy starting point. It helps you turn “I want it to feel more usable” into a plan with zones, spacing, and decisions you can build. If you're working through a regional style question, this Comprehensive guide for DFW homeowners is useful because it shows how outdoor planning shifts when climate and local living patterns matter. And if you want to test visual directions before you commit to materials, Outdoorbrite can help you see concepts on your own yard photos.
The trick is knowing that a template isn't the finished design. It's the starting grid. The vital work, and the part most guides skip, is adapting that grid to the yard you have.
Table of Contents
- Your Dream Yard Starts with a Plan
- What Exactly Are Landscape Design Templates
- Exploring the Core Template Types
- Choosing a Template for Your Yard and Vision
- The Practical Art of Adapting Your Template
- From Template to Reality with AI and Next Steps
Your Dream Yard Starts with a Plan
Most dream yards begin with a mess. Not a design mess. A decision mess.
You want shade, a place to eat outside, something soft around the patio, maybe a path that doesn't feel like an afterthought, and planting beds that won't become a weekend chore you resent by midsummer. The problem is that all of those goals compete for space. If you skip the planning step, the yard usually ends up with pieces that are individually nice and collectively awkward.
A template helps because it calms the project down. Instead of making decisions in random order, you start with a structure. You can place circulation first, define activity zones second, and layer planting after the bones of the space make sense. That's how professionals avoid the common DIY pattern of buying plants first and realizing later that the seating area has no usable shape.
Practical rule: If you can't point to where people will walk, sit, turn, store tools, and look out from the house, you're not ready to choose plants.
This doesn't mean your yard has to look formal. Some of the best outdoor spaces feel relaxed. But even relaxed gardens usually sit on top of a very disciplined plan. Hidden structure is what makes a space feel easy to use.
The other benefit is confidence. A template gives you a way to make progress without designing from scratch. You don't need to solve every detail on day one. You just need a working layout that fits your property, your climate, and the way you live outside. Once that's in place, the project gets lighter. You stop second-guessing every paver, shrub, and bed edge because the larger logic is already doing its job.
What Exactly Are Landscape Design Templates
A design template is a working base for a yard plan. It gives you a scaled starting point, a repeatable structure, and a way to test ideas before you spend money on stone, soil, or plants.
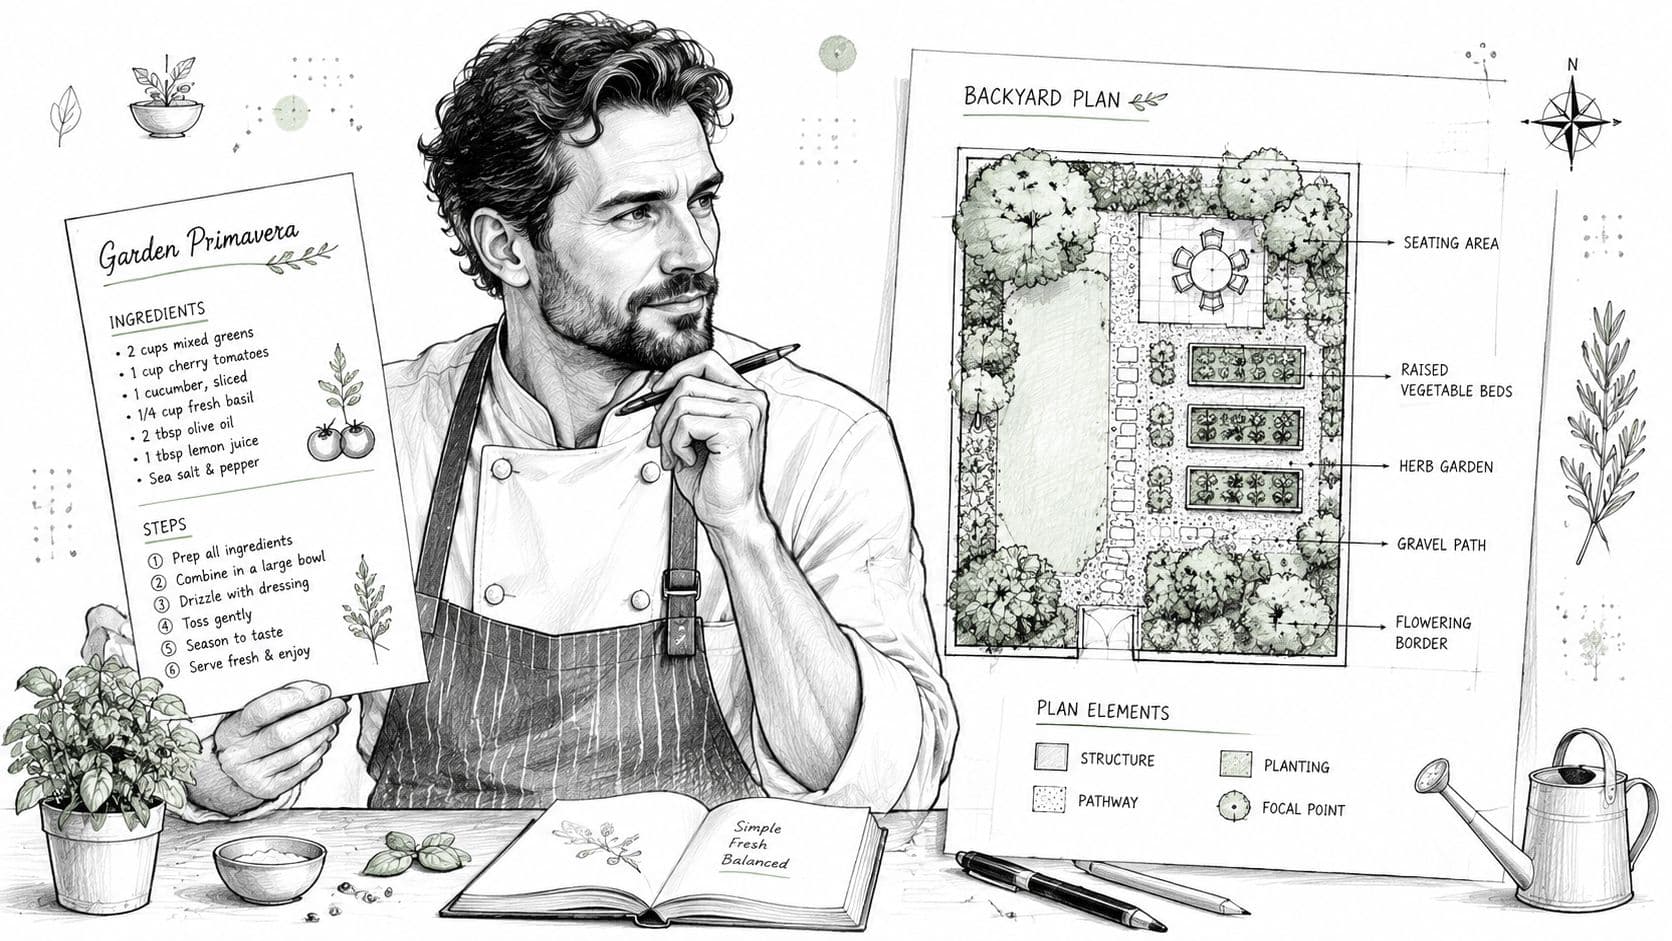
A template is a recipe with measurements
The easiest way to understand a template is as a recipe with measurements. It does not hand you one finished yard. It gives you proportions, sequence, and a framework that keeps the plan usable while you adjust it to your lot, climate, and priorities.
That distinction matters. Many homeowners download a generic plan and treat it like a finished answer. In practice, a template is closer to a draftable pattern. You use it to place the house footprint, property lines, existing trees, drainage constraints, utility runs, paths, paving areas, and planting zones in a form you can revise without starting over every time.
A good template usually includes:
- Property boundaries: The outer shape of the project area.
- Fixed features: House footprint, fences, sheds, utilities, grade changes, and existing trees worth keeping.
- Use zones: Seating, dining, lawn, food growing, play, storage, and service space.
- Layout markers: Paths, patios, transitions, screening areas, and focal points.
- Symbols and labels: Clear notation so the plan stays readable when details start stacking up.
Templates also help bridge old-school planning and newer visualization tools. A paper sketch, scaled base map, or drafting stencil gives you discipline. An AI image tool can help you test mood, massing, and material direction. Used together, they work well. Used separately, they often create confusion. The sketch keeps the idea honest. The visual rendering helps you see whether the idea feels right.
Why scale matters more than style at first
Beginners usually reach for style first. Modern. Cottage. Desert-friendly. Formal. Naturalistic.
Scale has to come first.
If the template does not match the actual dimensions of your yard, every later decision rests on bad footing. I have seen handsome concept sketches fall apart the moment we marked them on site with paint and a tape measure. Dining chairs needed more pull-back room. A path pinched at the gate. A bed looked balanced on paper but stole the only clean route for hauling bins to the side yard.
A template earns its keep by exposing those conflicts early.
It also gives you a practical way to adapt a generic idea to a difficult lot. A stock plan may show a clean rectangle, but your yard may taper, slope, hold water in one corner, or bake in afternoon sun. The template is not there to force your property into a perfect shape. It lets you reshape the pattern so the finished plan fits the ground you have.
A beautiful plan that ignores dimensions is still a bad plan.
That is why templates feel freeing once you use them properly. They reduce guesswork without flattening your taste. Get the measurements, circulation, and fixed constraints right first, then adjust the paving, planting style, materials, and overall character to make the yard your own.
Exploring the Core Template Types
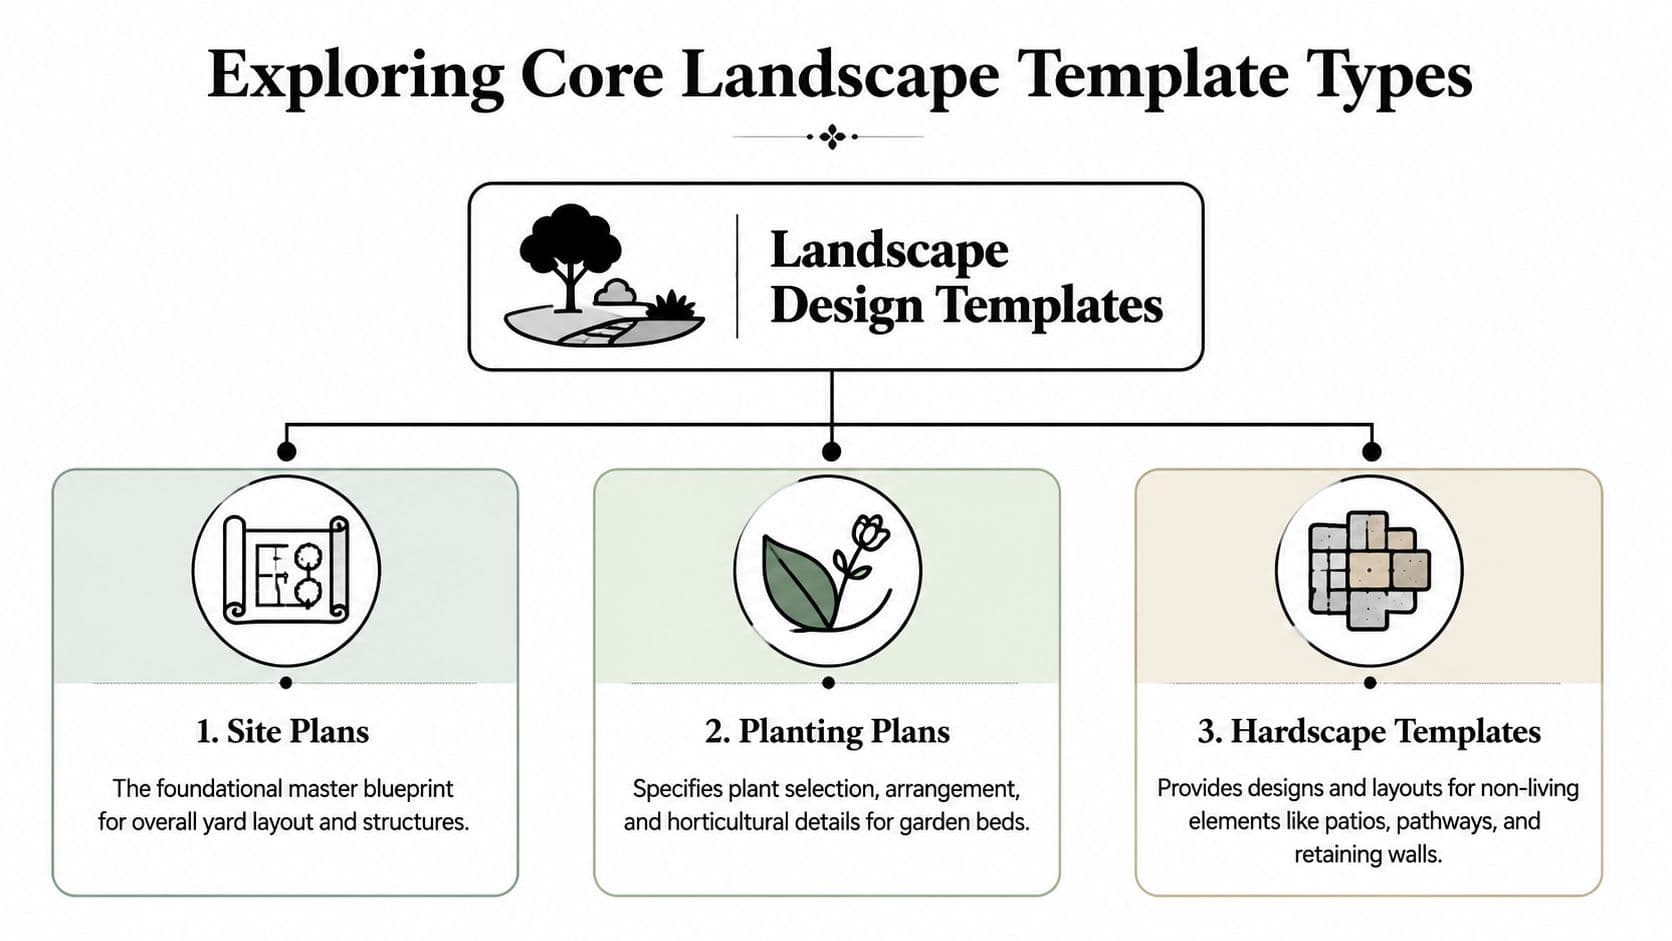
A workable yard plan usually comes as a set of drawings, not one heroic sketch trying to do every job. That distinction saves beginners a lot of frustration. One sheet handles layout. Another handles plants. Another handles built work. A reference board keeps the look consistent.
Site plans
The site plan is the control sheet. It shows property lines, structures, gates, paths, activity zones, utilities, grade changes, and the open areas that keep a yard usable.
I look here first when a template feels good on paper but awkward in person. The problems show up fast. A dining area may block the clean path from the back door to the bin storage. A path may look centered in the drawing but arrive crooked at the gate. A lawn panel may leave narrow strips along the fence that are annoying to mow and too skinny to plant well.
Generic templates often assume a simple rectangle. Real yards rarely cooperate. On a wedge-shaped lot or a yard with a strong side slope, the site plan is where you adjust geometry before you get attached to the style.
Planting plans
The planting plan places the living material and shows how it works in groups. Good plans use masses, layers, screening, canopy, and seasonal change to support the layout instead of decorating the edges after the fact.
Plant choices change how a yard behaves. A hedge can create privacy but also cut winter light into the house. A small ornamental tree can soften a patio, but in the wrong spot it drops litter into the dining area or blocks the line of sight you wanted to keep. Mature size matters more than the nursery pot.
This is also the sheet that exposes climate mismatches. A stock template may show lush foundation beds and thirsty turf. If your yard is windy, dry, shaded, frost-prone, or blasted by afternoon heat, the grouping logic needs to change even if the overall concept stays.
Hardscape templates
Hardscape templates map the built layer. Patios, walks, walls, steps, edging, drainage routes, pergolas, and grade transitions belong here.
These choices cost real money to correct later, so they deserve the strictest review. Plants can be edited over a few seasons. A patio that is undersized, badly placed, or pitched the wrong way keeps causing problems every day.
Professional work makes this structural thinking easy to see. A portfolio of landscaping solutions for commercial properties is useful for studying circulation, durable material zones, repeated forms, and how space gets organized before decorative details are layered in.
Mood boards
A mood board keeps the visual direction steady. It gathers paving tones, plant character, fence style, lighting feel, furniture shapes, and reference images so the finished yard reads as one idea instead of six competing ones.
Homeowners often skip this step because it seems less technical. Then the built work ends up too sleek for the planting style, or the furniture scale fights the paving pattern. I have seen solid plans lose their character that way.
Mood boards also work well with ai for backyard design. Paper plans help you test fit and function. AI visuals help you judge whether the materials, plant massing, and overall mood suit your house and the yard you have.
| Template Type | Primary Purpose | Key Elements Included |
|---|---|---|
| Layout Plan | Organize the full yard arrangement | Boundaries, structures, paths, zones, fixed features |
| Planting Plan | Define the living layer | Plant groups, spacing logic, screening, focal planting |
| Built Features Plan | Detail non-living construction | Patios, walkways, walls, steps, edging, material changes |
| Style Board | Guide visual direction | Colors, textures, materials, furniture style, reference images |
Choosing a Template for Your Yard and Vision
The right template isn't the one that looks nicest online. It's the one that survives contact with your site conditions and your patience level.
A lot of homeowners start with inspiration photos. That's fine for taste, but it's weak for decision-making. A better first filter is constraint. How much sun does the space get. Is the yard flat or does it fall away from the house. Do you need a play area, dog run, dining space, food garden, or privacy screen. Will you maintain detailed planting beds, or do you want something that can go a bit untended without looking abandoned.
Start with constraints, not inspiration photos
If your region is dry, windy, hot, exposed, or under water restrictions, a style-first template can send you in the wrong direction. In waterwise systems, some template rules are very specific. One guide separates turf, native grass, and planting-bed water categories, and it also requires non-combustible rock mulch within 30 feet of homes because wood mulch near structures increases available fuel load, according to the waterwise landscape template guidelines.
That kind of rule changes the whole design conversation. Suddenly the question isn't “Which template is prettiest?” It's “Which template still works when irrigation, fire safety, and maintenance are treated as design requirements?”
A few practical filters help:
- Climate fit: Choose templates that can handle your sun, soil, and rainfall pattern.
- Water use: Separate thirstier planting concepts from lower-input layouts before you compare style.
- Exposure: Windy corners, reflected heat, and deep shade all narrow the useful template options.
- Construction reality: Slopes, drainage issues, and access for materials can rule out otherwise appealing ideas.
Match the template to your maintenance tolerance
Honesty matters here. People often choose the design they'd enjoy visiting, not the one they'll maintain.
If you love clipped structure, layered perennials, and ornamental detail, that can work. But it needs steady care. If you travel often or don't want to deadhead, divide, edge, and reset lines all season, choose a simpler framework with bigger masses, fewer species, and durable hardscape. A lower-maintenance yard doesn't have to look plain. It just needs fewer fussy decisions built into it.
The best template is the one you'll still like after the novelty wears off and the upkeep begins.
A smart choice usually balances three things at once. What your site can support, what you can maintain, and what kind of outdoor life you want the yard to hold.
The Practical Art of Adapting Your Template
A template usually looks convincing until it meets a real yard. Then the gate is off-center, the grade falls away from the patio, the side yard is tighter than it looked on paper, and the sunny planting bed sits in afternoon shade for half the year. That gap between the clean diagram and the messy site is where good planning happens.
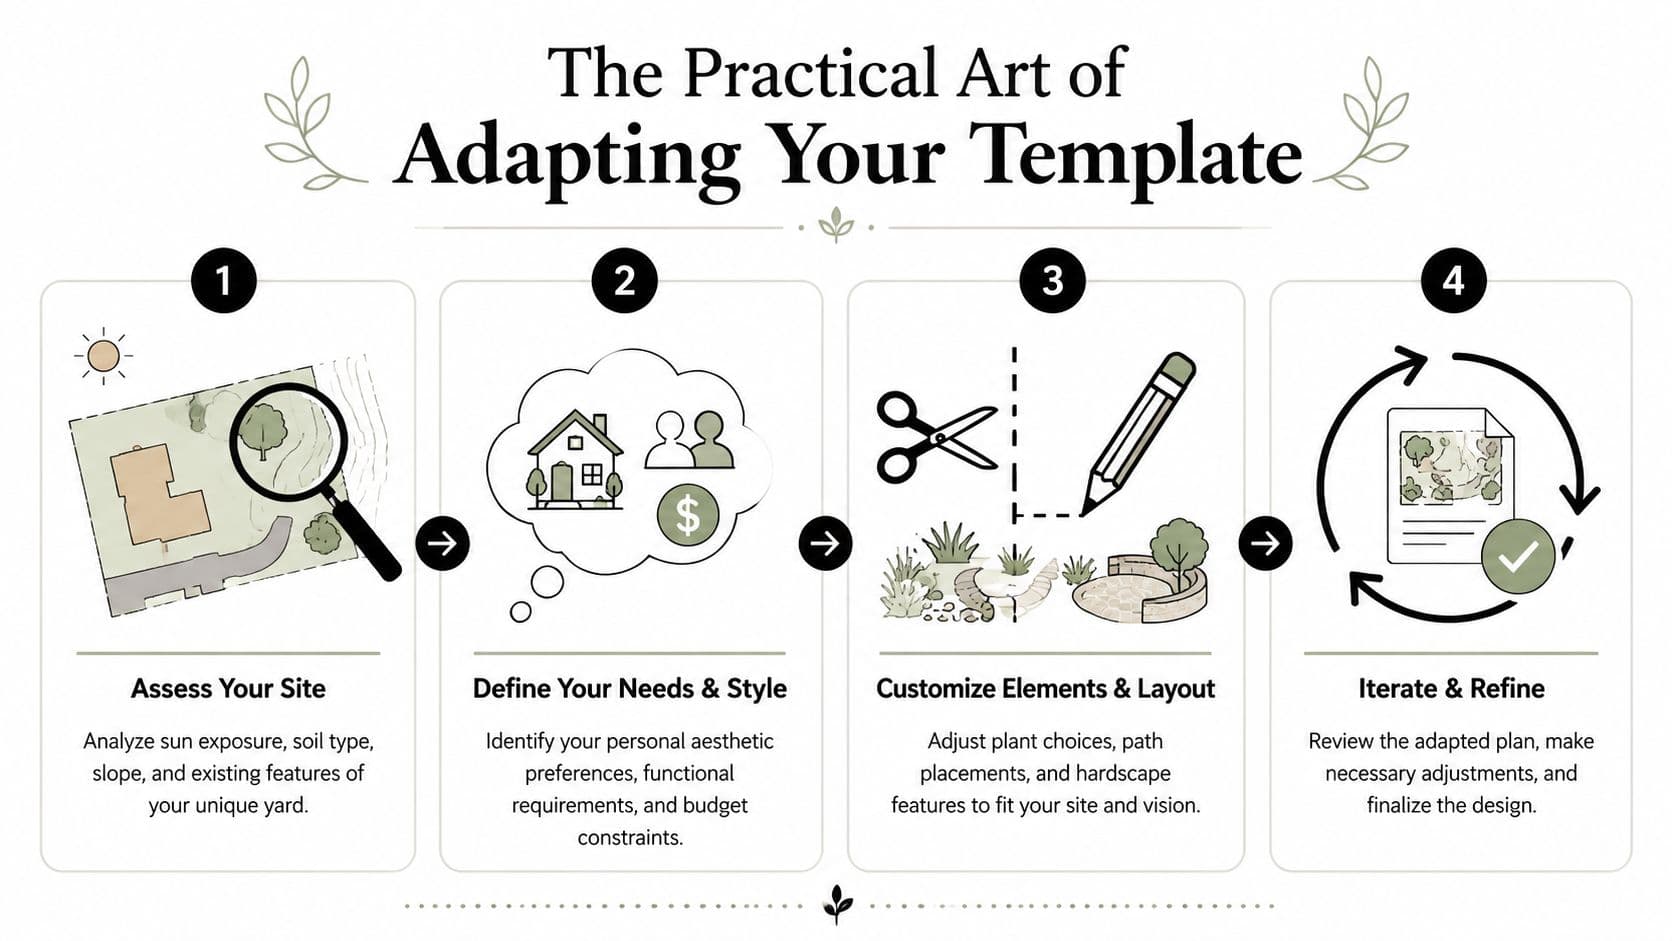
Template problems usually come from literal copying. The base idea may be fine. The trouble starts when the proportions, circulation, or planting zones are dropped into a yard that behaves differently.
Start with a scaled site plan. It is the simplest way to catch spacing mistakes before they become expensive fixes. Guidance on drawing a plan to scale makes the same point. Putting dimensions on paper helps prevent crowding, awkward clearances, and maintenance headaches later.
Measure first and simplify the shape
Irregular lots are common. They are also manageable.
Break the yard into simple shapes you can measure accurately. Rectangles, triangles, and arcs are easier to record than one wandering outline. Once those pieces are measured, you can rebuild the whole perimeter in scale and see what you are working with.
For a DIY base map, gather these first:
- Boundary dimensions: Fence runs, house walls, setbacks, gates.
- Fixed elements: HVAC units, utility boxes, downspouts, drains, established trees.
- Grade changes: Slopes, steps, berms, retaining edges, soggy low spots.
- Daily-use points: Doors, window views, shortcuts people already take through the yard.
This part feels slow. It saves time.
I have seen solid ideas fail because the base drawing was off by a couple of feet. A path that looked generous became cramped. A seating area lost chair clearance. A bed meant to soften a corner ended up blocking access to a hose bib.
Adjust layout before you adjust plants
Once the template is placed over your measured plan, work on structure first. Shift the patio. Straighten the route from the back door to the gate. Widen tight passages. Reassign dead space. Do that before you spend energy choosing shrubs or debating gravel color.
The order matters because plants do not fix a weak layout. They only decorate it.
A practical sequence looks like this:
- Correct movement paths: The route from house to gate, drive to entry, or patio to lawn should feel natural.
- Rework open space: Many templates center everything. Real yards often need that open zone pushed off-center to fit doors, views, or drainage.
- Check clearances: Doors need swing room. Dining chairs need pull-back space. Paths need enough width for actual walking, not diagram walking.
- Then revise the planting and materials: Once the framework works, match the palette to climate, sun, and upkeep.
If a space feels tight, the fix is usually geometric, not botanical.
How to make templates work on awkward yards
This is the step many DIY plans skip. Generic templates are drawn for clean shapes. Real yards are narrow, angled, split by utility easements, interrupted by mature trees, or constrained by climate and exposure.
An awkward site does not need theatrics. It needs priorities.
For long, narrow yards, stop treating the whole space as one visual tunnel. Divide it into a few clear zones. A small sitting area near the house, a transition planting area, and a destination at the far end usually works better than one stretched-out patio with thin beds along the fence.
For angular or wedge-shaped lots, do not try to correct every odd corner. Give the eye a stronger shape to read. A simple sitting pad, one confident curve, or a focal object placed well can calm the plan. Helpful garden advice on designing awkward angular gardens points toward the same practical moves: zoning, focal points, terracing, and using the existing angles instead of pretending the yard is a rectangle.
For sloped yards, treat the template as a guide for use zones rather than a tracing. Flat functions such as dining, grilling, and lounge seating need the most stable area. Planting zones can absorb grade transitions more easily, especially where drainage already wants to move.
For climate-limited yards, adaptation goes beyond shape. A template that shows lush foundation planting or a large central lawn may need a full rewrite in a hot, dry, windy, or fire-prone region. Keep the structure if it works. Replace thirsty or high-input zones with materials and plant groupings that fit the site.
A few moves solve more problems than people expect:
- Create a visual stop: A specimen plant, feature pot, birdbath, or small sculpture anchors the view and gives odd geometry a purpose.
- Use curves sparingly: One curve can soften a hard angle. Too many curves make a small yard feel uncertain.
- Put top-priority uses in the easiest spots: Daily seating belongs near the door, not at the far end of a difficult slope.
- Assign leftover spaces on purpose: Bins, compost, hose storage, and utility access fit well in the residual corners a template rarely accounts for.
Use AI to test the adapted version
Once the plan works on paper, it helps to test how it will feel. That is where older planning methods and newer tools fit together well. The scaled drawing handles dimensions, grading, and circulation. A photo-based tool helps you judge mood, material fit, and visual weight before money is spent.
If you want to compare style directions against your actual yard, ai for backyard design can help you test options after the layout is settled. That timing matters. AI is strongest when it is reacting to a real plan, not inventing one from scratch.
Measure carefully. Adapt the framework to the yard you have. Then test the look.
From Template to Reality with AI and Next Steps
The handoff from plan to built yard is where good projects either hold together or start to drift. A template gives you order on paper. A photo-based AI tool helps you judge whether that plan will feel right in your own space, with your fence, your light, your house, and the awkward angles the template never had to solve.
That matters more than people expect. A scaled drawing can tell you a path is wide enough and a patio fits. It cannot fully answer softer questions. Will the paving look too stark against the house color? Do the planting beds read full or thin? Does the entry feel calm, or busy in the wrong way?
Used at the right stage, AI helps you test those visual decisions before you buy stone, commit to a fence color, or overplant a small bed. I use it after the layout is settled, not before. The base plan still needs real measurements, drainage judgment, sun exposure, and practical access worked out first.
Where AI helps and where it does not
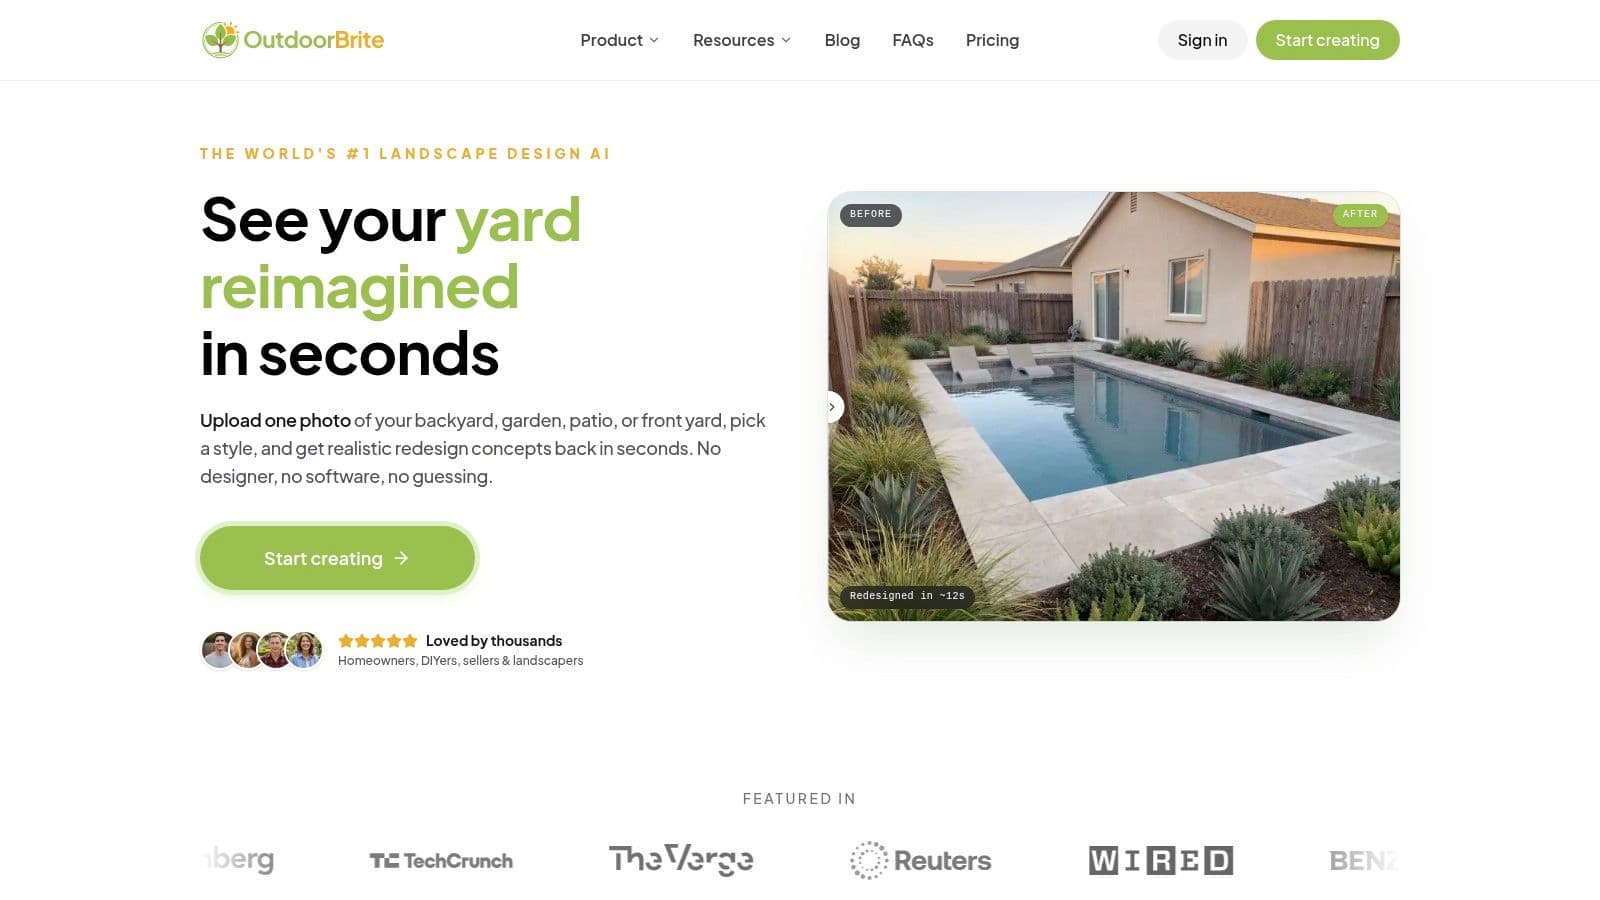
ai landscape design software is most useful when you upload a photo of the actual yard and compare a few directions against a plan you already trust. That lets you check material combinations, planting character, and overall style fit without guessing from memory or mood boards alone.
OutdoorBrite Money is one option in that category. It works from yard photos and generates photorealistic redesign concepts in different styles, so it functions as a visualization tool rather than a template library.
AI is good at a few specific jobs:
- Comparing style directions: cleaner lines, looser planting, warmer or cooler material palettes
- Reducing second-guessing: seeing an idea on your own yard often settles choices faster than staring at samples
- Improving contractor discussions: photos help you talk about intent, spacing, and finish quality with less confusion
It still does not replace the parts that require site knowledge and construction sense:
- Accurate measurements
- Drainage and grading decisions
- Plant choices based on your climate and exposure
- Utility planning, build order, and installation details
A short video can make that workflow easier to picture:
A short checklist before you break ground
Keep the sequence simple and you avoid a lot of expensive course correction later.
- Measure the site: note boundaries, fixed features, grade changes, and overhead or underground constraints
- Choose the template: start with function, climate fit, and maintenance level
- Adapt it to the actual yard: adjust zones, circulation, and storage before getting attached to plant names
- Test the look on photos: compare materials and planting styles on the actual site
- Mark it out full size: use hoses, stakes, flags, or chalk and walk every route
- Build in the right order: complete hard surfaces and utilities first, then soil work, then planting
A strong yard usually comes from a calm sequence of good decisions, not a burst of inspiration at the garden center.
If you want a fast way to visualize your template ideas on your actual yard photos, experiment with styles, and narrow down what is worth building, take a look at OutdoorBrite Money.
See your yard reimagined
Start creating