
AI Yard Design: A Start-to-Finish Homeowner's Guide
Transform your space with AI yard design. This practical guide walks you from photo prep to a buildable plan, including material lists, costs, and pro tips.
A lot of yard projects stall in the same place. You know the space needs help, but once you start thinking about layout, plants, materials, drainage, and cost, the whole thing feels bigger than a weekend and fuzzier than a real plan.
That's why AI yard design has become useful so quickly. It removes the blank-page problem. You can start with the yard you already have, test a few directions, and narrow your taste before you buy a single paver or plant. The trick is knowing where the AI helps and where you still need old-fashioned measuring, checking, and judgment.
Dream It Design It Build It with AI
A common starting point looks like this. You have a photo of a yard you're tired of, a vague Pinterest board, and no clear sense of what should happen first.
AI yard design is useful at that stage because it turns a loose reaction into options you can compare. Current tools can work from a yard photo, basic dimensions, and a few style choices to generate fast concept images. Its true value is not the render itself. The value is getting to a direction you can price, phase, and build.
That distinction matters. A polished image can hide a bad path width, an unrealistic planting mix, or a patio that ignores drainage. Good AI yard design workflows help you sort style, layout, and maintenance preferences early, before you spend money on materials or hand a contractor a concept that cannot be built cleanly, as described in this overview of AI yard design workflows.
Why this feels easier than traditional planning
Early planning gets easier when you can react to something concrete. Current garden AI tools often let homeowners upload a photo, choose a few redesign settings, and review several concept directions, with some tools also accepting inputs like dimensions, sun exposure, and budget through this summary of current garden AI tools.
That gives you a better first conversation, whether you're doing the work yourself or hiring it out. Instead of saying you want something nicer, you can say you want a gravel seating area along the fence, a wider walk from the gate, and fewer thirsty plants near the patio.
I use AI this way with clients all the time. It shortens the gap between taste and scope.
Practical rule: Use AI to choose a direction first. Then build a real plan from that direction.
One tool homeowners use for this stage is Outdoorbrite. It turns a yard photo into redesign concepts so you can compare approaches before you get into measurements, material takeoffs, and pricing.
What AI is actually good at
AI yard design works best when you ask it questions it can answer visually:
- Style questions such as whether your yard looks better with clean-lined paving, layered planting beds, or a simpler low-maintenance mix
- Layout questions such as where a path, patio, screen planting, or seating area could fit
- Maintenance questions such as whether a hardscape-heavy concept is more realistic for your schedule than a bed-heavy one
Used well, AI helps you get specific. It gets you from “I hate this yard” to “I want this kind of yard,” a much more useful place to begin.
Preparing Your Yard for Its AI Close-Up
A strong result starts with a useful photo. If the source image is dark, cluttered, cropped too tightly, or shot from a weird angle, the render usually follows it.
Take the photo like a site record
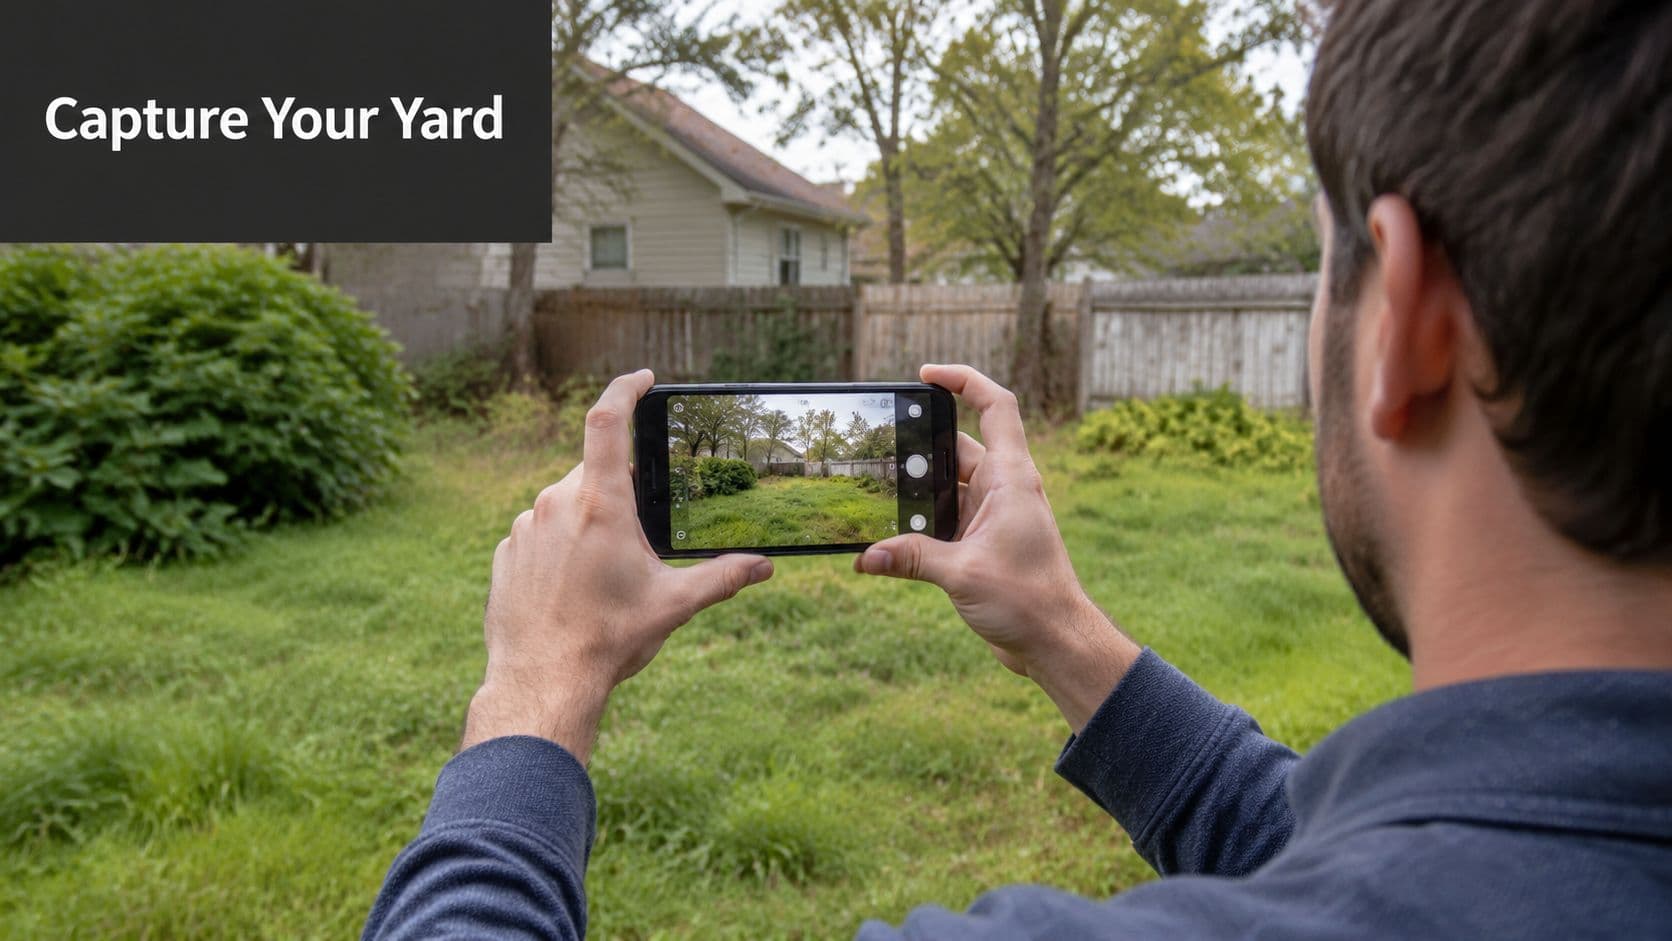
Treat your upload like the base layer of a real design file. The AI needs to understand edges, surfaces, and major features.
Use this checklist:
- Stand back far enough: Capture the full area you want redesigned. If the patio edge or fence line is cut off, the AI has to guess.
- Shoot in even daylight: Morning or late afternoon often works well. Harsh noon shadows can hide grade changes and make surfaces read incorrectly.
- Keep the camera level: A heavily tilted shot can distort proportions and lead to awkward paths, oversized beds, or strange furniture placement.
- Include fixed elements: Fences, doors, steps, retaining walls, and large trees help the tool anchor the redesign to reality.
Remove the distractions first
Temporary clutter confuses both the image and your own decision-making.
Before you take the shot, move:
- Loose items such as toys, hoses, tools, bins, and folding chairs
- Seasonal clutter like half-used soil bags, tarps, or stored planters
- Visual noise including anything you know won't stay in the final layout
You don't need showroom perfection. You just want the permanent bones of the yard to be visible.
If the photo hides the real boundaries of the site, the render may solve the wrong problem.
Capture the yard in a way you can build from later
If you're serious about turning the render into a project, take more than one photo. I like one wide shot, one angled shot from a corner, and a few detail photos of trouble areas like a slope, a muddy edge, or the section near the house foundation.
A simple field note on your phone helps too. Record basic details while you're standing outside:
| What to note | Why it matters |
|---|---|
| Sunny and shady areas | Helps later when you sanity-check plant ideas |
| Spots that stay wet | Flags drainage concerns before you commit |
| Existing dimensions | Gives you a way to test whether the render is believable |
| Must-keep features | Prevents redesigns that erase something important |
The better your inputs, the more useful your AI yard design session becomes. You're not feeding the tool a vibe. You're giving it a site.
Navigating the AI Design Canvas to Find Your Style
You upload the photo, test two or three directions, and one thing becomes clear fast. You do have a style preference. The tool just helps you see it in a form you can compare, price, and build.
That shift matters. A pretty render is only useful if it points toward real materials, real square footage, and a layout that works with your yard instead of fighting it.
Start with one clear direction, then compare it against a second
If a backyard feels exposed and flat, begin with a specific brief. Try a Japanese-inspired concept with gravel, clipped forms, and a compact seating zone. Then run a Mediterranean version with warmer paving, broader planting beds, and a softer edge treatment. Side by side, the differences become practical, not theoretical.
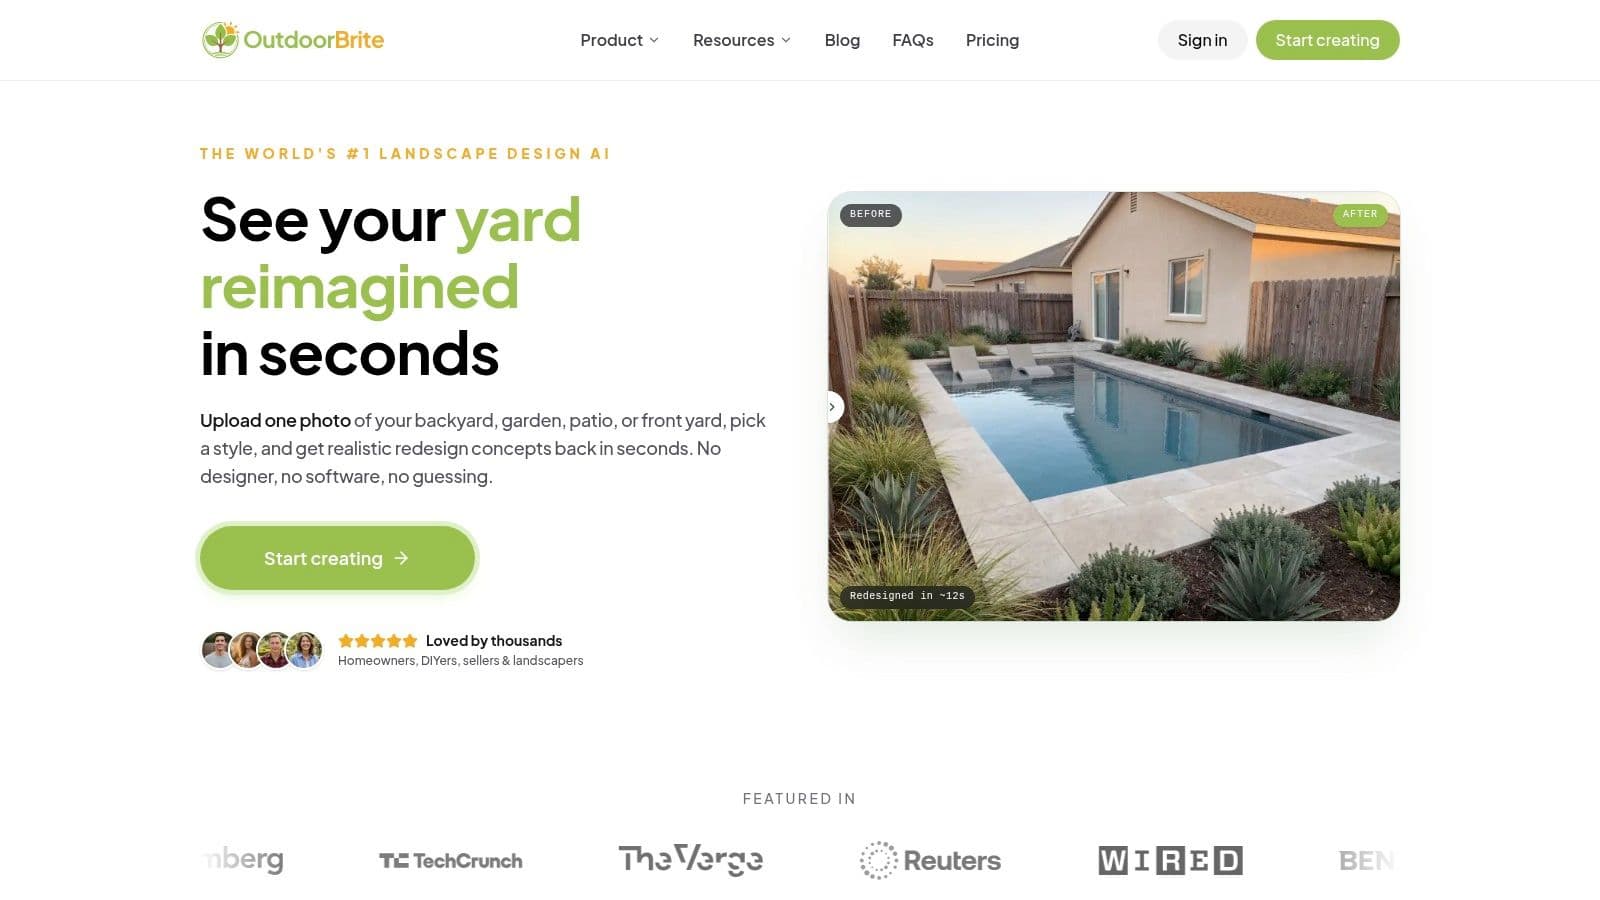
Tools in the landscape ai design category tend to work best when you choose a style first, then review the output through three filters:
- Mood: Does it feel calm, structured, relaxed, lush, or family-focused?
- Materials: Are you seeing gravel, pavers, timber, decking, turf, or bed edging that fit your budget and local conditions?
- Use: Does the layout support how the yard will be used on a normal week?
Clients often get stuck. They react to the look of the image and miss the build implications. Pale gravel may look clean in a render but track into the house. Large-format pavers can look polished but raise material and labor costs. Dense planting can soften a fence line, but it also creates irrigation and maintenance decisions that need to be made early.
Use the controls to test whether the idea holds up
If your tool lets you adjust season, light, weather, or geometry, use those settings to pressure-test the concept. A yard that looks crisp in bright summer sun can feel bare in winter. A planting-heavy border that feels lush from one angle can crowd a walkway from another.
A simple review table helps keep the process grounded:
| Question | What to look for |
|---|---|
| Does the yard feel larger or smaller? | Paving direction, bed width, and plant massing all affect perceived scale |
| Is there a clear focal point? | A seat wall, fire feature, specimen tree, or path destination gives the yard structure |
| Can you maintain it? | Layered planting and tight bed lines often mean more trimming, cleanup, and irrigation |
| Does it fit nearby structures? | The house, fence, shed, and hard surfaces should feel coordinated |
If support buildings are part of the plan, this is also a smart time to customize your dream shed so storage, workshop space, or a garden room matches the direction you choose for the rest of the yard.
Pick the render that explains the job clearly
The strongest concept is usually the one that gives you a usable layout and a believable scope of work. I look for an image that answers practical questions. Where do people walk? Where does seating go? What gets removed, and what gets built first?
That kind of render is far easier to turn into a weekend DIY plan or a contractor brief. You can pull out likely materials, estimate quantities, and split the work into phases such as demo, paving, planting, and lighting.
Choose the version that gives you a clear plan to build from.
The flashiest option often includes too many features packed into one frame. The better option usually has cleaner circulation, fewer competing materials, and enough restraint that you can price it without surprises.
Customizing Renders and Iterating Like a Pro
Your first render is a sketch, even if it looks polished. The fastest way to improve it is to react like a designer, not like a spectator.
Edit with clear, narrow instructions
Broad prompts tend to create broad confusion. Specific edits produce better revisions.
Try changes like these:
- Add one feature at a time: “Add a stone path from patio to gate.”
- Reduce visual noise: “Simplify planting near the steps.”
- Change function, not just style: “Create a dining zone for a small table.”
- Control maintenance: “Use a lower-maintenance planting approach with more hardscape.”
When you stack too many requests into one revision, you won't know which instruction improved the result and which one broke it.
Judge each version on function first
A render can look expensive and polished while still solving nothing. I like to review revised concepts in this order:
-
Circulation
Can people move through the yard without squeezing around planters or cutting across lawn edges? -
Use zones
Is there a reason for each space to exist? Lounge area, dining corner, play zone, utility side yard, planting border. -
Visual balance
Does one side feel overloaded while the other side is empty? -
Maintenance reality
Would you still want this layout after a hot month, fallen leaves, or a busy work season?
Run design tests, not just style experiments
AI becomes useful for real planning. Instead of asking, “What looks nice?” ask questions tied to your actual goals.
For example:
- Curb appeal test: Try a cleaner entry path, layered foundation planting, and stronger contrast around the front door.
- Privacy test: Add screening planting or a slatted divider along one edge and compare how enclosed the space feels.
- Weekend-project test: Remove major construction elements and see whether gravel, edging, containers, and a small path can carry the design.
- Low-water test: Push the concept toward simpler planting masses and durable surfaces.
A productive AI session feels repetitive in a good way. Generate, critique, tighten, repeat.
That loop is what makes the tool valuable. You're not waiting on a single perfect answer. You're narrowing the gap between a rough idea and a yard you'd build.
From Digital Dream to DIY Reality A Buildable Plan
Saturday morning arrives, the AI render still looks great, and the yard outside looks exactly the same. That gap is where projects stall.
AI is strong at generating direction. It is weaker at build sequence, site verification, and cost control. Treat the render as a draft for a yard planning review, then turn it into something you can price, phase, and hand to a contractor without a long guessing game.
Break the render into parts
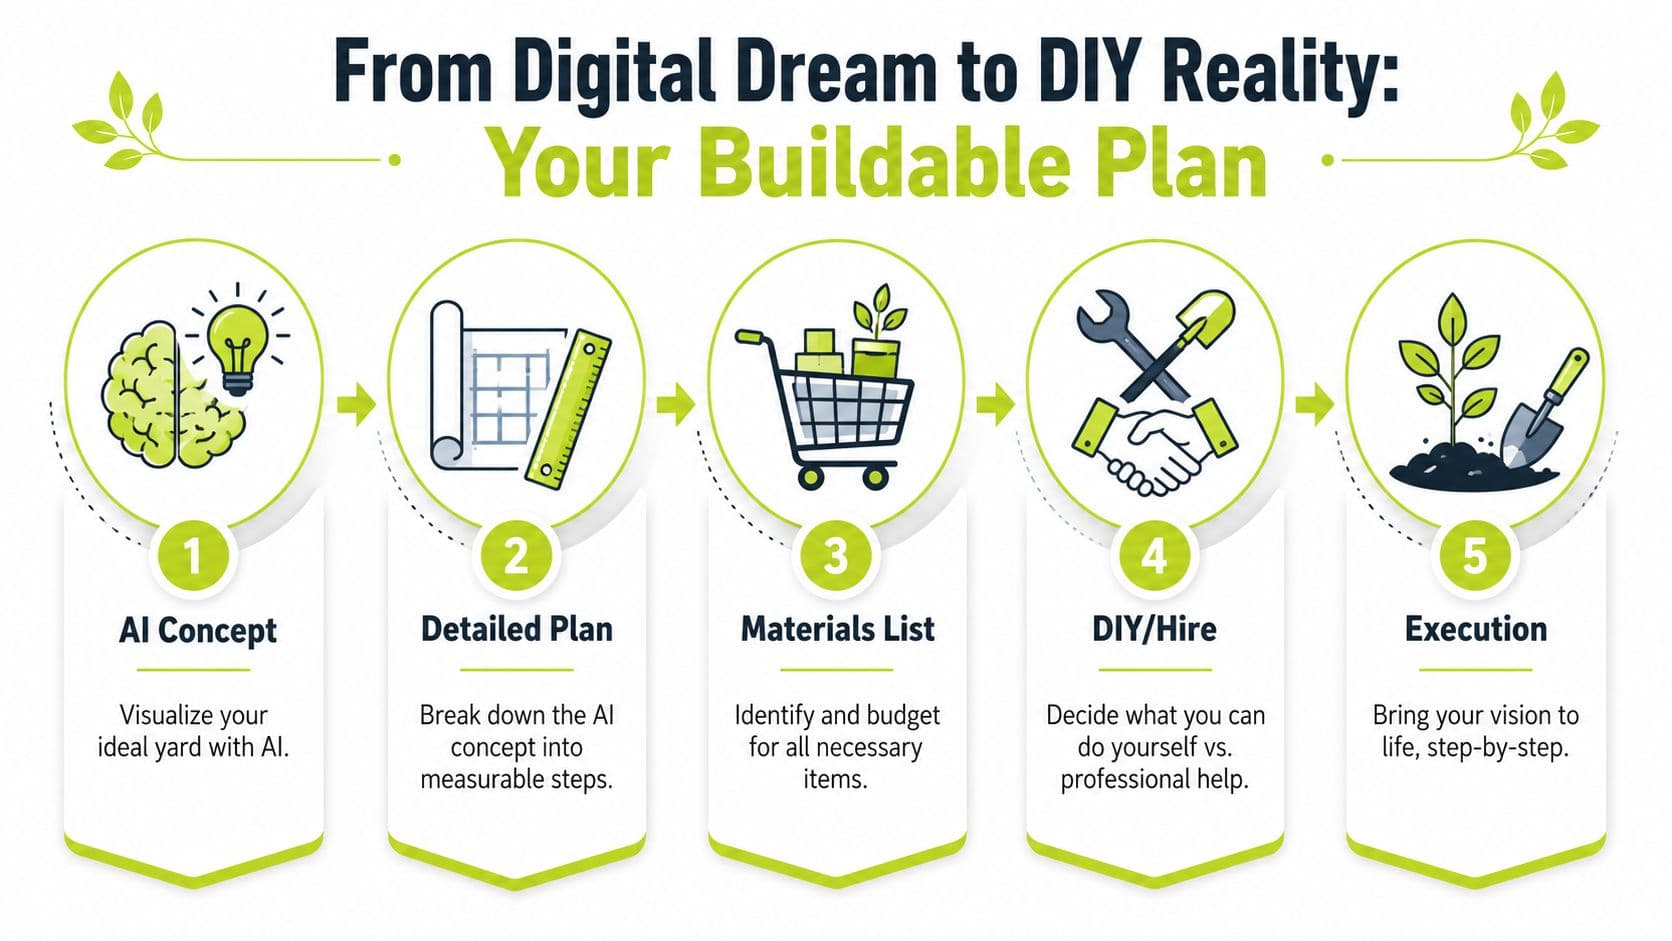
Read the image like a scope sheet.
Go element by element and write down what is being shown, not what the mood of the image suggests. That usually means sorting everything into four practical buckets:
- Hardscape such as pavers, gravel, edging, steps, retaining elements
- Planting including shrubs, grasses, groundcovers, trees, lawn areas
- Structures like pergolas, screens, planters, benches, sheds
- Utilities and lighting such as irrigation changes, low-voltage lighting, drainage adjustments
This step sounds simple, but it exposes the fuzzy parts fast. A render may show a crisp path edge, for example, without telling you whether that edge is steel, concrete, brick, or plastic. If you cannot identify an item clearly, pause before buying. Save the screenshot and get a real-world match from a nursery, contractor, or designer.
Make a shopping list that matches your skill level
The fastest way to blow a weekend budget is to price the whole image as if every part belongs in the cart.
Separate tasks into DIY, contractor work, and "decide after site check." That keeps you from committing to drainage work, electrical runs, or structural footings just because they looked easy in a polished render.
| Category | DIY friendly | Usually better to hire out |
|---|---|---|
| Surface refresh | Mulch, gravel, container planting | Large paving areas |
| Bed shaping | Edging, soil improvement, simple planting | Complex grading |
| Features | Small screens, portable fire pit, basic bench | Permanent structures |
| Site systems | Basic hose irrigation adjustments | Drainage, buried utilities, electrical work |
For inspiration on feature-heavy spaces, especially if you're blending cooking and entertaining areas into the plan, these Australian outdoor kitchen ideas can help you pressure-test whether your render supports how you want to live outside.
A short visual walkthrough can help before you start pricing labor and materials:
Build in phases on purpose
A buildable yard rarely happens as one clean purchase. It usually comes together in layers.
Start with the parts that set the layout and solve problems. Then add the pieces that make it feel finished. A practical sequence looks like this:
-
Layout and ground preparation
Mark edges, confirm measurements, handle grading concerns, and clear the site. -
Primary surfaces and circulation
Install the path, patio base, or gravel zones that organize movement. -
Structural elements
Add screening, raised beds, a shed, or a focal feature. -
Planting and finishing
Layer in plants, mulch, pots, lighting, and smaller decorative elements.
Phasing does two useful things. It gets the yard functional sooner, and it shows you where the render was asking for more money than the project really needs. If the budget tightens after phase two, you still have the bones of the plan in place.
Turn the render into a contractor-ready brief
Contractors do better work when the brief is specific. They do not need a perfect drawing. They need clear priorities, dimensions, and a realistic sense of what stays, what goes, and what can change.
Include:
- A printed or saved render with the chosen concept
- A rough site sketch with actual measurements
- A must-keep list for existing trees, fences, or paved areas
- A materials preference list naming the look you want
- A phased budget note showing what you want priced now versus later
- A priority note stating what matters most, such as privacy, low maintenance, or better entertaining space
I also recommend adding a one-page "known constraints" list. Note hose bib locations, slope, poor drainage spots, gates, utility boxes, and anything that limits equipment access. That single page often saves more time than the render itself.
If you need help connecting the image to real measurements, material choices, and sequence, this guide on designing your outdoor space is a useful companion to the render-to-plan step.
A good AI image starts the conversation. A buildable plan finishes it.
Avoiding Common AI Yard Design Pitfalls
A convincing render can send a project off course fast. I see it when a homeowner falls in love with an image, then discovers the plants want different conditions, the patio would block access, or the price jumps once materials are quoted.
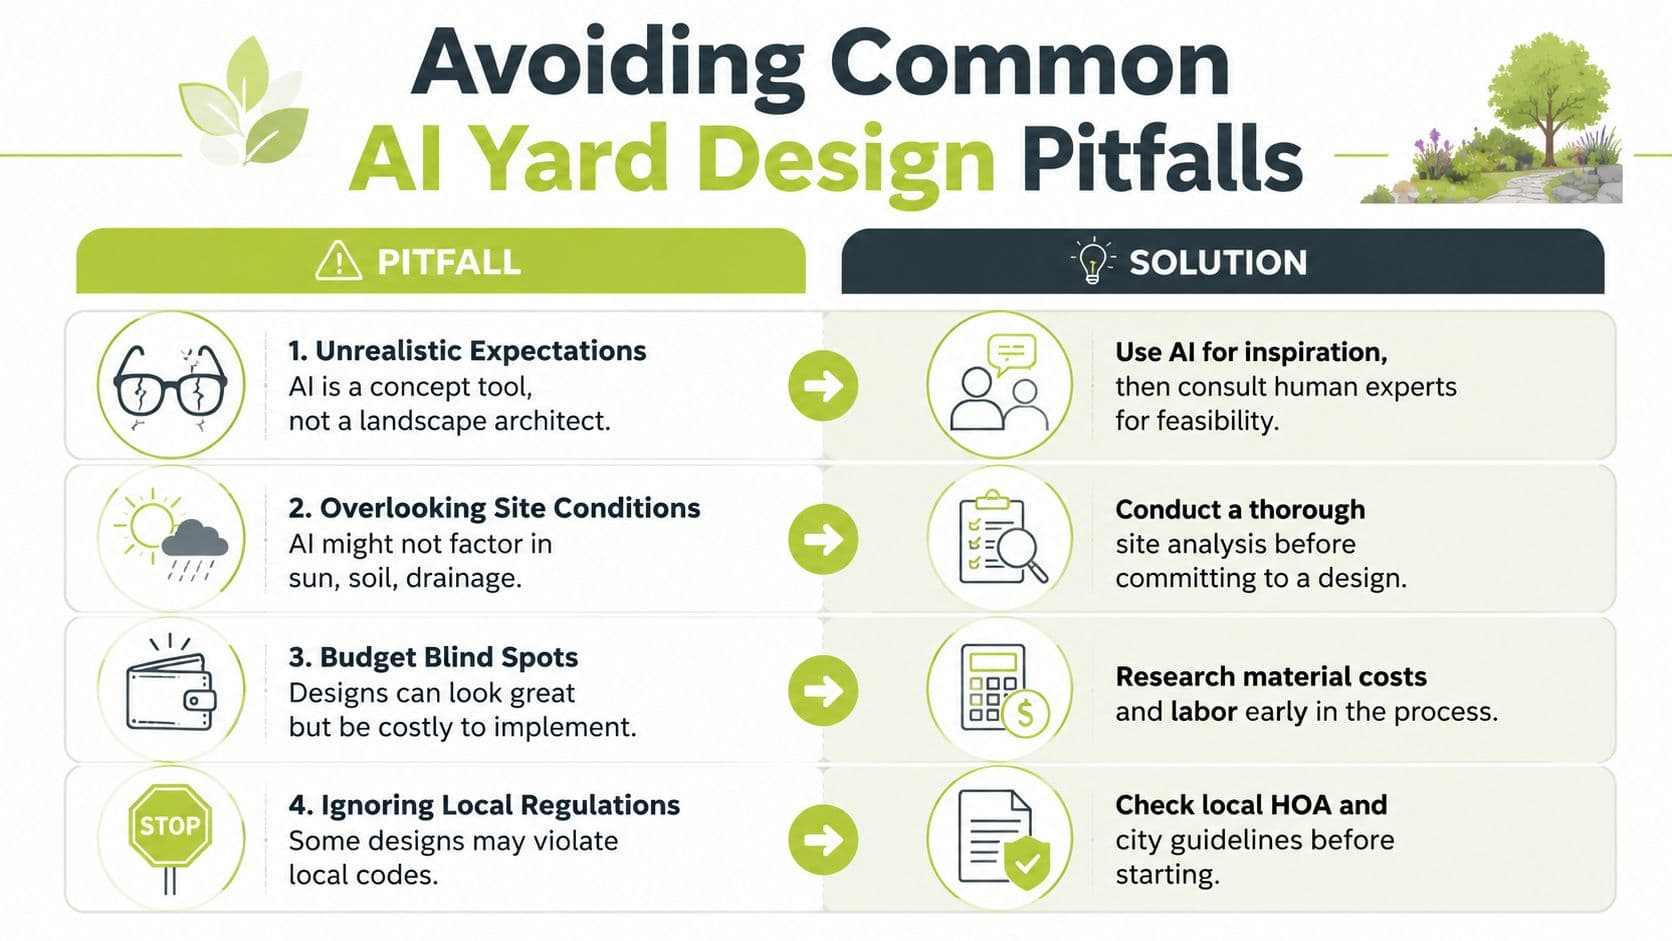
AI yard design works best when you treat the image as a draft to verify, not a finished plan to copy.
The render may show plants that do not belong together
One common failure point is biological inconsistency. AI can mix bloom times that would never overlap, pair shade plants with full-sun placements, or suggest a polished planting palette that ignores your soil and climate.
Run every plant choice through four checks before it makes the cut:
- Region suitability
- Mature size
- Sun and shade conditions
- Maintenance load
This step matters more than the image quality. A beautiful render is easy to generate. A planting plan that still looks good in year three takes more discipline.
Scale can be misleading
Paths often come out too wide or too narrow. Borders look neat in the image but eat up usable space. Seating areas can appear comfortable until you account for chair pullback, grill clearance, or a gate that still needs to open.
Measure first. Then mock up the footprint with stakes, string, a hose, or scrap cardboard. That quick test usually exposes problems before you buy stone, edging, or furniture.
The image can sell the idea. The tape measure decides whether it fits.
Budgets and code still shape the project
AI does not know your local material pricing, permit rules, fence limits, or underground utilities. It also tends to skip expensive prep work such as drainage correction, grading, base layers, and haul-off.
Check the practical constraints early:
- Local rules for fences, structures, setbacks, and HOA requirements
- Site conditions such as drainage, slope, and access
- Core material pricing so the concept stays within reach
Homeowners who get the best results from AI yard design do one thing consistently. They turn the render into a set of decisions: what stays, what changes, what gets priced now, and what waits for a later phase.
If you are ready to test ideas visually, OutdoorBrite gives you a starting image to react to. The value comes from what happens next. Measure the site, edit the concept, and turn the strongest version into a buildable plan.
See your yard reimagined
Start creating




