Front Yard Patio Guide: Design, Build & Boost Curb Appeal
Transform your home's entrance with our complete front yard patio guide. Learn to plan, design, build, and style a patio that adds curb appeal and value.
You're probably standing at the front window, looking at a patch of lawn that doesn't do much except collect weeds, bake in the sun, or force guests to balance on the walkway while chatting. That's the moment a front yard patio starts to make sense. It gives the front of the house a job. Seating, coffee, a place to wait for kids, a spot to talk to neighbors, or just somewhere that feels finished instead of leftover.
A good front yard patio isn't just a slab with chairs on it. The useful ones are planned from the furniture backward, shaped around how people move, and screened just enough to feel comfortable without turning the house into a bunker. The build matters, but the design decisions you make before digging usually decide whether the patio becomes part of daily life or a hardscape you avoid.
Vision and Planning Your Front Yard Oasis
Most front yard patio mistakes happen before construction starts. Homeowners get excited about materials, then put the patio where there's room instead of where it will work.
Start with a site walk. Not a quick glance. Stand in the yard in the morning, midday, and late afternoon if you can. Notice where the sun lands, where people naturally cut through the space, where the downspouts discharge, and which windows look directly onto the patio area.
Build a real site checklist
Use a notebook or a simple sketch and mark these items before you think about pavers or furniture:
- Sun and shade: Track the hottest zone and the places that stay pleasant longer.
- Entry movement: Watch how people approach the porch, mailbox, driveway, and sidewalk.
- Drainage: Note low spots, splash zones, and any place water already lingers.
- Utilities: Call for utility marking before you dig.
- Views: Mark what you want to frame and what you want to soften.
Patios are a mainstream outdoor feature now, not a niche add-on. They appeared in 63.7% of new single-family homes in 2023, marking eight straight years of growth, with especially strong adoption in the West South Central and South Atlantic regions, according to outdoor patio design statistics. That matters because it changes the planning mindset. You're not forcing an unusual feature into the front yard. You're designing an outdoor room that already fits how many homeowners want to use their property.
Design first, then commit
Visualization offers significant cost savings. A front yard patio is highly visible from the street, the porch, and the windows inside. Small shape changes can make a big difference. A square pad may fit on paper but feel too rigid against a curved walk. A diagonal layout may improve flow but fight the house lines.
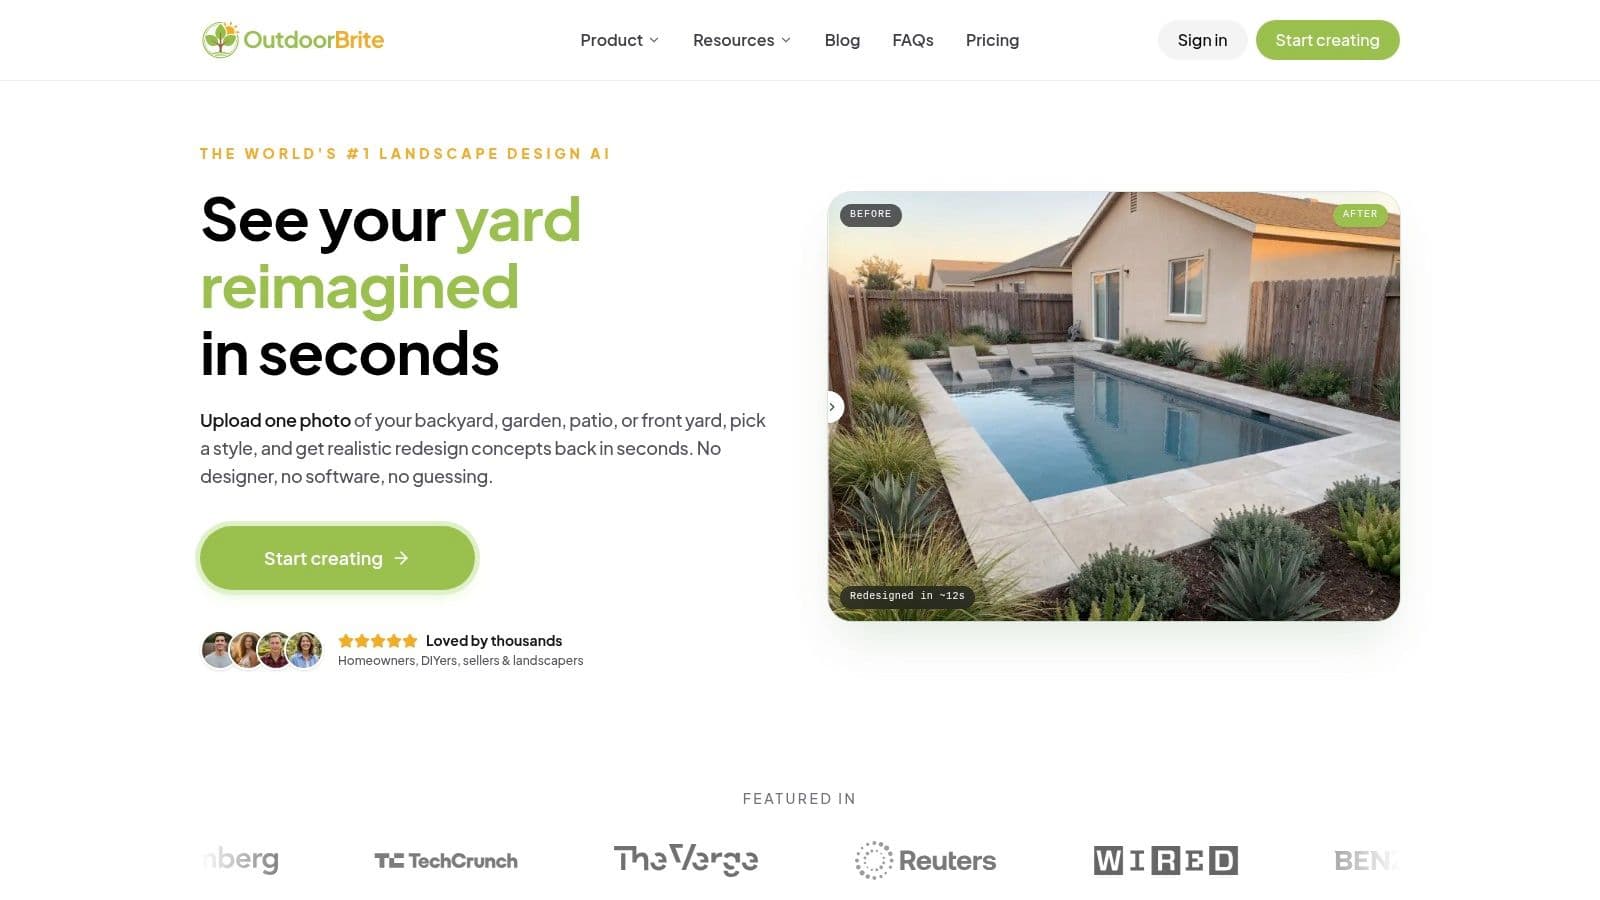
One practical option is an ai landscape design generator that lets you upload a photo of the yard and test different patio placements, planting layers, and style directions before buying material. That's useful for front yards because the design has to solve several problems at once. It has to look good from the curb, feel comfortable when you're sitting in it, and still leave clear movement to the front door.
Practical rule: If you can't explain where people will walk, where they'll sit, and where water will go, the plan isn't ready.
If you're also thinking bigger than the patio itself, this guide to remodeling outdoor living areas is a helpful companion because it gets you thinking about the patio as part of the whole outdoor layout, not an isolated rectangle.
Work with the grade
A slight slope isn't a deal-breaker. In many yards, it helps. What causes trouble is pretending the yard is flat when it isn't. If one side drops, decide early whether the patio will step with the grade, feather into lawn, or hold a crisp edge with planting around it.
Front yards reward restraint. Keep the footprint intentional. Leave enough open ground for planting to soften the hardscape, and resist filling every inch just because you can.
Designing for Flow Privacy and Style
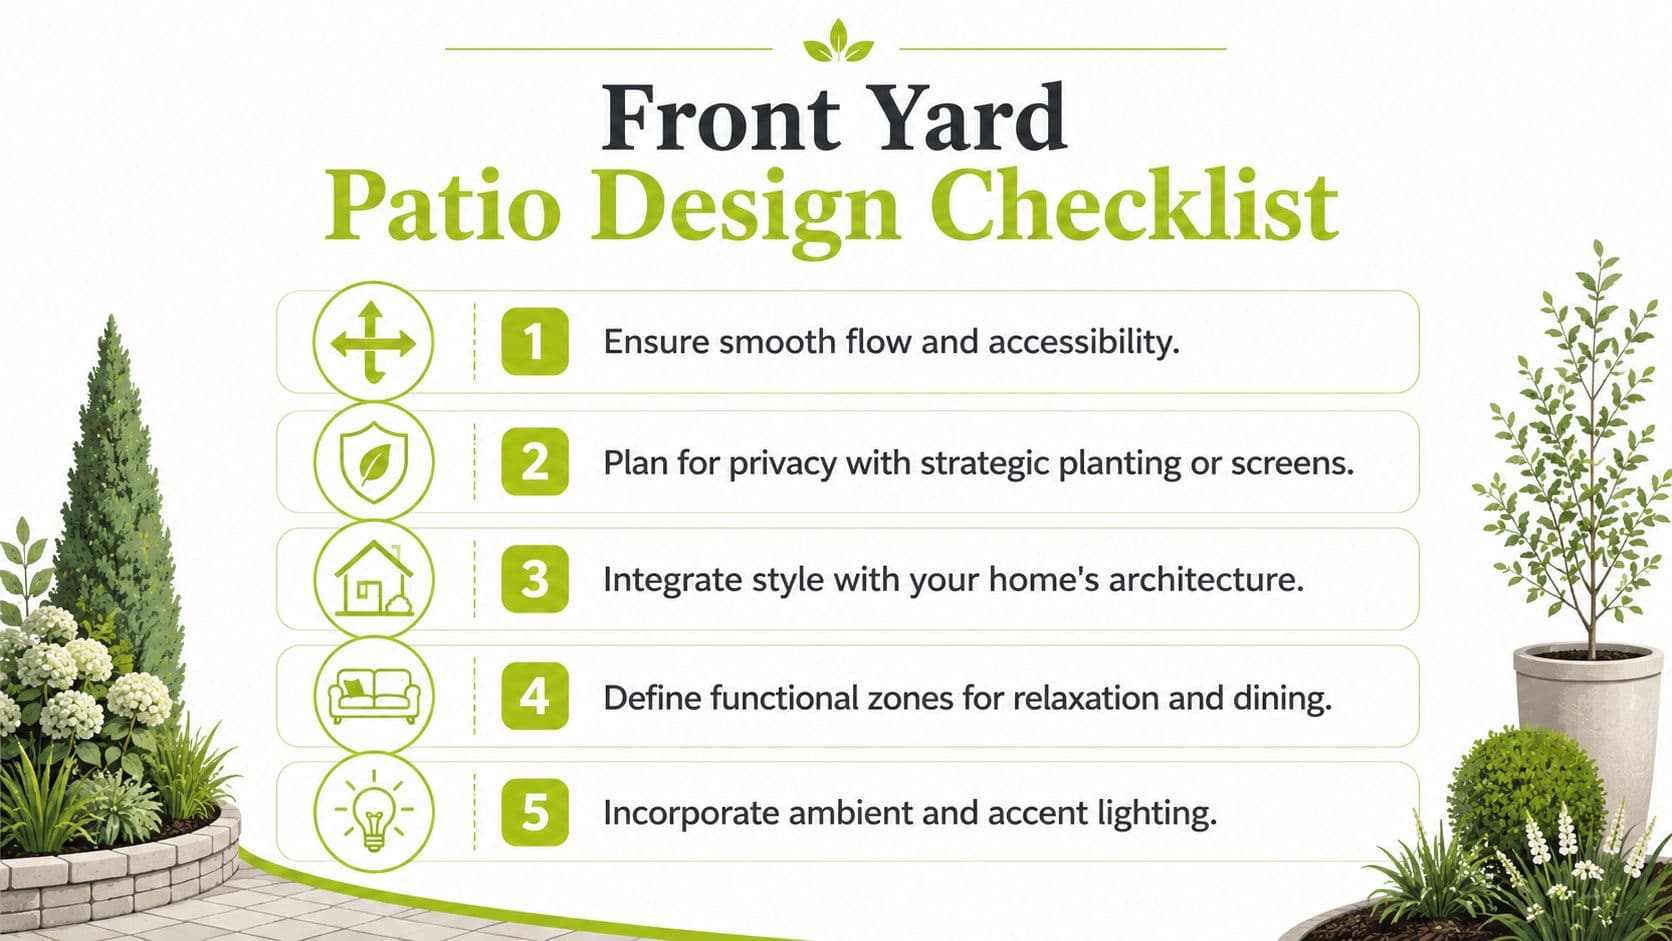
A front yard patio fails when it technically fits furniture but doesn't feel comfortable. That's common. On paper, the chairs fit. In real life, someone has to squeeze sideways between a planter and a pulled-back dining chair.
Size the patio from the furniture backward
Use the furniture first, then add circulation. Houzz notes that you need at least 2.5 ft behind chairs for movement. The same source says a 10×12.5 ft patio can fit a six-person rectangular dining table, a 15×15 ft patio comfortably fits a fire pit with seating, and 6×8 ft is the practical minimum for a bistro set, as shown in these patio measurement guidelines.
That sizing method is more reliable than starting with a random pad size. Pick the use case first. Coffee for two, front porch overflow, dining, or a small lounge. Then confirm that people can still move through the space without dragging chairs every time they stand up.
For quick concept testing, an ai patio design generator can help compare a dining layout versus a lounge layout on the same footprint. That's especially useful when the front yard is narrow and every shift in furniture changes circulation.
Make privacy feel soft, not defensive
Privacy is the hardest part of a front yard patio because the problem isn't just visibility. It's exposure from several angles at once. Sidewalk, driveway, porch approach, and neighboring windows all interact.
Layering works better than one blunt barrier. Guidance for front-yard privacy often recommends a low planting layer around 24 to 36 inches, a middle layer around 4 to 6 feet, and one taller element to complete the composition, as discussed in this article on welcoming front yard privacy. In practice, that means you can screen the seated eye line while keeping the house visible and approachable.
The best privacy screen in a front yard usually hides the seating, not the entire house.
A few combinations that work well:
- Low structure plus planting: A short wall or edging paired with grasses or shrubs keeps the patio defined without blocking everything.
- One focal screen: A trellis, specimen shrub, or small tree can interrupt the strongest sightline without boxing in the whole space.
- Offset access: Don't center the opening straight at the seating if foot traffic passes close by.
Fix awkward yards with shape, not more stuff
Small or odd front yards often get overbuilt. People add too many edges, too many beds, or too much enclosure trying to make the space feel intentional.
Qualitative design guidance from Houzz on awkward outdoor spaces favors curved or circular elements, staggered layering, and visual breaks instead of rigid boxing, in their piece on design solutions for oddly shaped backyards. That advice translates well to the front yard. A gentle curve on one patio edge, a diagonal planting bed, or a round table can loosen up a tight footprint fast.
The key trade-off is this. Shape can make a small yard feel larger, but too much enclosure makes it feel tighter. If the yard is already compact, let the perimeter breathe.
Choosing Materials and Estimating Costs
Material choice changes the look, the maintenance routine, and how forgiving the project will be for a DIY build. Don't choose by appearance alone. Choose by climate, tolerance for upkeep, and how exact you want the finished surface to look.
A front yard patio also ties into a broader pattern of yard use. About 25% of U.S. households garden, with participation reaching 29% in the South, according to these home gardening statistics in the U.S.. That's one reason the best front yard patios usually aren't just hardscape. They work alongside planting, containers, herbs, and low-maintenance beds people engage with.
How the common materials compare
| Material | Average Cost (per sq ft) | DIY Friendliness | Durability | Maintenance Level |
|---|---|---|---|---|
| Concrete pavers | Varies by product and region | High for careful DIYers | Strong when base prep is done right | Moderate |
| Natural stone | Usually higher than basic pavers | Moderate to low | Durable but more variable piece to piece | Moderate |
| Poured concrete | Often straightforward in appearance, harder to execute well | Low for most homeowners | Durable, but cracks are hard to disguise | Low to moderate |
| Wood decking | Varies by lumber choice | Moderate | More vulnerable to weathering in exposed front yards | Higher |
What works and what doesn't
Pavers are the most forgiving design material. They handle curves, borders, and repairs well. If one area settles later, you can usually lift and reset it. The catch is that pavers only perform as well as the base underneath them.
Natural stone gives a front yard patio a softer, more custom look. It works well on older homes or cottage-style settings. The downside is layout time. Stone takes more patience, more cutting, and a better eye for pattern.
Poured concrete suits clean, modern fronts. It can be the right answer if you want simplicity and don't need a lot of visual detail. The weak point is repair. Once it cracks or stains, hiding the problem is harder.
Wood decking can work where grade changes make a raised platform easier than excavation, but it usually feels less grounded in a front yard than stone or pavers. It also demands more maintenance and tends to read as an appendage unless the architecture supports it.
Choose the material that matches how you want to maintain the space, not just how you want it to look on install day.
When budgeting, include base materials, edge restraints, delivery, cuts, waste, joint sand, and tool rental. Those line items are what catch DIYers off guard.
The Build From Groundbreaking to a Solid Base
If the patio settles, rocks, or holds water, the finish material won't save it. The base is the project.
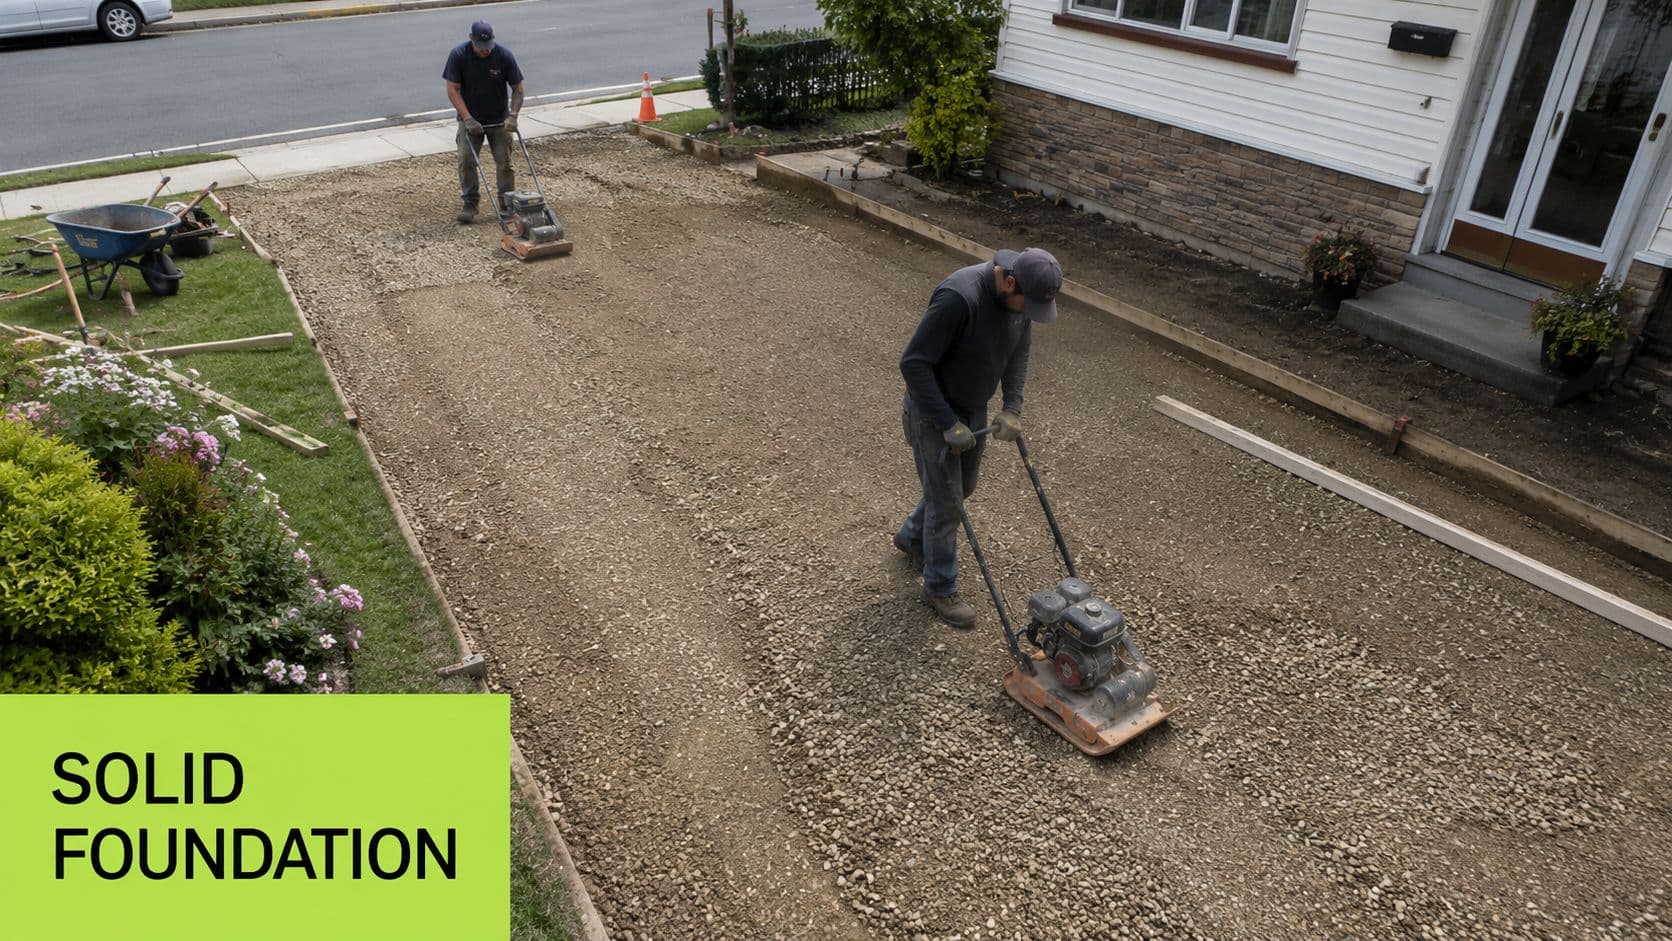
For a paver patio, the standard assembly is clear. You'll typically excavate 6 to 8 inches, install 4 to 6 inches of crushed stone compacted in 2-inch lifts, and place about 1 inch of coarse bedding sand before laying pavers. The base should slope 1/8 inch to 1/4 inch per foot away from the house, according to this step-by-step patio installation guide.
The sequence that prevents failures
Most base failures come from rushing the invisible work. Follow the order.
- Set the finished height. Mark the patio edge and establish the final surface elevation first.
- Excavate to full depth. Dig for the complete system, not just the paver thickness.
- Install base stone in lifts. Compact every lift before adding the next.
- Screed the bedding sand. Keep it even and avoid walking all over it afterward.
- Lay pavers and maintain lines. Check pattern and alignment often.
- Secure edges and fill joints. Edge restraint and joint sand keep the field from drifting.
What DIYers usually get wrong
The first problem is shallow excavation. The second is poor compaction. Homeowners often spread the base all at once, compact the top, and assume the plate compactor handled the whole depth. It doesn't. Compacting in lifts is what creates stability.
The next issue is drainage. A front yard patio sits close to the house and often near the main walkway. If the slope is wrong, water moves toward the foundation or puddles where people step.
Don't judge the base by how flat it looks. Judge it by how well it drains and how firmly it holds underfoot.
Cutting and finishing also matter. Keep edge cuts large enough to stay stable, and don't leave skinny slivers at the perimeter if you can avoid them. Those pieces loosen first.
If you're exploring surface finishes beyond pavers, this guide to mastering outdoor tiling projects is worth reviewing because it highlights finish-specific details that become important once the structural base is handled properly.
Lock the system together
After the pavers are down, install edge restraints, sweep in joint sand, and compact again to settle everything into place. That final locking step is what turns loose pieces into a unified surface.
A front yard patio takes abuse from foot traffic, weather, and visibility. Build the part no one notices with the same care as the part everyone sees.
Finishing Touches for Unbeatable Curb Appeal
The hardscape may be finished, but the patio won't feel complete until the edges soften and the lighting turns it into an evening space.
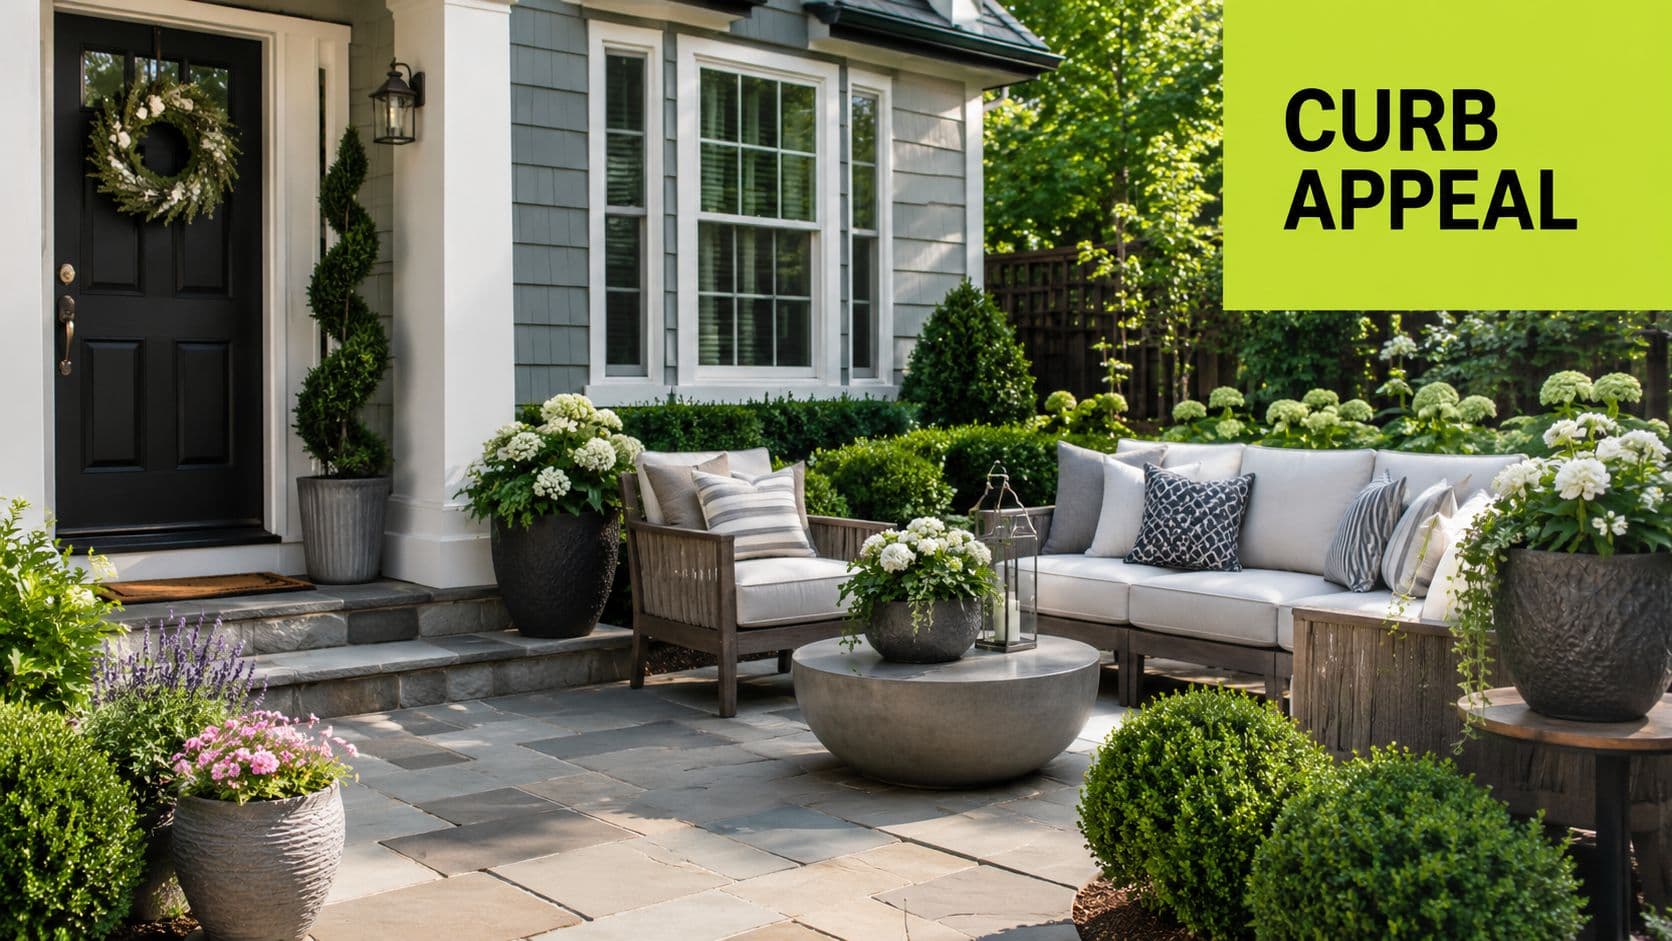
A finished front yard patio usually succeeds because of three quiet moves. The furniture is scaled to the footprint. The planting softens the perimeter instead of swallowing the seating. The lighting helps the patio glow without making the house feel overlit.
Make the patio feel planted in place
Containers near the seating area help, but fixed planting around the patio does most of the visual work. Use plants to blur the outer line of the pavers, not hide the whole installation. That difference matters.
A good front-yard composition often includes:
- One anchor plant: A shrub, small tree, or structural planting that gives the patio a visual home.
- A soft edge: Lower plantings that spill slightly toward the hardscape.
- Seasonal notes: Containers or small accent beds that can change without reworking the layout.
If you want ideas that support curb appeal, this roundup of plants that boost home value is a useful place to compare planting styles with the tone of your house.
Light for comfort first
Path lights and porch lights handle safety. Patio lighting should handle mood. Warm, low lighting at the patio edge or tucked into nearby planting usually looks better than one bright fixture aimed at the seating.
A simple evening setup can include seat-height glow from nearby fixtures, a subtle wash on a specimen plant, and enough spill to define the patio shape. That's usually more effective than trying to light every corner evenly.
This walkthrough shows the kind of layered, comfortable result many homeowners aim for:
Furnish it like a real room
Outdoor furniture gets oversized fast in a front yard. Deep sectionals often look appealing in a showroom and overpower the patio at home. Slimmer chairs, a modest dining set, or a compact loveseat usually fit better and keep the space breathable.
What reads best from the curb is usually simpler than what people first shop for. Clean lines, comfortable cushions, and one or two well-chosen accessories beat a crowded layout every time.
Long-Term Care and Protecting Your Investment
A front yard patio lasts longer when maintenance stays small and regular. Ignore it for too long, and minor issues become reset work.
A simple upkeep routine
- Sweep often: Leaves and dirt trap moisture and stain surfaces over time.
- Check joints: If joint sand washes out or thins, top it off before weeds move in.
- Watch drainage: After a hard rain, look for puddling and edge washout.
- Clean gently: Start with the least aggressive method that removes the dirt.
- Inspect edges: Loose border pieces usually signal movement that should be fixed early.
For paver patios, joint sand isn't a one-and-done detail. It wears over time and should be replenished as needed to keep the field stable and discourage weed growth.
Know when to intervene
Moss, algae, and surface grime show up quickly in shady or damp areas. Cleaning them early is easier than restoring a slippery, stained surface later. If that's a recurring issue at your home, Two States Exteriors' protection tips offer a useful overview of how to approach buildup without creating more damage.
Small maintenance is cheap labor. Neglected maintenance becomes reconstruction.
If your patio material is a candidate for sealing, think of sealer as optional protection, not a shortcut for poor installation or skipped cleaning. The patio will hold up best when the base stays stable, water keeps moving away, and the surface stays clear of debris.
If you're still deciding on shape, placement, or planting, OutdoorBrite can help you test front yard patio ideas on a photo of your own space before you start building. That makes it easier to compare layouts, avoid mismatched proportions, and move into the project with a clearer plan.
See your yard reimagined
Start creating