
Build Your Dream Outdoor Home Theater for 2026
Plan & build your perfect outdoor home theater. Our 2026 guide covers site, equipment, audio, weatherproofing, and AI visualization for stunning results.
Movie night usually goes wrong before the first scene starts. The projector lands on the only wall that catches glare from the neighbor's security light. Someone runs a power cord across the main path. The back row can't hear dialogue, and the front row gets blasted.
A good outdoor home theater starts with the yard itself. Sightlines, walking paths, planting, existing structures, and ambient light decide what will work long before you choose a projector or speakers. The installs that feel polished are planned as part of the property, not dropped onto a patio at the last minute.
That is why I like to mock up the full space first. A tool like Outdoorbrite lets you test screen locations, seating layouts, pergolas, planting beds, and circulation before any money goes into hardware. It is a practical way to catch expensive mistakes early. A wall that looked usable may wash out at dusk. A projector position may force visible cabling. A snack station may end up blocking the viewing angle from the side seats.
Good planning also makes the theater feel better on a normal night when no movie is playing. Speakers can tuck into the architecture or garden beds. Low lighting can guide guests without ruining the picture. The whole area stays useful as a patio, lounge, or fire pit zone instead of becoming a single-purpose setup that looks awkward in daylight.
Practical rule: if the layout fails in a mockup, it will cost more to fix after the gear arrives.
From Dream to Reality An Introduction
A great backyard movie night starts before anyone presses play. Guests need a clear path to their seats, the screen has to sit where glare and wind will not ruin the picture, and the sound needs to stay full for the audience without spilling across the fence.
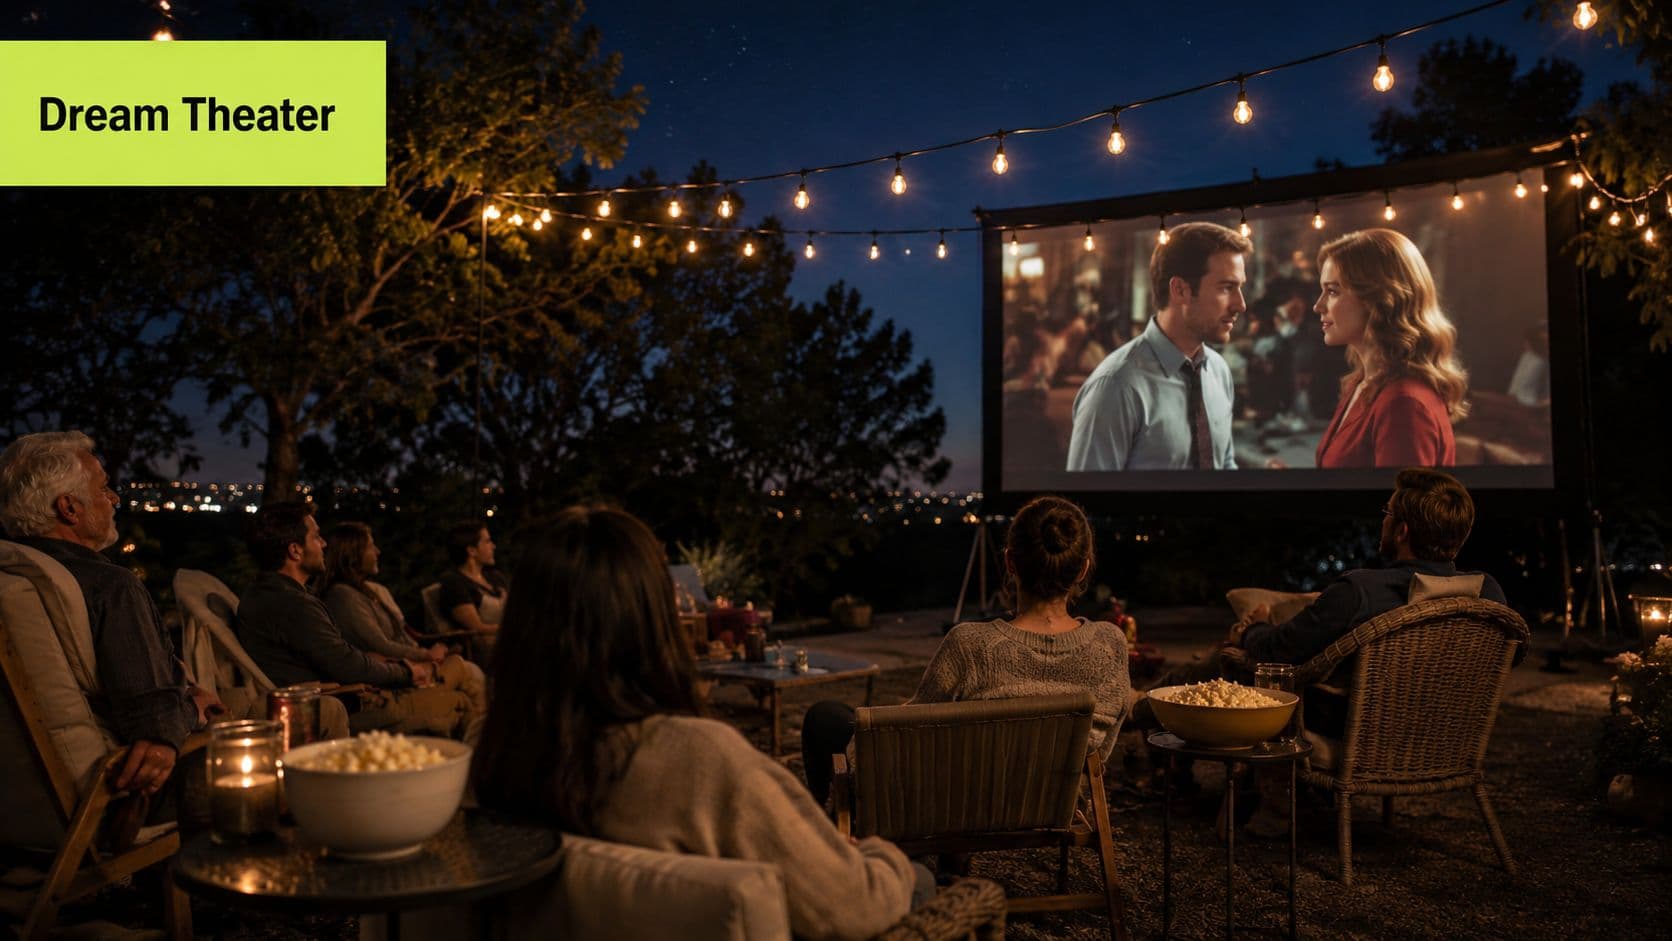
The projects that hold up in real use are designed as outdoor rooms, not gear piles. I have seen expensive projectors underperform because the seating was too far back, the screen caught stray light, or the projector location created an ugly cable run across a walkway. I have also seen modest systems feel far better because the yard was planned first and the equipment was chosen to fit the space.
That planning stage is where a tool like Outdoorbrite earns its keep. It lets you test the whole setup before you spend on hardware. Screen placement, furniture layout, pergola position, planting, and circulation all need to work together. If one part is off, the rest of the install gets harder and more expensive.
A mockup also answers the questions homeowners usually miss at the start. Will the back row still see the full image? Can people reach the house without crossing in front of the screen? Does the theater still look like part of the yard when no movie is playing?
Practical rule: If the concept looks awkward in a plan, it usually costs more and performs worse once built.
The best outdoor home theater projects balance five pieces. Space planning, picture, sound, power, and comfort. Get those working together, and the result feels built into the property instead of dropped onto the patio for one night.
Designing Your Cinema Space
Guests settle into their seats, the projector fires up, and then the problems show up all at once. The screen catches glare from a neighbor's window. Half the audience has to turn around every time someone heads back to the house. The subwoofer sounds weak because the theater was dropped into the widest part of the yard with no surfaces to help contain sound. Space planning decides whether movie night feels polished or improvised.
Start with the yard itself at the hour you expect to use it. Walk it at dusk. Check where the last sunlight hangs on, which fixtures stay on after dark, where wind tends to funnel, and which corners pick up traffic noise or pool equipment hum. A screen wall that looks perfect at noon can be the worst spot in the yard by 8 p.m.
Good outdoor theaters are laid out like outdoor rooms. The image needs a clear focal wall or screen position, seating needs natural orientation, and foot traffic needs a path that does not cut across the viewing cone. That often means the best location is off to one side, under a pergola, or backed by planting and fencing instead of centered on the patio.
A few field checks prevent expensive mistakes:
- Check sightlines from seated height: Railings, planter edges, fire features, and even the front row's headrests can clip the bottom of the image.
- Map the walking routes: Keep access to the house, grill, and bathroom outside the projector beam and away from the screen face.
- Use built elements for control: Fences, hedges, privacy panels, and pergola posts can help block stray light, define the theater zone, and improve the sense of enclosure.
- Plan for neighbor impact: A small shift in angle can reduce both sound spill and unwanted light without changing your gear budget.
- Leave service space: Projectors, speakers, and outdoor-rated furniture all need breathing room for cleaning, adjustment, and seasonal storage.
That level of planning matches how homeowners are using entertainment spaces now. CE Pro's 2025 market research reported that outdoor areas account for 44.5% of home theater projects, nearly even with basements at 45.6%. The takeaway is practical. More of these systems are being built outside, so design discipline matters as much as the equipment list.
I prefer to test layout options before anyone buys a screen or pours a footing. A photo-based mockup with ai backyard patio design lets you compare a fence-mounted screen, a retractable screen inside a pergola, or a side-yard viewing zone without guessing from a rough sketch. You can see whether two chaise lounges outperform a sectional, whether a second row is realistic, and whether the theater still feels like part of the yard when nothing is playing.
A quick demo makes the value obvious:
A theater should look intentional even when the screen is down and the gear is stored. If the yard only works during the movie, the design still needs work.
Temporary setups benefit from the same discipline. Rentals, seasonal installs, and pop-up movie nights still need a clean projection path, stable furniture placement, and a storage plan that keeps lenses and electronics protected between uses. For maintenance basics once the system is in service, Granted Solutions' projector tips are a useful reference.
Choosing Your Core Technology
This section often boils down to one question. Projector or outdoor TV? Both can work. Both can disappoint. The right choice depends on your light conditions, how permanent the setup is, and how much visual scale matters to you.
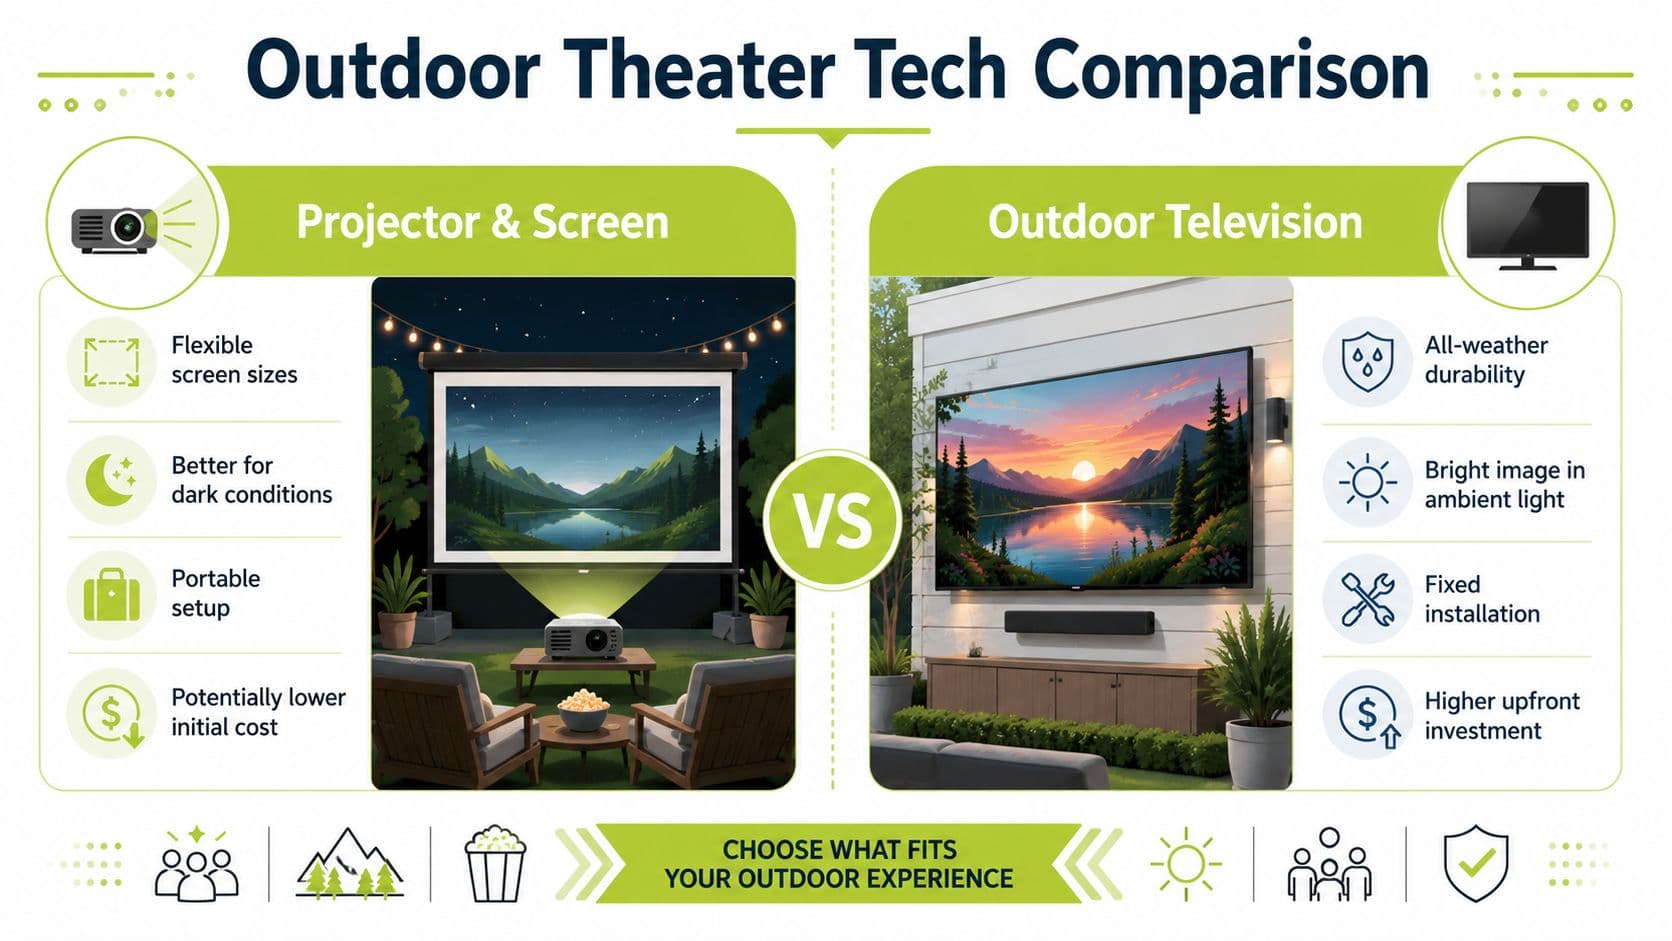
Projector versus outdoor TV
| Option | Where it shines | Where it struggles |
|---|---|---|
| Projector and screen | Large cinematic image, flexible placement, easier to store or move | Sensitive to ambient light, weather, and alignment |
| Outdoor television | Bright image in mixed light, simpler daily use, durable permanent setup | Higher upfront investment, fixed size, less “big screen” feel |
Projectors win when you want scale. Nothing else gives that classic movie-night experience as easily. They also fit better when the yard does double duty and you need to set up and pack down. But brightness matters. For outdoor home theaters with significant ambient light, a projector must have at least 2,000 lumens of output to ensure a high-quality image, while a more controlled space with no ambient light can function with 1,000 to 2,000 lumens, according to Octane Seating's setup guide.
What actually works outdoors
A projector works best when you can control the environment. That means later start times, reduced glare, and a screen location shielded from stray light. If you expect to watch often before full dark, an outdoor TV is usually the more honest choice.
Here's a simple way to decide:
- Choose a projector if your priority is movie scale, occasional setup flexibility, and use after sunset.
- Choose an outdoor TV if you want frequent casual viewing, sports before dark, and a permanent installation that's always ready.
- Choose based on the yard, not the catalog: A mediocre display in the right location outperforms a premium display fighting bad light.
Maintenance matters too. Projectors don't live happily with dust, pollen, and moisture unless you're careful with storage and cleaning. If you go that route, Granted Solutions' projector tips are worth reading because lens care and basic handling affect image quality more than many owners expect.
For layout testing before you commit, mocking up the display area with an ai backyard patio design workflow can save you from buying a screen size that overwhelms the space or leaves the back row squinting.
Buy for your real usage pattern. If most nights are casual sports and streaming with lights on nearby, don't force a projector just because it sounds more cinematic.
Engineering Your Sound and Power
The most common mistake in an outdoor home theater isn't the display. It's underestimating sound. Outdoors, there are no helpful walls to reinforce dialogue and surround effects. Audio disperses. Wind shifts it. Traffic competes with it.
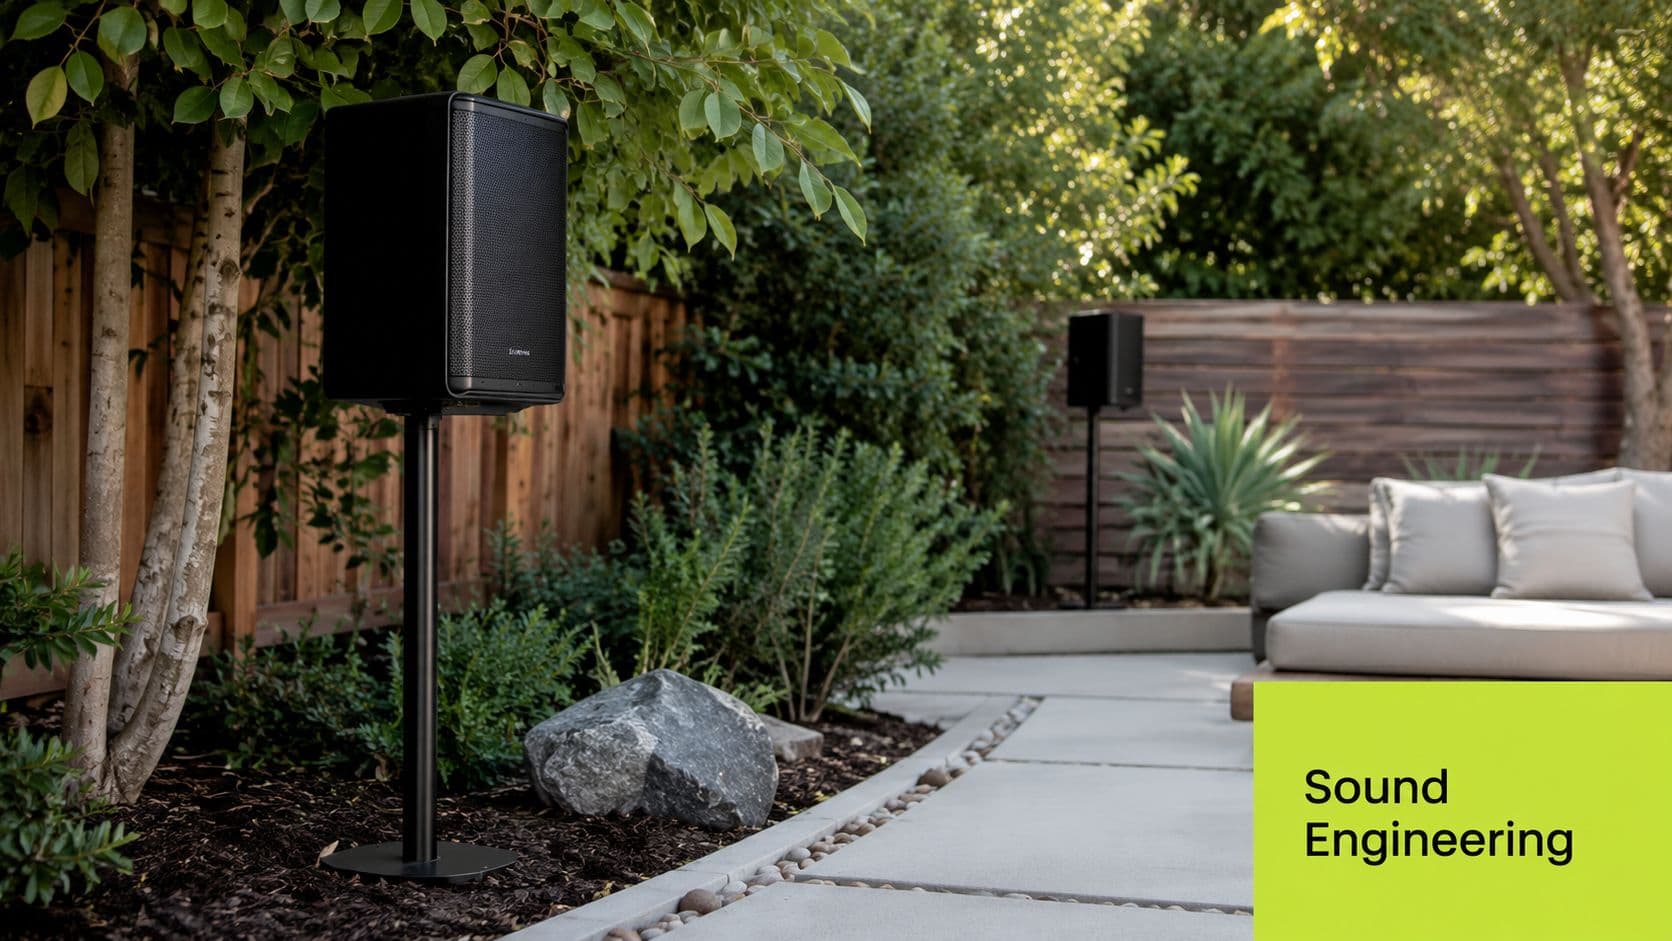
That's why tiny portable speakers usually disappoint once more than a couple of people are watching. A staggering 78% of outdoor theater owners report noise interference as their top complaint, based on Yamaha's discussion of outdoor movie audio challenges. The fix isn't just more volume. It's placement, directionality, and enough clean power to keep speech intelligible.
Build for clarity, not brute force
I'd rather hear well-aimed left and right speakers at moderate output than one loud Bluetooth box fighting the yard. Place weather-rated speakers closer to the audience, angle them into the seating zone, and avoid firing straight at hard boundaries that bounce sound back unevenly.
A few principles hold up on almost every project:
- Keep speakers near listeners: Shorter throw means better clarity at lower volume.
- Aim inward: Crossing the speaker pattern slightly in front of the main row often helps dialogue lock in.
- Hide the gear carefully: Planting beds, columns, and low walls can conceal speakers, but don't bury them where foliage blocks output.
- Separate subwoofer expectations from reality: Deep bass outdoors is harder to contain and easier to annoy neighbors with.
Treat power as part of the design
Temporary setups often get sloppy at the power stage. That's where many avoidable problems start. Cords cross walkways. Connections sit where sprinklers hit them. One overloaded patio circuit ends the night early.
Use outdoor-rated power paths, keep connections protected, and put all outdoor equipment on GFCI-protected circuits. For permanent systems, use proper conduit and burial-rated cabling. For portable systems, map your cable path before guests arrive and secure it where no one steps.
If the backyard project includes heaters, outdoor lighting, an outdoor kitchen, or a hot tub on top of theater equipment, it's smart to verify service capacity early. Homeowners planning a larger upgrade often benefit from learning when it makes sense to increase home electrical capacity.
For larger properties, speaker placement and zone planning get much easier when you first study the whole site using AI-powered landscape inspiration.
Outdoor audio should sound focused to the audience and restrained everywhere else. If your neighbors hear the soundtrack better than your front row does, the layout is wrong.
Crafting Comfort Ambiance and Durability
The installs people use most aren't always the ones with the fanciest electronics. They're the ones that feel good to spend time in. That means real seating, soft lighting, shade or shelter, and a storage plan for equipment.
Turn the yard into a room
One of the best transformations is simple. Replace scattered chairs with a defined seating composition. A sofa and two lounge chairs can create a front row that feels anchored. Adirondack chairs work well in casual gardens. Built-in benches along a retaining wall can save space and make the theater feel permanent.
Material choice matters outside. If you're comparing hardwood outdoor seating, this sustainable teak garden furniture guide gives useful context on durability and maintenance.
Solve the hazards before guests arrive
Temporary setups need extra discipline. A 2025 Consumer Safety Report found 42% of outdoor theater injuries involved tripping hazards from unsecured cords, as noted in this backyard theater safety discussion. Taping a cord to the patio isn't a complete safety strategy if the route is wrong to begin with.
Here's what works better in practice:
- Route cables behind seating, not through it: If a cord has to cross a path, rework the layout.
- Create a gear zone: Keep the media source, power strip, and accessories on one stable surface out of foot traffic.
- Add layered lighting: Path lights and dimmable string lights keep the space usable without washing out the screen.
A good shelter plan helps too. A pergola can frame the seating area and support lighting. A cantilever umbrella can protect a lounge zone during light weather shifts. If the projector and speakers aren't fully weather-rated, bring them inside after each use. Covers help, but indoor storage helps more.
Your Budget Timeline and Final Touches
A good outdoor theater budget usually gets blown before the first movie starts. It happens in the planning stage, when the screen gets all the attention and the site work gets treated like a footnote.
The smarter order is the reverse. Set the space first, then price the equipment that fits it. Using an AI planning tool earlier in the process helps homeowners test screen locations, seating depth, sightlines, and structure placement before they spend money on gear that is too bright, too weak, or too large for the yard.
Set the budget in layers
Break the job into working groups, not one long shopping list.
- Core system: projector or outdoor TV, screen surface, speakers, media source, and power
- Site work: mounting points, weather protection, cable paths, drainage considerations, and any electrical upgrades
- Comfort items: seating, shade, side tables, storage, and low-glare lighting
- Finish work: planting, screening, trim details, and the small fixes that make the space feel intentional
Permanent and portable setups diverge on cost. A portable system can be very good for occasional use, especially if the patio already gives you a solid wall, nearby power, and a practical seating area. A built-in theater costs more up front, but setup time drops to almost nothing, cable management is cleaner, and the whole space tends to get used more often because it is always ready.
Leave a contingency line in the budget. Outdoor installs nearly always need a second pass after the first few nights, usually for speaker aiming, light spill, storage, or a screen position that looked right on paper but feels off in real use.
Keep the timeline realistic
Good projects move in stages. First, confirm the site plan and check clearances. Then test the core gear indoors so you are not troubleshooting streaming boxes, remotes, or audio sync outside in the dark. After that, install the theater area, run power properly, and schedule one evening for real-world adjustments.
That final tuning night matters more than people expect. I have seen perfectly decent systems disappoint because the projector was mounted a little too high, the center seating row was too close, or a nearby fixture threw stray light across the bottom of the screen. Those are not expensive mistakes if you catch them before the build is finished.
Analysts at Mordor Intelligence expect the home theater category to keep growing through 2031. For homeowners, that means better hardware choices and more price spread than we had a few years ago. It does not make planning optional. More product choice usually means more ways to buy the wrong thing.
Final touches should support the space, not clutter it. Add the blanket basket. Add cup lighting if guests need it. Add planting or screening if nearby windows, fences, or neighboring views pull attention away from the screen. The best outdoor theaters feel settled into the yard because the whole area was designed as one project, not assembled piece by piece.
See your yard reimagined
Start creating