9 Cheap Curb Appeal Ideas for a Better Front Yard
Discover 9 cheap curb appeal ideas that instantly brighten your front yard, from fresh mulch and lighting to door upgrades and easy landscape fixes.
You pull up to your own house and see it the way a neighbor does. The front door paint has faded, the lawn has thin patches, the walkway looks gray, and the planting beds have lost their edges. Nothing's broken, but the whole frontage reads as tired, and a full yard renovation isn't in the budget or the calendar.
That's exactly where cheap curb appeal ideas earn their keep. Most of the visual gain comes from cleaning, defining, and refreshing what you already have, not from building something new. A sharp bed edge, a repainted door, a thicker lawn, and a clear path can change the street view in a weekend.
The nine projects below are ordered for practical impact, with honest trade-offs, common mistakes, and realistic time commitments. Before you buy anything, upload a photo of your front yard to OutdoorBrite, compare design directions, and test colors, bed shapes, and plantings in your actual dimensions. For exterior paint coordination beyond the door itself, these Dublin exterior painting tips are a useful reference for how facade color choices affect the whole frontage.
Table of Contents
- 1. Fresh Mulch and Crisp Bed Edging
- 2. Front Door, Hardware, and Address Details Refresh
- 3. Pressure Washing Driveways, Walkways, and Siding
- 4. Overseeding and Patch Sodding for a Thicker Lawn
- 5. Low-Cost Perennial and Native Plant Borders
- 6. Container Planters and Entryway Pots
- 7. Solar Path Lights and Accent Lighting
- 8. Pruning and Shaping Overgrown Shrubs
- 9. Stepping Stone Pathways and Gravel Borders
- 9 Cheap Curb Appeal Ideas Compared
- Build a Polished Front Yard on Your Budget
1. Fresh Mulch and Crisp Bed Edging
A ranch home with washed-out, weedy beds is the classic test case. Add a fresh layer of dark mulch and cut a clean spade edge, and the same shrubs suddenly look planted on purpose. The contrast between rich mulch, green foliage, and lawn does most of the work.
This is also where the resale math is strongest for maintenance work. In the National Association of REALTORS® 2023 Remodeling Impact Report on outdoor features, yard maintenance including mulch, mowing, shrub pruning, and seasonal planting recovered 104% of its estimated cost, while a standard lawn care program recovered 217%. Those are estimates, not guarantees, but they explain why definition beats decoration.
Do the Prep Work First
- Remove failed mulch: Scrape out compacted or moldy material instead of burying it, since a thick old layer can shed water.
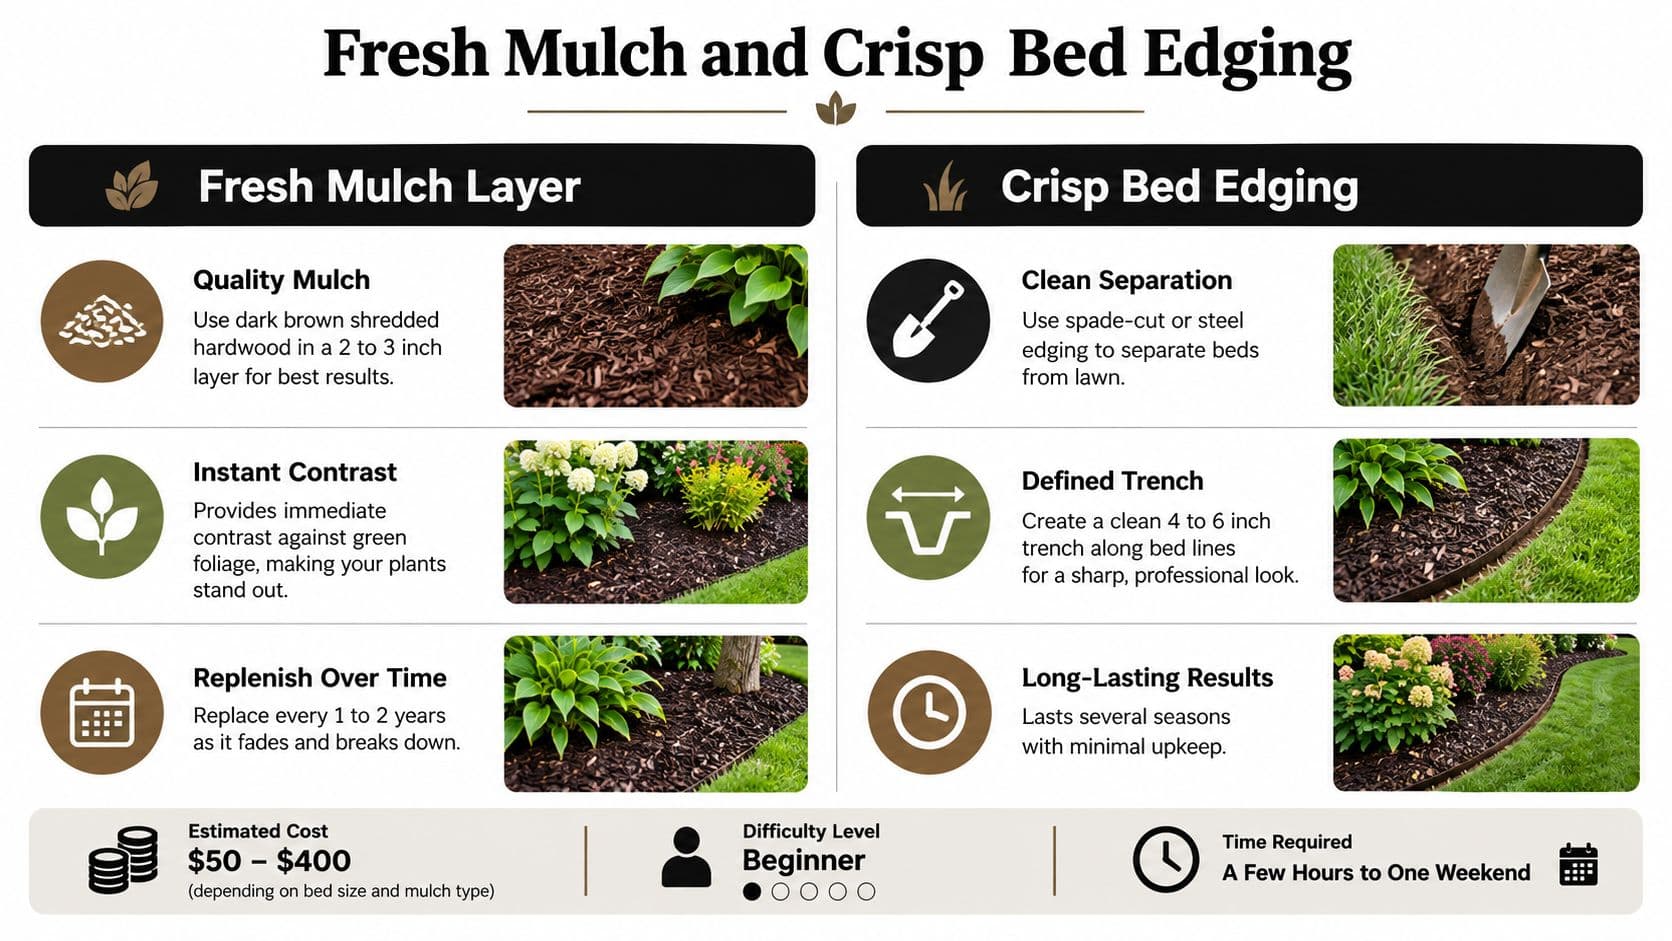
- Protect stems: Keep mulch 2 to 3 inches away from tree trunks and shrub bases to avoid trapped moisture.
- Cut a real edge: Use a spade or half-moon edger to open a 4 to 6 inch trench along the bed line.
- Buy bulk for large beds: Mulch suppliers usually price bulk mulch lower per yard than bagged material.
Preview mulch colors and bed shapes in OutdoorBrite before ordering, then cross-check quantities against these budget front yard landscaping ideas. The infographic below walks through the application sequence.
2. Front Door, Hardware, and Address Details Refresh
Every visitor's eye lands on the door first, so a faded slab drags down an otherwise tidy facade. A fresh coat in a bold or complementary color, paired with updated hardware, fixes that focal point for a modest outlay. Joanna Gaines popularized painted doors in teal, navy, and deep red on Fixer Upper, and the trend stuck because the payoff is immediate.
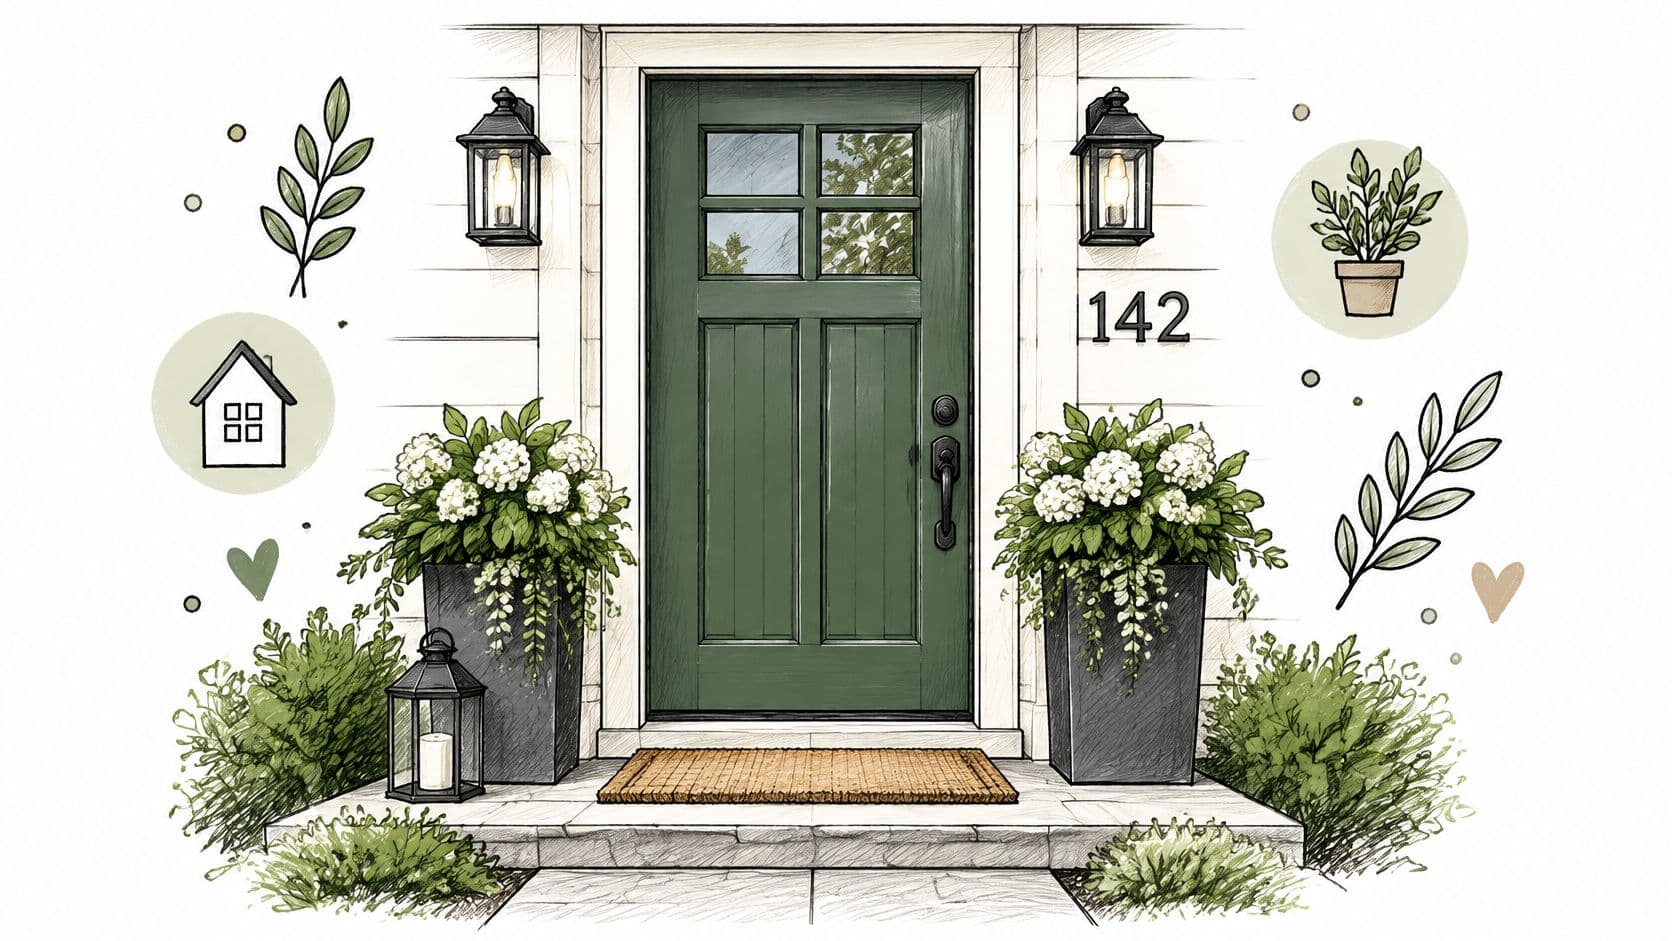
The details around the door matter as much as the paint. A seller who swaps a rusted mailbox for a black powder-coated model and adds large metal house numbers gets a cleaner, more modern entrance without touching the siding. Coordinate the mailbox, numbers, and porch light with the door hardware finish so the entry reads as one set.
Paint and Placement Rules
Remove the hardware and tape off glass and weatherstripping before you start. Sand lightly, clean with a degreaser, and use a bonding primer on glossy or previously stained doors, then finish with UV-resistant paint in satin or semi-gloss. Check HOA guidelines before committing to a bold color.
For the hardware side, choose house numbers at least 4 inches tall so they're legible from the street, and use exterior-rated screws and anchors to prevent rust streaks. Mailbox height typically sits 41 to 45 inches from the road surface under USPS guidelines, so measure before you dig. Preview colors and finishes in OutdoorBrite, and browse these curb appeal on a budget ideas for entry combinations that suit your facade.
The photo below shows how a dark door, lanterns, and pots work as a single composition.
3. Pressure Washing Driveways, Walkways, and Siding
Dirt, algae, mildew, and oil stains accumulate slowly, so you stop noticing them. Visitors don't. Pressure washing strips that buildup off concrete, pavers, brick, vinyl, and wood, and it makes existing surfaces look newer without replacing anything.
A homeowner with a rented 2,000 PSI electric pressure washer can clean a stained driveway and walkway in a Saturday morning. The concrete goes from mottled gray back toward its original color, and the entry stops looking neglected. Renting keeps the cost low if you don't already own a machine.
Practical rule: Start with the lowest effective pressure and test an inconspicuous spot first. You can always add pressure, but you can't undo etched concrete or scarred wood.
Use a wide-angle 25 or 40 degree nozzle on siding and wood, and keep the tip at least 12 inches from the surface. Work from the bottom up on siding to avoid streaks, and use a driveway cleaner attachment on oil stains with a biodegradable detergent for mildew. If you want technique detail beyond the basics, this guide to pro-level driveway stain removal covers dwell time and nozzle selection.
Reseal concrete or pavers 1 to 2 days after washing, once the surface is fully dry, to protect the finish. The video below demonstrates safe technique and pacing.
4. Overseeding and Patch Sodding for a Thicker Lawn
A dense, evenly colored lawn is the foundation everything else sits on. Overseeding fills thin areas with new grass, while patch sodding repairs larger bare spots instantly. Together they produce a uniform lawn without the expense of a full re-sod.
Past data supports this priority. In the NAR 2016 Remodeling Impact Report on outdoor projects, 96% of REALTORS® had suggested sellers improve curb appeal before listing, a standard lawn care program ranked as the outdoor project most appealing to buyers, and seeded lawn upgrades carried an estimated 417% cost recovery. These are REALTOR® opinion estimates, but the pattern is consistent.
Timing and Technique
A suburban homeowner who aerates a thin lawn in early fall, overseeds with a cool-season blend, and patches two bare spots with sod typically sees a visibly fuller lawn by the following spring. Early fall and spring are the reliable windows because grass germinates readily and heat stress is low.
- Prep the seedbed: Mow short, rake out debris, and loosen the top inch of soil.
- Keep it moist: Water lightly two to three times daily until seedlings establish.
- Fit sod tightly: Cut pieces to size, stagger seams like bricks, and water thoroughly right after installation.
- Match the grass type: Seed tall fescue into fescue, Bermuda into Bermuda, or the patch will show.
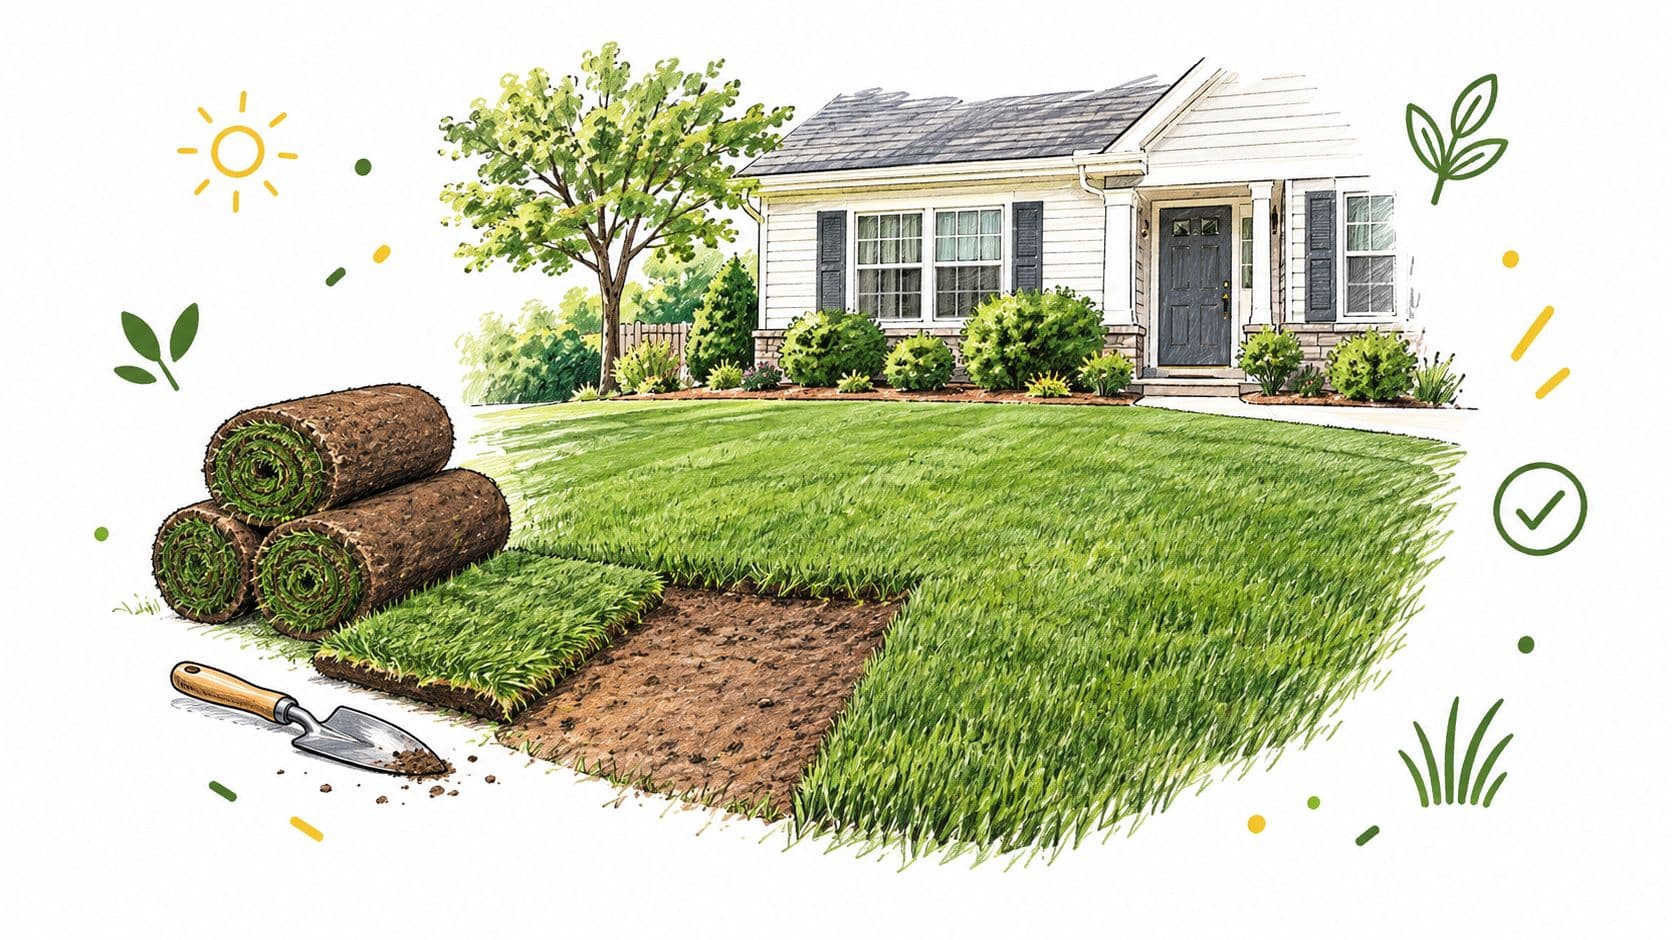
Use a sod calculator to order the right amount before shopping. The illustration below shows the patching process.
5. Low-Cost Perennial and Native Plant Borders
Annuals give fast color, then they're gone and you're paying again next spring. Perennials and native shrubs cost similar money at the register but return year after year, which makes them cheaper over any realistic time horizon. Native species also support local pollinators and typically need less water and fertilizer once established.
Consider a sunny front walkway planted with purple coneflower, catmint, and little bluestem. That combination blooms from early summer through fall, holds its structure, and asks for little beyond an annual cutback. It's a border that looks designed rather than decorated.
Choose for Year Two, Not Week One
The cheapest installation isn't always the cheapest curb appeal over time. Recent survey coverage notes landscaping as the leading planned curb appeal project, selected by 64% of respondents, in Liberty Home Guard's guide to curb appeal on a budget. That demand makes plant selection worth slowing down for, especially where water, heat, or your own time is limited.
Check the front yard's sun exposure before buying anything, since a shade plant in full sun is money burned. Buy in odd-numbered groups of three or five for a natural, professional look, and plant in spring or early fall so roots establish before stress arrives. A local native plant society or extension office will point you to species suited to your region.
Test layouts first using OutdoorBrite's planting bed, xeriscape, or cottage style options. Comparing a restrained low-water layout against a flower-heavy one on your own frontage clarifies the maintenance trade-off before you've spent anything.
6. Container Planters and Entryway Pots
Containers are the lowest-commitment item on this list, and that's the point. Potted plants beside the door, on steps, or along a porch add color and a welcoming feel, and you can rearrange or replant them seasonally. They also cover bare spots and dated concrete you'd rather not replace.
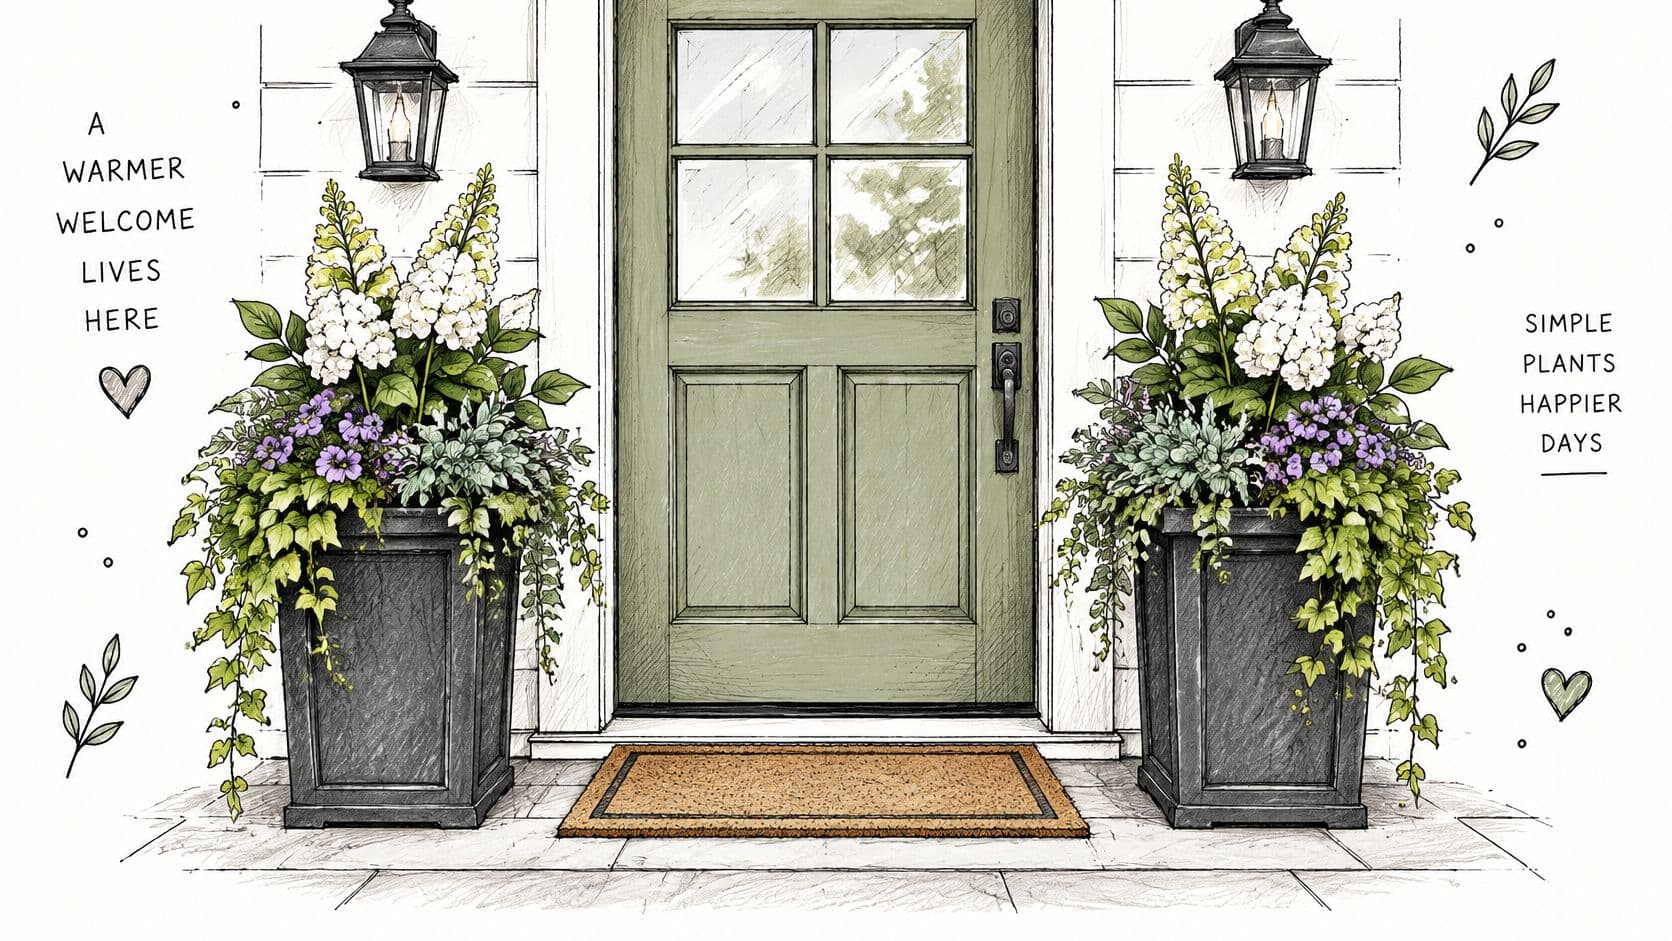
Two matching terracotta pots flanking a door, each planted with a thriller grass, trailing sweet potato vine, and geraniums, create a styled entrance that takes an afternoon. When the season ends, you replant the same pots instead of starting over.
Group three pots of different heights rather than scattering singles. A cluster reads as an arrangement, and scattered pots read as storage.
Use high-quality potting mix, not garden soil, because garden soil compacts in containers and drains poorly. Add a slow-release fertilizer at planting, then water when the top inch of soil is dry. Containers dry out faster than beds, so a large pot is more forgiving than a small one in summer heat.
Choose frost-resistant containers if you live in a cold climate, since standard terracotta can crack through freeze and thaw cycles. Shop end-of-season nursery sales for pots and perennials at reduced prices, then hold the plants for spring planting. Renters benefit most here, since everything is portable and nothing requires landlord permission for digging.
The illustration below shows the classic flanking arrangement.
7. Solar Path Lights and Accent Lighting
Curb appeal that disappears at sunset is only half finished. Exterior lighting highlights the walkway, the door, and one or two garden features after dark, and it makes the approach feel safer. Solar path lights need no wiring, while low-voltage kits give a more permanent, even result.
Adoption is already mainstream. In Houzz's 2024 U.S. Outdoor Trends Study of more than 1,100 homeowners, 78% of homeowners upgrading outdoor systems upgraded lighting, and 81% of those used outdoor lighting. The lesson for a small budget is targeted placement, not blanket illumination.
Layer Light by Job
A homeowner who stakes eight solar path lights along the front walk and adds two uplights at the base of a Japanese maple gets a layered nighttime look from a modest spend. Path fixtures handle wayfinding, accents create depth, and a shielded entry light keeps faces visible at the door.
- Space path lights 6 to 8 feet apart and aim them to avoid glare into windows.
- Give solar panels at least 6 hours of direct sun, or output will disappoint in winter.
- Choose 2700K to 3000K LEDs for a warm, inviting glow.
- Bury low-voltage cable in a shallow trench or guard it against mowers and shovels.
Test the layout at dusk before fixing anything in place, and verify transformer capacity and local electrical rules for wired systems. Solar performance depends on sun exposure and battery quality, so buy a small set first and judge the actual output on your own walk.
8. Pruning and Shaping Overgrown Shrubs
This is the cheapest item here because the plants are already paid for. Overgrown shrubs hide windows, swallow the entry, and make a maintained house look neglected. Pruning, shaping, and removing dead growth restores a clean silhouette and opens sightlines to the facade.
Cut back overgrown boxwoods, remove dead branches from a hydrangea, and trim a yew away from the front windows, and the whole front of the house rebalances. Nothing was purchased except perhaps a blade sharpening. The improvement is subtraction.
Timing Is the Whole Skill
Prune spring-blooming shrubs such as azaleas and forsythia right after they flower, since they set next year's buds on old wood. Prune summer bloomers in late winter or early spring instead. Getting this backwards costs you a season of flowers, which is the most common DIY pruning mistake.
Never remove more than one-third of a shrub's living growth in a single season, or you'll stress the plant into weak, leggy regrowth. Keep tools sharp and clean them between plants to reduce disease transmission. Dull loppers crush stems rather than cutting them, and crushed tissue heals slowly.
Step back to the street frequently and check balance from the view that matters. It's easy to over-trim the side you're standing on. Before you cut, use OutdoorBrite's elements editor to visualize how a trimmed or reshaped bed will look, so you're working toward a target shape instead of improvising.
9. Stepping Stone Pathways and Gravel Borders
A worn dirt trail from the driveway to the porch tells visitors the house has no real entrance. A defined stepping stone or gravel path fixes that message and guides people where you want them. It also stops guests from cutting across wet lawn.
A homeowner who lays 18-inch concrete pavers set in sand over a gravel base, bordered with steel edging, replaces that dirt trail with a clean entry route. The materials are basic, the tools are a shovel, a level, and a tamper, and the work scales to a weekend.
Build the Base Properly
- Excavate 2 to 3 inches of soil and fill with compacted gravel or sand as the base.
- Set pavers with a 1 to 2 inch gap for gravel or groundcover between them.
- Lay weed barrier fabric beneath gravel to reduce weeds pushing through.
- Check local rules for drainage and walkway setbacks near the property line.
Skipping the base is where cheap paths fail. Pavers laid directly on soil heave, tilt, and become trip hazards within a couple of seasons, and then you're rebuilding instead of enjoying. Compact each layer and check levels as you go.
Use a gravel or paver calculator to estimate material before buying, since under-ordering mid-project wastes a second trip and over-ordering wastes money. For layout inspiration matched to your entry, see OutdoorBrite path ideas and test straight, curved, and offset patterns on your own photo.
9 Cheap Curb Appeal Ideas Compared
| Improvement | 🔄 Complexity and Time | ⚡ Cost and Resources | 📊 Expected Outcome | ⭐ Ideal Use and Key Advantage |
|---|---|---|---|---|
| Fresh Mulch and Crisp Bed Edging | Beginner; a few hours to one weekend | $50–$400; mulch and edging tools/materials | Cleaner, more defined planting beds; helps suppress weeds and retain moisture | Front yards needing a quick, low-cost refresh; immediate visual impact |
| Front Door, Hardware, and Address Details Refresh | Beginner to intermediate; 1–3 days, including drying time | $80–$400; exterior paint, hardware, house numbers, optional mailbox | A more polished entrance with improved address visibility | Homes needing a focal-point update; strong visual return for a modest investment |
| Pressure Washing Driveways, Walkways, and Siding | Beginner to intermediate; 2–6 hours | $0–$150 for DIY supplies; $150–$400 for professional service | Removes dirt, algae, and stains to restore surface appearance | Dirty hardscapes or suitable siding; refreshes existing surfaces without replacing them |
| Overseeding and Patch Sodding for a Thicker Lawn | Intermediate; several hours to plant, with 4–8 weeks for seed to fill in | $30–$200 for seed and fertilizer; sod about $0.30–$1.00+ per square foot | Fills thin or bare areas and creates a more uniform lawn | Lawns with patchy growth; more affordable than full resodding |
| Low-Cost Perennial and Native Plant Borders | Beginner; 2–4 hours to plant | $75–$300; perennials, native plants, and soil amendments | Adds seasonal color and texture; established natives can need less water and care | Front borders suited to local plants; supports pollinators and returns year after year |
| Container Planters and Entryway Pots | Beginner; 1–2 hours | $40–$200; containers, potting mix, and plants | Adds movable color and greenery near doors, steps, or porches | Small spaces, renters, or seasonal displays; easy to rearrange and update |
| Solar Path Lights and Accent Lighting | Beginner for solar; intermediate for low-voltage; 1–4 hours | $30–$150 for solar; $100–$300 for a basic low-voltage kit | Improves nighttime visibility and highlights paths or landscape features | Walkways and focal plants; solar options need no wiring |
| Pruning and Shaping Overgrown Shrubs | Beginner to intermediate; 2–8 hours | $0–$100 for basic tools; $150–$500 for professional service | Opens sightlines and restores a cleaner shrub shape | Overgrown shrubs obscuring windows or entries; improves appearance using existing plants |
| Stepping Stone Pathways and Gravel Borders | Intermediate; 1–2 weekends | $100–$600; stones or pavers, gravel, base material, and edging | Defines a route to the entrance and can improve drainage | Yards needing a clear walkway; DIY-friendly alternative to poured concrete |
Build a Polished Front Yard on Your Budget
Start with what the street sees first. Clean the hardscape, sharpen the lawn and planting beds, frame the front door, and guide visitors toward the entrance. That sequence covers the highest-impact cheap curb appeal ideas before you spend on anything decorative.
The order matters because repairs and cleaning change how every later project reads. Fresh mulch beside a stained walkway still looks unfinished, and a painted door behind overgrown shrubs barely registers. Prune, wash, and edge first, then add color and lighting to a frontage that already looks cared for.
Match the project list to your actual goal. If you're selling soon, prioritize photo impact: lawn density, mulch, edging, a clean driveway, and a door that photographs well. If you're staying, weight durability and maintenance more heavily, which usually means perennials over annuals and a proper paver base over stones dropped on soil.
Budget pressure is real, and recent survey data reflects it. Homeowners typically spend $2,369 annually on curb appeal, 47% have reduced maintenance because of cost-of-living pressure, and buyers said great curb appeal could increase their offer by an average of $9,195, according to American Home Shield's analysis of curb appeal projects with the highest ROI. Lawn care and maintenance ranked as the highest-ROI category in that same data, ahead of exterior painting and fencing.
Use budget bands to keep decisions honest. Under a small spend, you're buying edging work, pruning, and cleaning, which is mostly labor. A mid-range spend covers mulch, door paint, hardware, seed, and a few perennials. A larger but still modest budget adds lighting, patch sod, containers, and path materials. Write the recurring cost beside each project, because annual flowers and thirsty containers keep charging you after installation day.
Know when to skip a project. Skip bold door colors if your HOA restricts them, skip solar lights where the walk sits in deep shade, and skip new planting beds if you can't water through the first season. Skip decorative additions entirely if visible deterioration remains, since correcting peeling, staining, and overgrowth creates more perceived value than adding features on top of neglect.
Choose two or three projects that fit your weekend rather than starting all nine. Compare the likely results in OutdoorBrite using a photo of your actual front yard, then set a firm material budget before shopping. Testing bed shapes, mulch colors, path routes, and lighting placement on your own frontage prevents the most expensive mistake in budget landscaping, which is buying materials for a design that doesn't suit the house.
Small, coordinated improvements are what make a home look intentionally maintained rather than pieced together. A clean walk, a defined bed, a confident door color, and one lit tree will outperform a scattered collection of decorations every time. Pick the first project, finish it completely, and let the street view tell you what to do next.
Upload a photo of your front yard to OutdoorBrite and generate realistic redesign concepts in seconds, testing mulch colors, planting beds, walkways, and lighting on your own house before you buy a single bag or paver. Compare styles, refine the layout with the elements editor, and use the free mulch, paver, and sod calculators to turn your favorite concept into a shopping list that fits your budget.
See your yard reimagined
Start creating