Paver Stone Calculator: The Complete Estimating Guide
Use our paver stone calculator guide to master material estimates. Learn formulas, waste factors by pattern, base thickness, and sand requirements
You've measured the patio, chosen a paver, and entered the length and width into an online calculator. The result looks precise until the pallet runs short near the final border, or the finished surface settles because the estimate covered the pavers but not the compacted base beneath them. That's where many DIY budgets go wrong.
A dependable paver stone calculator is more than an area converter. It should account for the selected pattern, cut waste, traffic load, aggregate depth, bedding sand, compaction, edging, and joint material. The math is straightforward, but only when the inputs reflect how the project will be built.
Table of Contents
- Why Basic Paver Stone Calculators Fail DIY Projects
- Essential Measurements and Area Inputs
- Pattern Selection and True Waste Factors
- Calculating Base Aggregate by Traffic Load
- Bedding Sand and Compaction Specifications
- Sample Calculation for a Standard Patio
- The Invisible Extras and Joint Sand
- Ordering Logistics and Material Verification
Why Basic Paver Stone Calculators Fail DIY Projects
A homeowner often finds the calculator's weakness halfway through installation, when the final border needs more cuts than expected or the pallet runs short. A basic tool multiplies length by width, divides the result by one paver's face area, and applies a flat waste allowance. That works as a starting point for a simple rectangle, but it does not describe the full paving system or the conditions that determine whether the surface stays level.
Area is only the visible layer
Pavers rest on bedding sand and a compacted aggregate foundation. An estimate that covers only the visible units omits the layers responsible for stability, drainage, and finished elevation. The paver stone calculator workflow described by HomeAdvisor starts with area, divides by unit face area, and adds waste for cuts and breakage. That approach commonly uses 5% to 10% waste, with 10% applied in one widely cited workflow.
A flat allowance cannot represent every layout. A running-bond patio with straight edges usually creates less cutting than a diagonal herringbone pattern, while curves, radial designs, drains, tree openings, and separate border courses increase losses. Pattern-driven waste should be calculated from the actual layout, not selected as a default after the area has been entered.
Material quantity also affects the budget. U.S. residential paver patios are often estimated at about $10,500 on average, and 30% of homeowners spend more than $15,000. A shortage near completion can therefore force an extra delivery, delay the work, or require a mismatched batch.
Practical rule: A calculator is only as reliable as the construction assumptions behind its inputs.
What basic tools leave out
A dependable estimate accounts for:
- Pattern waste: Angles, radial layouts, curves, and irregular pieces produce different cutting losses.
- Structural depth: A pedestrian walkway and a driveway require different compacted base depths because traffic loads differ.
- Compaction conversion: Loose aggregate must be ordered deeper than its finished compacted layer. Loose bedding sand also occupies more volume before screeding and compaction, and underestimating it can leave pavers poorly supported at the edges.
- Perimeter materials: Edge restraints, spikes, and border courses require separate linear or unit-based takeoffs.
- Jointing products: Joint width and paver thickness affect sand consumption.
The same estimating discipline applies when comparing materials. If porcelain is being considered for a contemporary outdoor area, a resource to find porcelain paver tile options can support product selection, but the base, bedding, restraint, and jointing requirements still need separate calculations.
A better calculator exposes these assumptions before materials are ordered. That check is what prevents a late supplier run, an underbuilt base, and edge failures caused by treating loose material volumes as finished compacted depths.
Essential Measurements and Area Inputs
Don't open the calculator first. Walk the site with a tape, laser measurer, pencil, and a sketch of the finished paving area. The first objective is to establish the net paving area, not the largest rectangle that fits around the project.
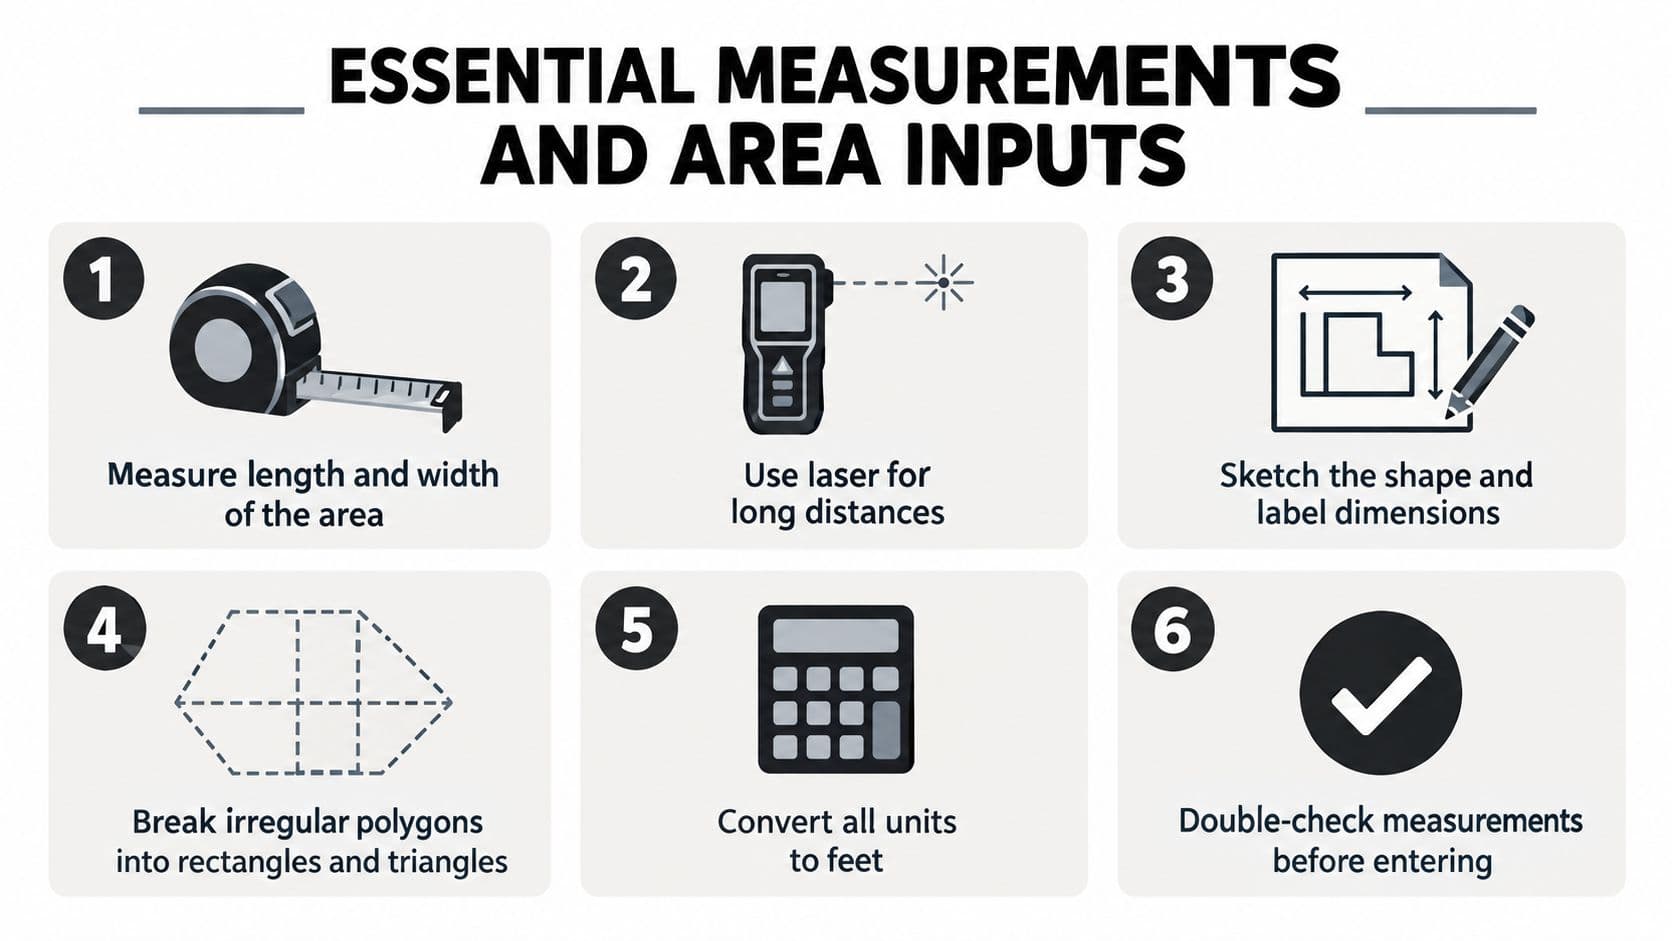
Build a measurement sketch
Start with the outside dimensions of the proposed work. For a rectangular patio, record length and width. For a walkway, note each straight segment and the width at transitions. Curves need several measurements or a scaled drawing, because a curved perimeter creates more cuts than a straight one even when the approximate area looks similar.
Break irregular shapes into manageable pieces:
- Rectangles and squares: Multiply length by width.
- Triangles: Multiply the base by the height, then divide by two.
- Trapezoids: Treat the shape as a combination of simpler areas.
- Cutouts: Measure tree rings, drains, steps, and planting openings separately.
Keep all dimensions in one unit before entering them. A yard measurement guide can help organize the field measurements before you transfer them into a calculator.
Separate field pavers from borders
A decorative border isn't just a visual line around the edge. It may use a different unit, orientation, or color, so calculate its quantity separately from the interior field.
Measure the border's linear footage, determine how many border units fit along that length, and then subtract the border footprint from the main field area. This prevents the common mistake of buying enough field pavers for the gross area and then discovering that the border has consumed part of the space.
For a complex plan, draw the finished layout on graph paper or in a digital design tool. Label the dimensions of each zone, including the width of borders and the position of cutouts. Then compare the sum of the zones with the overall site dimensions. That check catches a small measurement error before it multiplies through the paver, base, and sand estimates.
Measure the finished paving footprint, then measure the structure below it. They usually share an area, but they don't always share the same depth or material list.
Pattern Selection and True Waste Factors
A patio can have enough pavers by area and still run short during installation. The pattern controls how many units become usable pieces, so set the waste allowance after choosing the layout, not before. Straight running bond generally creates manageable cuts because courses align with the edges. A diagonal herringbone sends more units into perimeter cuts, while a circular layout changes the angle and shape of nearly every outside piece.
A generic 5% to 10% allowance is a practical starting point, but it can be inadequate for cut-heavy designs. The pattern-specific figures in this paver calculator waste reference provide a useful estimating check:
Paver pattern waste factor reference
| Pattern Type | Complexity | Recommended Waste Factor |
|---|---|---|
| Running bond | Low | 8% |
| 45° herringbone | Moderate to high | 13% |
| Irregular flagstone | High | 18% |
| Circular or radial | Very high | 22% |
Treat these figures as planning allowances, not a replacement for a scaled layout. They show why a flat calculator setting can miss the cutting burden, especially around curves, angled boundaries, and mixed borders.
Why the pattern changes the order
Running bond places repeated courses in a predictable direction. Corners, drains, and borders still require cuts, but some offcuts can be reused elsewhere in the field. Waste stays lower when the site has long, straight edges and the paver dimensions fit the plan.
At a 45° herringbone, the field reaches the perimeter at an angle, producing triangular or partial pieces along more of the boundary. Irregular flagstone requires sorting because each unit varies in shape. Maintaining consistent-looking joints can leave pieces that do not suit another location.
Circular and radial layouts usually demand the closest takeoff. The perimeter changes continuously, and units near the outside ring often need individual fitting. Curves also add joints and movement points, which increases the need for properly planned edge restraints.
Pattern is only one cost driver. Joint width changes how many units fit each run. A contrasting border removes field area while creating a separate group of cuts. Review 10 stunning paver patio ideas for 2026 before fixing the layout, then calculate the selected pattern rather than a generic rectangle.
A paver count covers the field. A waste factor covers the layout process.
Order matching material together when possible. Units from another production run may vary subtly in color or surface texture. A shortage at the end of the installation is harder to conceal and more expensive to correct than a measured initial overage.
Calculating Base Aggregate by Traffic Load
A patio that later becomes a parking pad can expose a weak estimate quickly. Foot traffic, vehicle weight, wheel paths, and braking forces impose different demands on the compacted foundation. Set the base depth from the intended use, not from the word “patio” in a calculator.
The Concrete Masonry and Hardscapes Association guidance gives these approximate minimum compacted aggregate ranges:
- Walks and patios: about 4 to 6 inches.
- Driveways: about 6 to 8 inches.
- Streets and parking-like loads: about 8 to 12 inches.
| Project use | Minimum compacted base range | Estimating implication |
|---|---|---|
| Pedestrian patio or walk | 4 to 6 in. | Base the order on the selected compacted depth |
| Residential driveway | 6 to 8 in. | Increase aggregate volume for vehicle loading |
| Street or parking-type area | 8 to 12 in. | Treat the work as a heavier structural application |
Calculate the finished compacted volume with:
Base volume in cubic yards = area in square feet × compacted depth in feet ÷ 27
Convert inches to feet before multiplying. A 6-inch base becomes 0.5 feet in the formula. This result describes the compacted volume in place, not necessarily the amount to order.
Aggregate tightens as it is spread and compacted. Ordering only the calculated finished volume can leave a shortage, especially when the material is placed in lifts or the existing grade absorbs part of the fill. The conversion varies with aggregate type, moisture, placement method, and compaction target, so confirm the supplier's stated yield instead of applying a universal factor.
Traffic planning also affects the surface choice. A homeowner comparing pavers with concrete can review home driveway concrete options Atlanta, while still accounting for the site's traffic and drainage conditions.
Soil and drainage may require an engineered adjustment beyond these general ranges. Ask whether vehicles will cross the area occasionally, where their wheels will track, and whether poor soil needs removal or additional structural material. The pavers are visible, but the compacted base determines whether the finished surface stays supported. Use the pedestrian range from the CMHA guidance cited earlier for a true foot-traffic installation, then order enough loose aggregate to achieve that depth after compaction.
Bedding Sand and Compaction Specifications
A paver calculator can show the finished sand volume and still leave a project short. Bedding sand is a leveling layer over a properly graded, compacted base. It cannot correct a base with dips, soft pockets, or inconsistent elevation. The pavers depend on a uniform bed for even support, stable joints, and reliable edge performance.
Technical guidance in the Southeast region paver installation specification calls for a 1-inch compacted bedding layer. Crews commonly screed approximately 1 to 1.5 inches loose to reach that finished thickness. That loose-to-compacted change is easy to miss in a material takeoff.
Calculate compacted volume, then order by yield
Start with the volume that must remain in place:
Sand volume in cubic feet = area in square feet × compacted depth in feet
Convert the specified depth to feet before multiplying. For a 1-inch finished layer, use the equivalent depth in feet, then divide the cubic-foot result by the supplier's stated yield. If the supplier sells by weight, use the product's bulk density to convert volume to the required amount.
Do not estimate tonnage from a generic bag count. Concrete sand, manufactured sand, and specialty joint products can have different bulk densities, packaging, and coverage. Confirm the product's yield before placing the order.
The screed bed must start thicker than its finished measurement because compaction reduces loose volume. Ordering only enough for a nominal 1-inch loose layer can produce a thin finished bed. Installing extra sand to compensate for a poor base creates a different problem, because thicker areas compress more than properly prepared areas.
Compaction targets affect movement and edges
The same specification identifies approximately 98% Standard Proctor for pedestrian and residential work and 98% Modified Proctor for vehicular areas. Keep granular lifts generally no thicker than about 6 inches, allowing the compactor to densify the full lift instead of hardening only its surface.
An uneven subgrade often leads to extra sand in low spots. After the pavers are placed and compacted, those thicker pockets settle farther than the surrounding areas. Joint lines become uneven, low areas collect water, and outward movement increases the load on edge restraints.
Compaction note: Set the base elevation correctly before screeding. Bedding sand must follow the specified thickness, not repair an incorrectly graded base.
Check the finished elevation against steps, thresholds, drains, and adjoining grade. Sand represents a smaller order than base aggregate, yet poor control here can undermine an otherwise sound foundation.
Sample Calculation for a Standard Patio
A 200-square-foot rectangular patio can look simple on a calculator and still produce a short order if the layers are treated separately. Assume there is no border subtraction or cutout, and the pavers measure 1.5 feet by 1 foot. The arithmetic below follows the patio calculation visual, then adds the base and bedding assumptions needed for a usable bid.
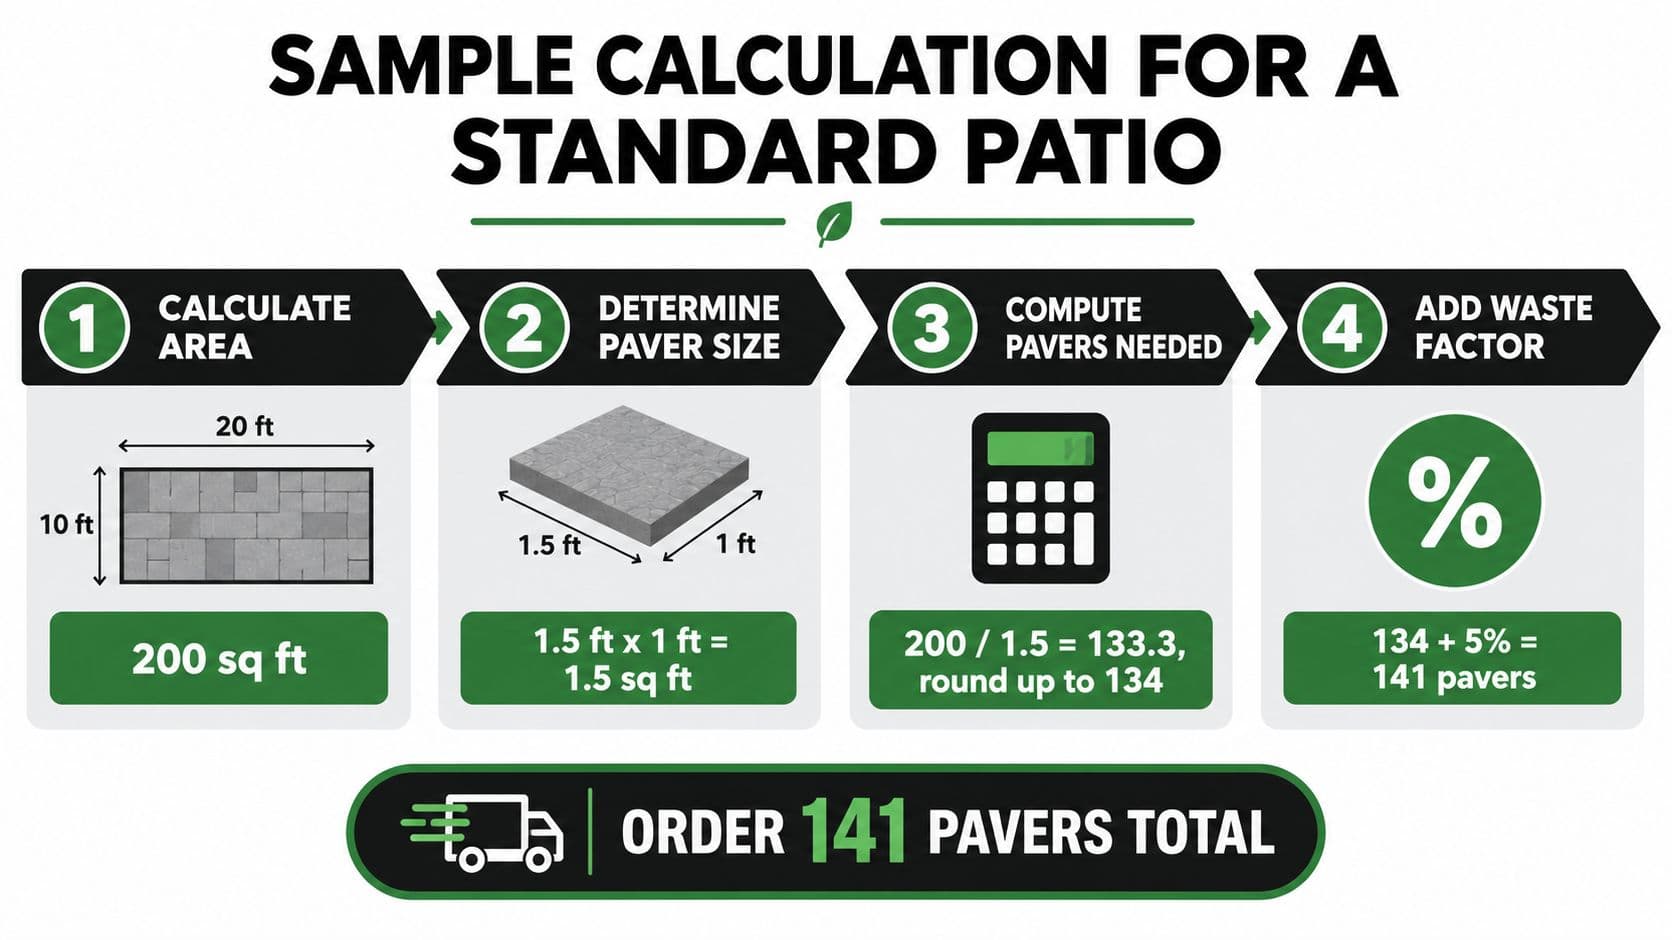
Surface unit calculation
Find the face area of one paver:
1.5 ft × 1 ft = 1.5 square feet
Divide the patio area by that unit area:
200 ÷ 1.5 = 133.3 pavers
Round up to 134 pavers, since partial units cannot be ordered. The visual then applies a 5% allowance for a straightforward layout, giving an order of 141 pavers total. That allowance does not suit every pattern. Herringbone, irregular stone, radial layouts, curves, and extensive edge cutting consume more units, so use the pattern-based waste allowance established earlier rather than copying the simple example.
Check whether the manufacturer's dimensions include joint spacing. For an actual order, compare the face-area result with the manufacturer's coverage per unit or pallet. That comparison catches packaging and coverage differences before delivery.
Base aggregate calculation
Assume pedestrian use and select a 4-inch compacted base, within the pedestrian range established in the base depth section.
Convert the depth:
4 inches ÷ 12 = 0.333 feet
Calculate compacted volume:
200 × 0.333 ÷ 27 = approximately 2.47 cubic yards
The result is compacted volume, not automatically the quantity to place in the driveway. Aggregate arrives loose and must be compacted, so confirm the supplier's ordering factor for that material and include enough to reach the specified density. A vehicular patio or driveway would require a different base-depth assumption, making this answer unsuitable for every site.
Bedding sand calculation
Using a 1-inch compacted bedding layer:
1 inch ÷ 12 = 0.0833 feet
200 × 0.0833 = approximately 16.7 cubic feet
Convert that volume using the product's stated coverage or bulk density. The sand may be screeded loose at about 1 to 1.5 inches before compaction, as covered in the bedding sand specifications above. Ordering only the finished-volume figure can leave the bed short, while adding extra sand to correct a poorly graded base creates uneven settlement.
For visual planning, an ai outdoor patio design tool can help test layout ideas. It does not replace measured dimensions, pattern waste, or layer calculations.
List pavers, base aggregate, bedding sand, edging, spikes, and jointing material as separate order lines. This makes supplier quantities easier to verify and exposes shortages before installation.
The following video provides additional visual context for patio planning and installation:
The Invisible Extras and Joint Sand
Paver quantity gets most of the attention because the units are visible and expensive. The failures I see most often, however, begin with materials that never appear in the surface-area answer. Without edge restraint, the field can spread. Without suitable jointing sand, the joints can empty, allowing movement and erosion.
Measure the perimeter, not just the area
Edge restraint is ordered by linear footage. Add the lengths of every exposed side where the paving needs containment, then subtract sections that terminate against a structurally fixed feature if the installation detail allows it. Include curves by measuring the actual perimeter, not the chord between two points.
A border course may improve the appearance, but it doesn't automatically replace structural restraint. Confirm the product's installation method and spike spacing with the manufacturer or supplier, then calculate the hardware from that specification. The right quantity depends on the restraint system and site geometry, so a calculator shouldn't invent a universal spike count.
Jointing sand has its own takeoff
Joint material depends on:
- Paver dimensions and thickness, which determine the total joint surface.
- Joint width, which changes the void volume.
- Pattern geometry, especially around borders and curves.
- Product coverage, supplied by the manufacturer for its specific bag size and application.
Polymeric sand isn't interchangeable with ordinary bedding sand. It must be installed at the joint depth and moisture conditions required by the product instructions. A narrow joint consumes less material than a wide joint, but sweeping too little leaves voids that can open after weather and use.
Finish-line check: If the estimate doesn't include perimeter restraint and jointing material, it isn't a complete paver system estimate.
Calculate the jointing product separately from the bedding layer. Bedding sand supports and levels the pavers. Jointing sand fills the spaces between them. Mixing those two line items is a common shopping-list error, especially when the supplier sells both in similar bags.
Also list transition materials, drain details, and any setting products required by the chosen paver system. Those additions may be small compared with the surface, but a missing component can stop installation on the day the crew is ready to finish.
Ordering Logistics and Material Verification
A correct calculation can still fail at the supplier's yard if the units, coverage, or delivery assumptions aren't checked. Pavers may be sold by piece, square foot, bundle, or pallet. Aggregate may be quoted by cubic yard or weight. Sand may be listed by bag coverage rather than volume.
Use a verification checklist
Before placing the order, confirm each line against the plan:
- Pavers: Verify the exact product, dimensions, color, texture, coverage, and selected pattern allowance.
- Batch matching: Ask the supplier to provide the field and border units from matching production runs where possible.
- Aggregate: Confirm whether the quoted quantity represents loose delivered volume or compacted yield.
- Bedding sand: Check the product type, coverage, and the loose-to-compacted installation assumption.
- Jointing sand: Match the product to the joint width and paver system, not merely the color.
- Edging: Compare the measured perimeter with the restraint length and required hardware.
- Delivery: Arrange placement close to the work area without blocking access, damaging pavement, or crossing soft ground.
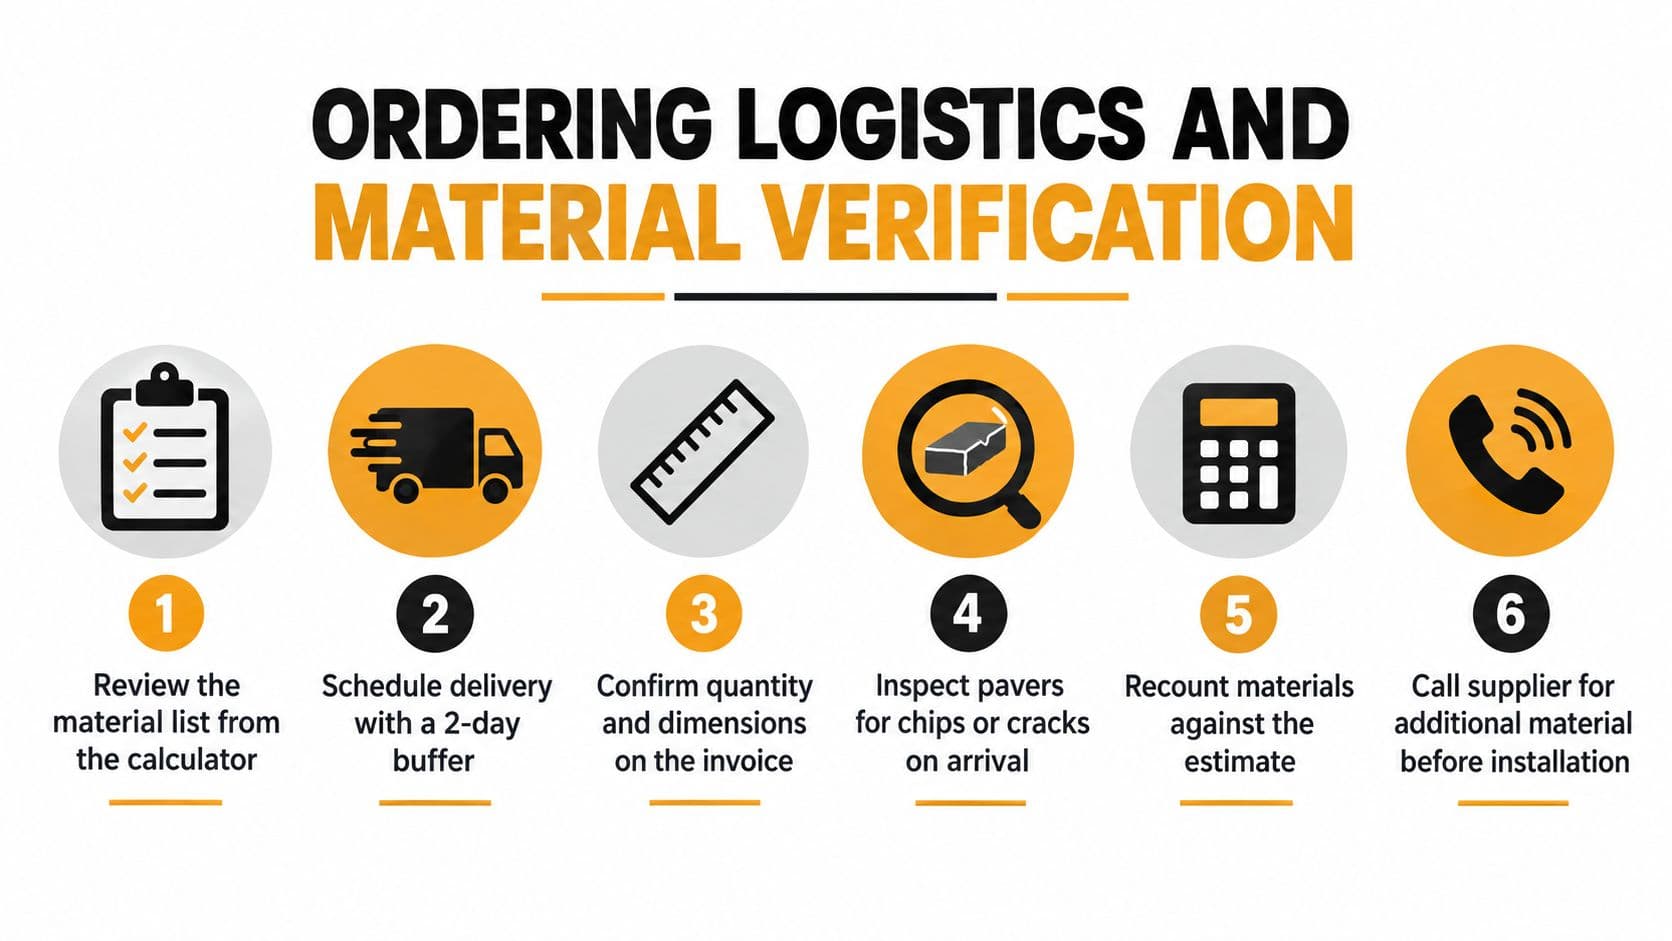
Inspect before installation
Count or reconcile the delivery as soon as it arrives. Look for chipped units, cracked pieces, incorrect colors, and mixed products. Photograph labels and pallet markings before opening everything, especially when the border and field pavers look similar.
Don't assume the supplier's pallet coverage matches your calculator's unit-area result. Coverage can depend on joint spacing, module combinations, and the manufacturer's stated selling unit. Write both figures on the estimate, then resolve any difference before laying the first course.
Delivery placement deserves practical attention. A pallet dropped far from the patio adds handling, wheelbarrow work, and schedule risk. Tell the supplier where the material can safely go, and preserve a route for equipment and workers.
If the final measurement changes after excavation, revise the list before installation begins. A calculator is most valuable when it remains a live estimate tied to the actual site, not a number copied from an early sketch.
Use OutdoorBrite to visualize how different paver layouts and outdoor features may look in your actual yard before you commit to quantities. Visit OutdoorBrite, then pair the design concept with a measured paver stone calculator estimate that includes waste, base, sand, edging, and joint material.
See your yard reimagined
Start creating