How to Plan a Patio: A Beginner's Guide for 2026
Ready to plan a patio? Our step-by-step guide walks you from site prep and design to materials and budgeting. Create your dream outdoor space with confidence.
You're probably at the stage where the patio feels real enough to want, but still fuzzy enough to stall. You know where it might go. You've saved a few photos. You can already see summer dinners, morning coffee, or a quiet chair in the corner of the yard. Then the practical questions show up. How big should it be? What material makes sense? Will water run toward the house?
That uncertainty is normal. A good patio rarely starts with picking pavers. It starts with a plan that matches how you live, how your yard drains, and how much upkeep you'll tolerate.
Your Patio Dream Starts with a Plan
You mark out a patio with a hose on Saturday, and it feels right. Then you set a table in the same spot, open the back door, and notice the walkway pinches, the grill has no good home, and the view from the kitchen window lands on chair backs instead of the yard. That is the moment a rough idea needs a real plan.
Good patio planning starts with function, grade, movement, and utility needs. Finish choices matter, but they are easier to make once the footprint works. I have seen plenty of patios look great in a photo and feel awkward in daily use because no one checked furniture clearance, drainage direction, or how people would move through the space.
If you want a covered sitting area, screen wall, or outdoor TV, study examples like YOLO TV display solutions early. That helps you account for shade, viewing angles, wiring runs, and mounting locations before the base goes in. Retrofitting those details after installation is usually expensive and rarely looks clean.
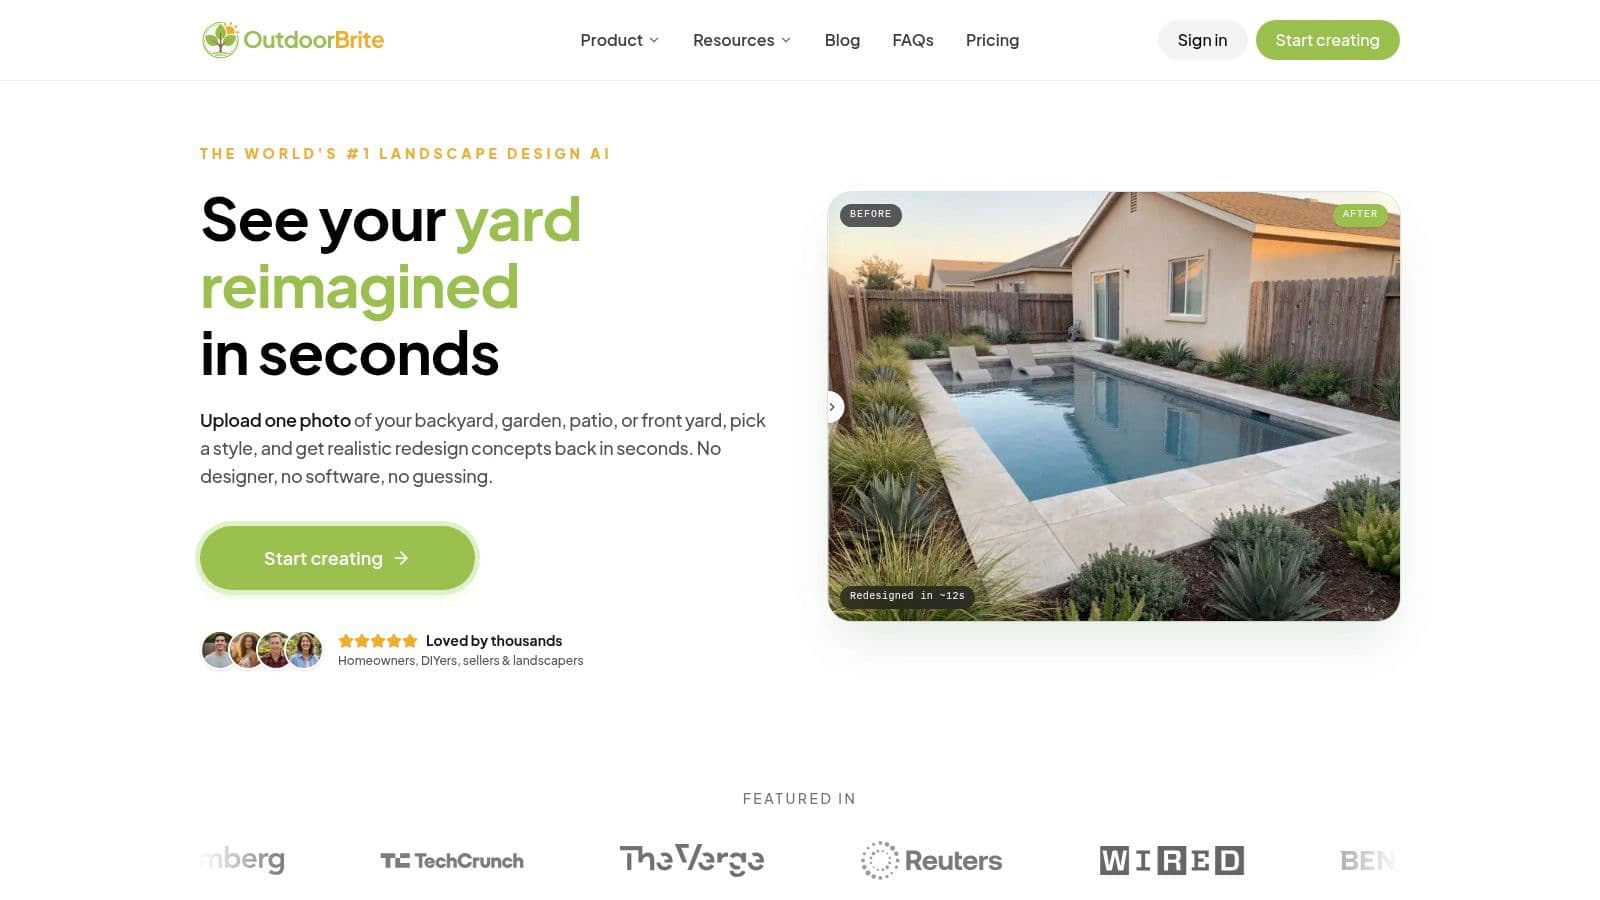
Digital mockups also save money here. Outdoorbrite gives you a way to test ideas against real photos of your yard, which is useful when you are deciding between two footprints, comparing patio shapes, or checking whether a feature will crowd the space.
Practical rule: Set the patio around how you will use it, then test the design visually before you build.
Assess Your Site and Set Your Goals
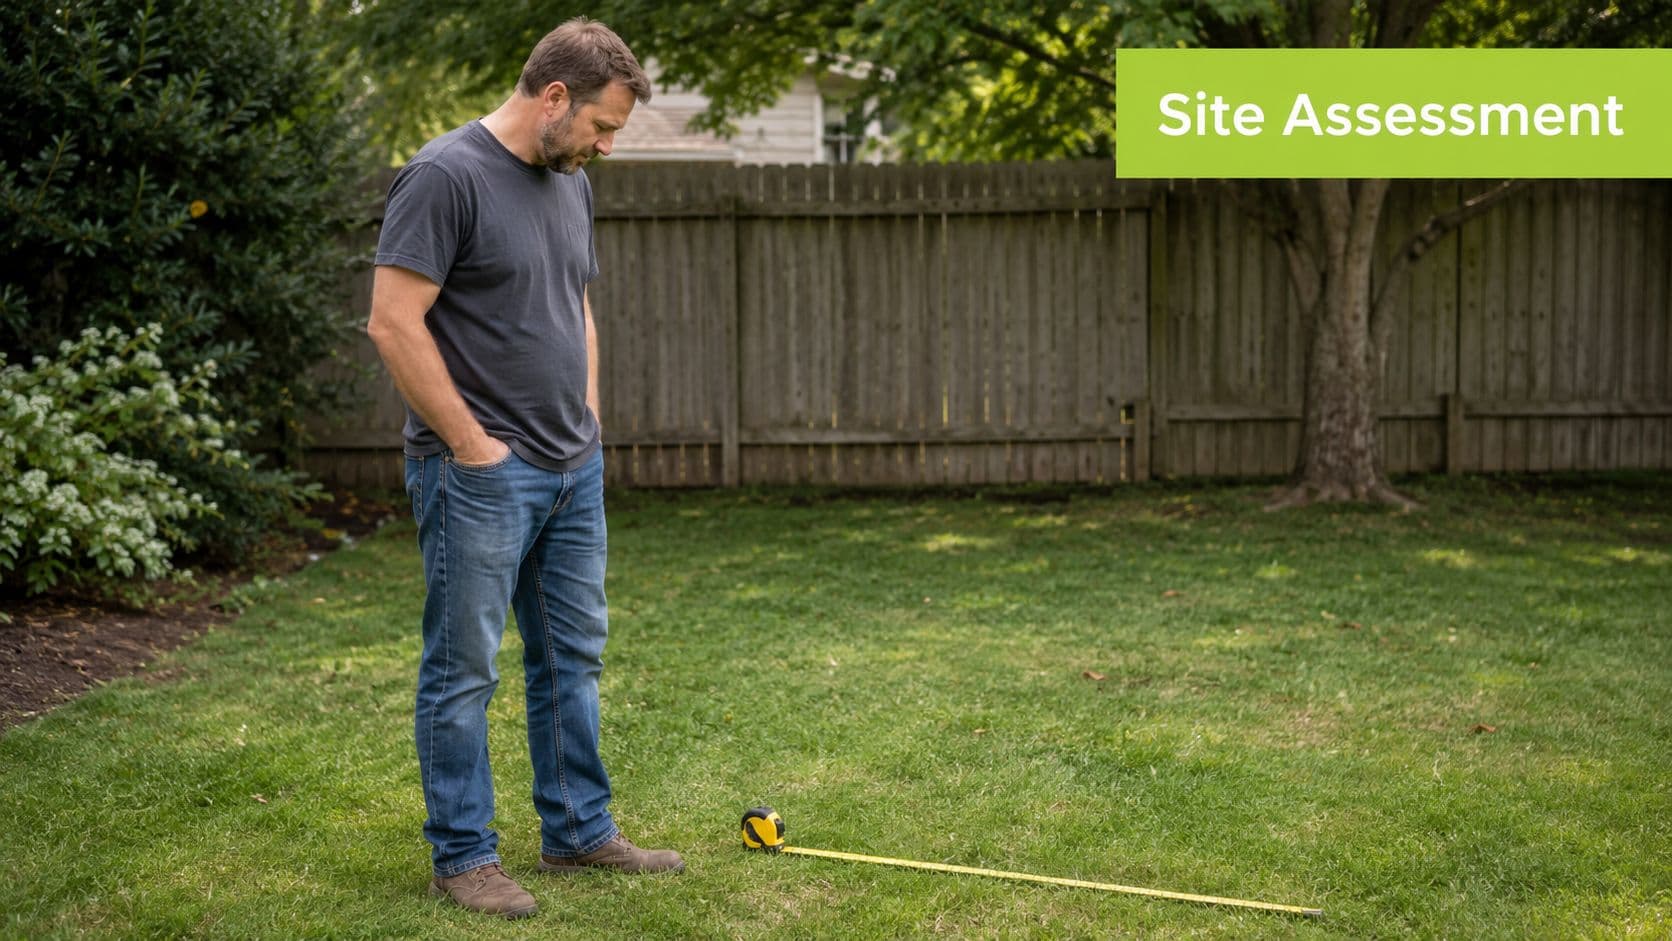
The yard tells you what's possible. Your job is to listen before you draw anything.
Start with use, not size
A dining patio behaves differently than a lounging patio. A fire pit area wants a looser furniture arrangement. A grilling zone needs a clean path back to the kitchen. A quiet reading spot may belong farther from the back door than you first assumed.
Walk the yard and answer a few plain questions:
- Main purpose: dining, lounging, entertaining, cooking, or a mix
- Best connection: back door, side yard, pool, or garden path
- Time of day: morning sun, afternoon heat, or evening shade
- Privacy level: open social space or more sheltered retreat
That short list will shape location faster than any mood board.
Watch sun, traffic, and views
Stand in the yard at different times if you can. A spot that feels perfect in the morning can be brutal by late afternoon. Also pay attention to the line people naturally walk. If guests will cut across planting beds or squeeze around furniture to reach the patio, the layout is fighting the yard.
One of the best uses of AI backyard design is testing patio placement against your real photo instead of guessing from a sketch. That's especially useful when you're deciding between one large patio and two smaller zones.
A patio that looks centered on paper can feel awkward if every trip from the house turns into a detour.
Drainage is not optional
This is the detail that separates a patio that lasts from one that starts moving, holding water, or staining the foundation area. A patio needs a downward gradient of exactly one inch every eight feet so water drains away from the home. That slope matters because hydrostatic pressure accounts for over 30% of common patio failures in residential installations, as noted in this patio build guidance.
If your yard already sends water toward the house, don't treat that as a minor correction. It changes excavation, base prep, and sometimes whether DIY still makes sense.
Visualize and Prototype Your Patio Design
The biggest planning mistake isn't choosing the wrong stone. It's committing to a shape and layout you never really tested.
A homeowner might start with “a simple rectangle off the back door” because it feels safe. Then they mock it up and realize the dining table blocks circulation, the grill lands in the main walkway, and the edges feel too rigid against the planting beds. Once you can see the patio in context, the better answers show up fast.
That's where digital mockups earn their keep. With ai outdoor patio design, you can upload a yard photo and compare shapes, materials, and styles before a shovel hits the ground. That makes it easier to test pavers versus poured concrete, or to see whether a pergola, fire pit, or border planter improves the space or just crowds it.
If your patio opens directly from the house, door style matters more than people expect. Swing clearance, traffic flow, and how wide the opening feels all affect furniture placement. This guide on which patio door for your home is useful when you're deciding how the patio should connect back to the interior.
Shape choices that age well
Curves can soften a yard. Clean rectangles simplify furniture placement. Multi-zone layouts often work better than one oversized slab. But irregular design still needs restraint.
One issue I see often is forcing tight corners into a paver layout because it looks custom on paper. That usually backfires. Acute angles, meaning anything less than 90 degrees, should be avoided in paver patios because they accelerate settlement by reducing interlocking support, as noted in this discussion of patio angle problems.
If a line looks clever but creates skinny cuts and fragile corners, it usually won't age well.
A quick visual walkthrough helps here:
Select the Best Materials for Your Patio
Material choice is where taste and maintenance finally meet. This decision affects how the patio looks on day one, but also how it behaves after weather, furniture drag, spilled drinks, and a few seasons of use.
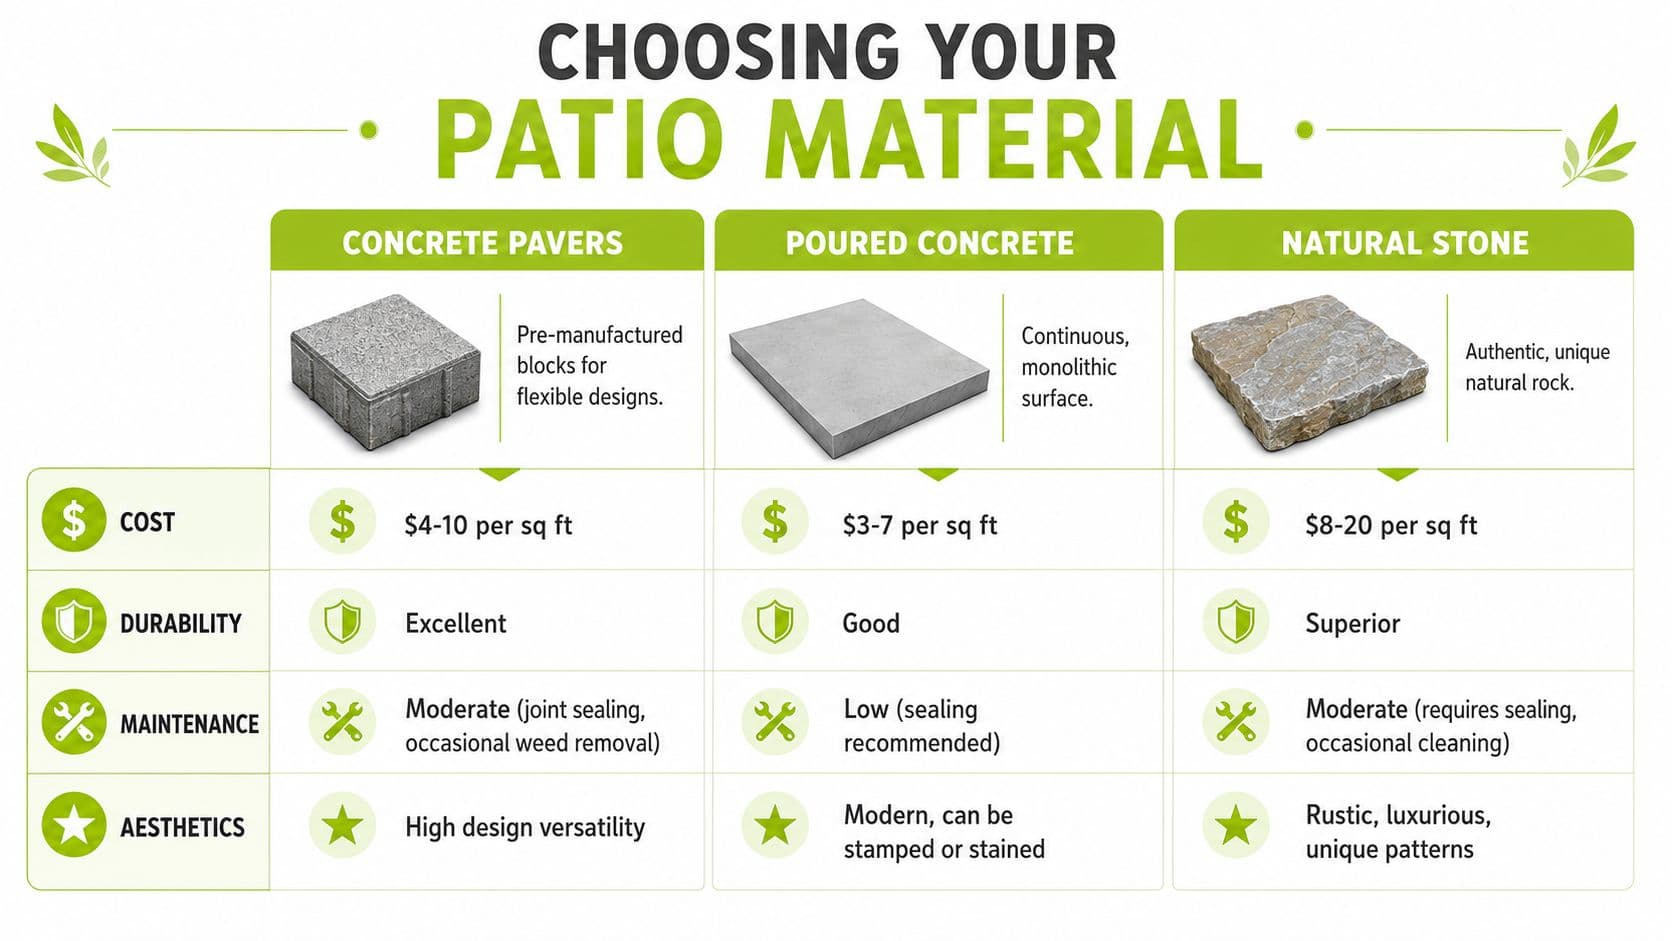
What works for different priorities
Pavers are forgiving. If a section shifts or stains, repairs are localized. They also handle design changes better because borders, insets, and curves are easier to manage than with a monolithic slab.
Poured concrete is simpler visually and can suit modern homes well. But it's less forgiving of prep mistakes. Once it cracks or settles badly, repair is more disruptive.
Natural stone brings the most character. It also asks for more care in selection, fitting, and long-term upkeep. It's usually the material people choose when texture and irregularity matter more than installation simplicity.
Patio Material Comparison
| Material | Avg. Cost/Sq. Ft. | Durability | DIY-Friendliness | Maintenance |
|---|---|---|---|---|
| Concrete Pavers | $4-10 per sq ft | Excellent | High | Moderate |
| Poured Concrete | $3-7 per sq ft | Good | Low to Moderate | Low |
| Natural Stone | $8-20 per sq ft | Superior | Low | Moderate |
The concrete detail worth knowing
If you're considering concrete, know the slab standard before you talk to a contractor. The standard thickness for a concrete patio is a 4-inch slab, and stamped concrete is typically better at 4 to 5 inches for stronger pattern detail and better resistance to cracking and surface wear, based on this concrete patio thickness guide.
That doesn't mean thicker automatically fixes bad prep. It doesn't. A poorly prepared base under a thick slab still creates trouble. But it does give you a useful technical benchmark when reviewing bids.
Finalize Your Budget and Check for Permits
This is the point where patio plans either become realistic or drift into regret. Build your budget from the whole job, not just the surface material. Gravel base, bedding layer, edging, drainage work, delivery fees, cutting waste, tool rental, and cleanup all belong in the number.
I like to separate the budget into three buckets:
- Core build costs: surface material, base materials, edge restraint, joint fill
- Site work: grading, drainage correction, removal of old concrete or sod
- Finish items: steps, lighting, furniture pads, planters, and shade elements
Then check permits before you buy anything. For concrete patios attached to a home, most jurisdictions require a permit, and the IRC requires the slab to be isolated from the home's foundation so soil movement doesn't transfer structural stress to the house, as discussed in this permit and code note.
Don't treat permit research like paperwork at the end. It can change the design, the detail at the house, and the contractor you hire.
If the patio is freestanding, requirements may be lighter, but local rules still control. A quick call to the building department can save a messy correction later.
From Plan to Patio Your Next Steps
A good patio build usually succeeds or fails before the crew ever sets a string line. By now, you should know where the patio belongs, how you want to use it, which material fits the job, and what changes the site may demand once work starts.
The next step is simple. Turn the plan into a buildable layout with dimensions, finished elevations, edge details, and a clear sequence for excavation, base prep, and installation. That is the part homeowners often skip, and it is usually where costly corrections begin. A patio can look right on paper and still feel cramped, sit too high at the door, or leave no clean path for drainage.
I always recommend one last visual check before materials are ordered. Use a marked-out footprint in the yard, then compare it with a digital mockup or AI concept based on your actual space. That combination helps catch scale problems early. It also gives you a cleaner way to decide between options like a square dining zone or a curved lounge edge before the hardscape is permanent.
The goal is a patio that fits your yard and your habits for the long term. Comfortable seating clearance, sensible maintenance, and good drainage matter just as much as the finish you choose.
If you want to preview patio ideas on your actual yard before committing to layout or features, OutdoorBrite can help you test concepts from a photo of your space and sort out design decisions before construction begins.
See your yard reimagined
Start creating