Low Maintenance Hillside Landscaping: A Step-by-Step Guide
Learn how to plan low maintenance hillside landscaping: measure your slope, control runoff, choose erosion-holding plants and keep upkeep manageable.
You're standing at the bottom of a slope that's too steep to mow safely, with mulch washing down after every storm and thin grass giving way to bare soil. You want it planted and done, not another weekly chore. That's the right instinct, but low maintenance hillside landscaping doesn't start with a plant list. It starts with grade and water.
Get those two wrong and even tough plants wash out, bunch up, or leave gaps that erode. Get them right and you trade routine mowing for careful installation, a short establishment period, and occasional checks. I would judge every design by that trade. If the plan doesn't show where water goes, how you'll reach each zone, and what you'll do each season, it isn't low maintenance yet.
Table of Contents
- Measure Your Slope Before You Choose Plants
- How to Survey Water Paths and Soil
- Structures That Hold Soil and Slow Water
- Plant Layers That Cover Bare Ground Fast
- Seasonal Upkeep That Keeps the Slope Stable and Safe
- Test Your Slope Design Before You Dig
Measure Your Slope Before You Choose Plants
Your grade decides whether mowing, groundcover, or structures are realistic. Measure it before you price plants or walls.
| Slope (%) | Rise:run ratio | What to do |
|---|---|---|
| Below 20% | Flatter than 1:5 | Mowing may remain feasible; keep groundcover and mulch on exposed soil |
| 20% to 30% | 1:5 to 1:3 | Erosion control and low-maintenance planting become essential from day one |
| About 30% and steeper | 1:3 or steeper | Plant, terrace or stabilize; turf is a poor long-term choice |
Iowa State University Extension guidance on gardening slopes and hillsides classifies slopes of 20%, equivalent to a 1:5 rise-to-run ratio, as steep and requiring special planting strategies, and slopes of approximately 30%, or 1:3, as generally too steep to mow safely or practically. That threshold is useful because it's honest. Below it, you may keep some lawn near the house. Above it, turf asks for unsafe work and still protects soil poorly.
How to measure with simple tools
Lay a straight 10-foot board down the steepest part of the slope, level it with a spirit level, and measure the vertical drop from the raised end to the ground. Divide rise by run and multiply by 100. A 2-foot rise over 10 feet is 20%. A phone inclinometer app works for a quick check, but confirm it on the board where the grade feels worst, not where it's easiest to stand.
Repeat the measurement in two or three places. Most yards aren't one uniform grade. You may find a mowable bench at the top, a 20% to 30% middle that needs dense planting, and a short steep face that needs terracing or a wall. That split is where you save money, because you don't build structures across ground that only needs cover.
What each band demands
From 20% to 30%, bare gaps between plants are the weakness. One heavy storm finds them, cuts a channel, and undermines roots beside it. At about 30% and steeper, commit to planted, terraced, or otherwise stabilized ground and stop budgeting for lawn care. Your budget shifts to access, soil holding, and coverage until roots close ranks.
Practical rule: The grade sets your structure budget and planting scope. The plant palette comes last.
Before you move on, answer three questions in writing. Is any part safely mowable? Where does water leave the property? How will a person reach each area with tools? If you can't answer all three, you don't have a design yet, you have a shopping list.
How to Survey Water Paths and Soil
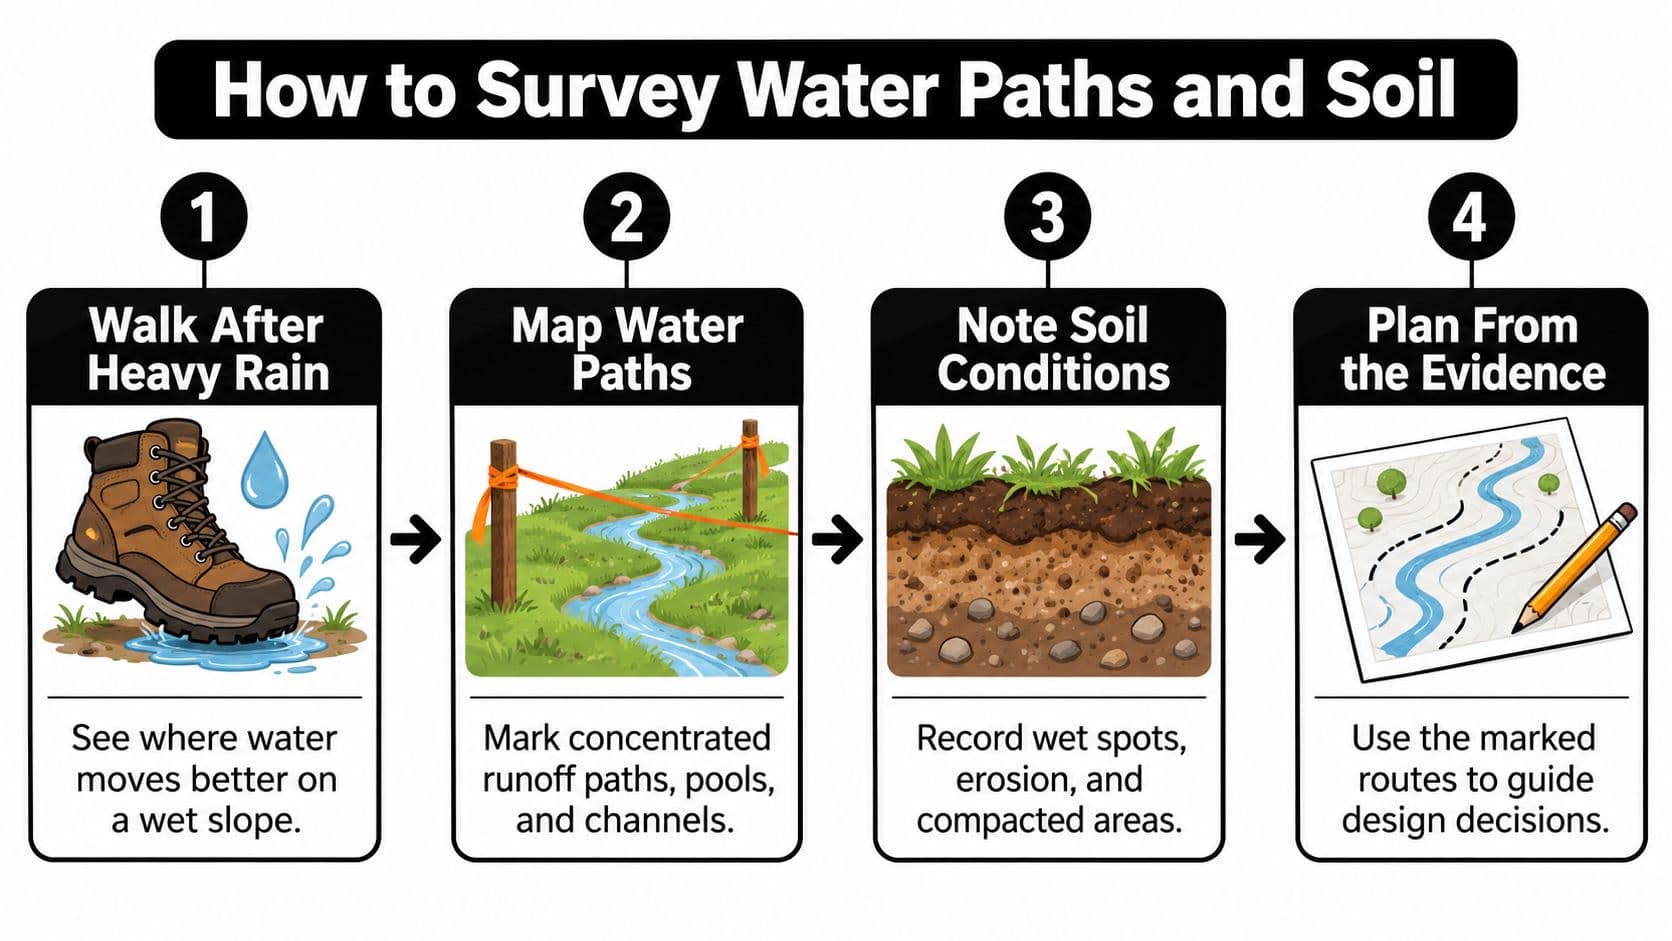
Walk the slope after heavy rain, while boot prints still hold water. A dry-day visit hides the routes that cause the damage. You'll see shine on compacted soil, leaves piled where flow slows, and clean gravel where it's been scoured.
The visual below sums up the survey rhythm you'll use on site.
Six checks that shape the plan
- Map water paths: Stake where runoff pools, splits, or cuts a channel. One narrow gully matters more than a wide damp patch, because concentrated flow carries soil. Trace downspout discharge too, and use gutter maintenance insights from SuperiorPRO to check whether roof water is dumping onto the slope instead of leaving through a controlled outlet.
- Test the soil by hand: Squeeze a handful from just below the surface. If it holds a ball and stays wet for days, drainage is slow. If it crumbles and dries quickly, it drains fast and new plants will need closer watering at first.
- Note compaction: Probe with a screwdriver where mowers turned or people cut corners. Hard, packed soil sheds rain even on a moderate grade, so roots struggle while water speeds up.
- Record sun and shade: Note morning and afternoon shade, and think about seasonal change when trees leaf out. Shade slows drying and establishment, and it rules out sun-loving groundcovers that would thin and expose soil.
- Check access: Walk the route you'd take with a wheelbarrow, hose, and string trimmer. If you can't reach a zone safely when it's wet, you won't weed it, prune it, or fix a washout there.
- Log existing erosion: Photograph gullies, exposed roots, leaning edging, and sediment piles at the bottom. Those photos become your before record and show you where temporary protection must go first.
University of Georgia Extension guidance on slopes and hillsides gives a practical benchmark to size small mini-terraces at roughly two to three times the width of the plant's root ball or container. That small level pocket matters. It gives roots horizontal soil to occupy, holds a watering cycle long enough to soak in, and keeps mulch from creeping downhill.
Turn notes into a sketch
Draw the slope on one page. Mark grades, wet and dry zones, concentrated paths, shade, and your access line. Keep it rough, but keep every water arrow honest.
A slope you can't reach gets neglected, and neglected groundcover stops being erosion control.
That sketch is your working base for structures, planting bands, and outlets. When you compare grading options, yard grading advice from OutdoorBrite can help you think through where reshaping helps and where planting alone is enough. Don't finalize either until the sketch shows a safe place for water to end up, on your property, without cutting across a neighbor's line.
Structures That Hold Soil and Slow Water
Match the structure to the water path you marked, and choose the option whose upkeep you can reach. That's the decision rule. Structures come before planting because they intercept flow that would otherwise lift new root balls and carry mulch to the bottom.
A long, unbroken slope gains speed. Shortening that run does more for stability than adding extra plants into fast water. A single concentrated path is different. It needs a defined channel to a safe outlet, not a row of shrubs planted across it as a dam.
| Structure | Best used when | Upkeep it adds |
|---|---|---|
| Contour terraces | A long or unstable slope needs its flow shortened | Check terrace edges after storms and keep mulch from sliding |
| Swale | Water concentrates along one downslope path | Clear debris from the channel each season |
| Dry creek channel | Runoff must be carried to a safe outlet | Keep the rock layer clean and check for scour after heavy rain |
| Retaining wall | The face is too steep to plant alone | Inspect for bulging and blocked drainage; tall walls need professional design |
| Boulders or timber edging | Short, broken sections need to slow flow | Reset pieces that shift and check edges after storms |
| Level spreader | Runoff from a pipe or path needs dispersing | Check the outlet for erosion and keep the spreader level |
Choosing without overbuilding
I would use contour terraces where the whole face is long and restless, because each level shelf interrupts flow and creates a plantable pocket. Use a swale or dry creek channel where your stakes showed one repeated line of water. Use boulders or timber edging on short, broken sections where you need roughness and small checks, not a full wall.
A retaining wall earns its cost when the face is too steep to plant alone or you need usable flat ground at the base. When you're testing that option, plan your retaining wall with OutdoorBrite before you commit to height and placement. Once a wall gets tall, get it engineered. Drainage behind it, a compacted base, and a footing sized to the soil matter more than the face material you pick.
Two failures that undo good work
- Drainage dumped at the property line: You've solved your slope by creating a dispute and a new erosion point. Every channel needs a safe, legal outlet you can name.
- Loose mulch laid too thickly: On a steep face it can slide as a sheet in heavy rain, smothering plants below and exposing soil above. Use thinner, interlocking coverage and physical checks on contour until roots take over.
Upkeep is part of the price. Terrace lips slump, swales fill with leaves, wall drains block, and edging moves. If you can't inspect a structure after a storm without unsafe footing, redesign the access first. A simpler structure you maintain beats an ambitious one you avoid.
Plant Layers That Cover Bare Ground Fast
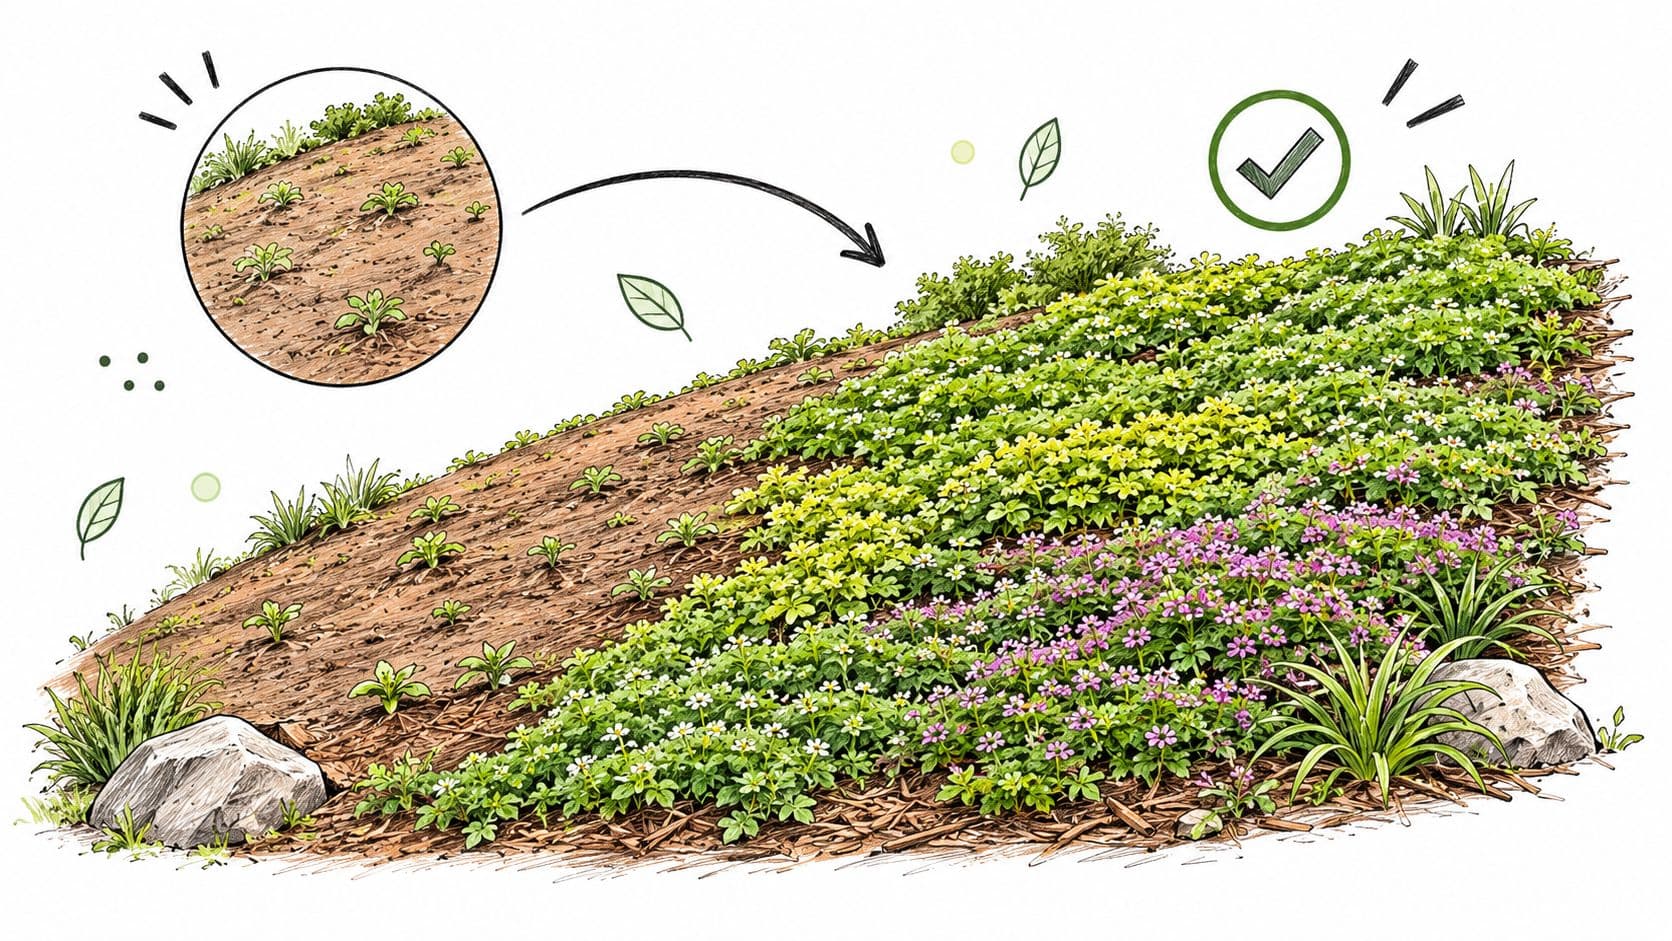
Coverage is the success measure, not survival. A slope with healthy but widely spaced plants and bare soil between them will still erode. You're building a dense planting matrix that closes canopy at ground level and puts roots at several depths.
This image shows the shift you're aiming for, from exposed mud to continuous cover.
Build from the ground up
Groundcovers carry the soil-protection job. Choose low, spreading types that root where stems touch soil or fill tightly from the crown. Above them, ornamental grasses and perennials add stem roughness that slows sheet flow. Shrubs and occasional trees add deeper roots and shade, but only where their mature size won't block your access route.
UC Marin Master Gardeners hillside guidance stresses combining low ground covers with grasses, shrubs, and occasional trees to create layered root and stem structure, and planting in staggered bands or contour-following groupings so water meets repeated roughness. That layout matters as much as species. Straight downhill rows become channels. Contour bands become speed bumps.
Judge each plant by four checks. Mature height and spread must stay clear of steps and the slope face you need to inspect. Roots must reach below the surface layer, tolerance must match the sun and moisture you measured, and non-invasive status must check out on local extension lists. If you're weighing woody plants for the bank, a homeowner's guide to stabilizing backyard slopes is a useful companion for sorting shrubs by job, not just looks.
Near foundations, think about roots and water together, especially on tight lots where a slope meets the house. That's where background on tree root barriers for Texas homes can help you ask better questions before placing a tree whose roots and canopy will outgrow the space.
Watch how planting density and contour placement come together on a real grade in the walkthrough below.
Plant by zone, then protect the gaps
- Assign groundcovers by moisture: Put thirstier types where your map stayed wet and tougher, drought-tolerant types on fast-draining upper ground.
- Space woody plants for maturity: Give shrubs and small trees room at planting, wider on steep faces, so you aren't pruning constantly to keep paths open.
- Group in contour bands: Keep each band at one moisture level so you can water and inspect it as a unit.
Avoid invasive groundcovers, shallow-rooted lawn species on steep grades, and any single-species scheme. One pest, disease, or drought can open the whole face at once. During establishment, cover gaps with biodegradable erosion blankets, straw, compost, or fiber wattles, inspect after storms, and replace washouts promptly while the hole is still small.
Once canopy closes, the payoff arrives. You'll weed, prune, and fertilize only in limited passes, because dense cover shades out many weeds and roots hold the surface. That payoff depends on closing the gaps, not on buying premium plants and spacing them like specimens.
Seasonal Upkeep That Keeps the Slope Stable and Safe
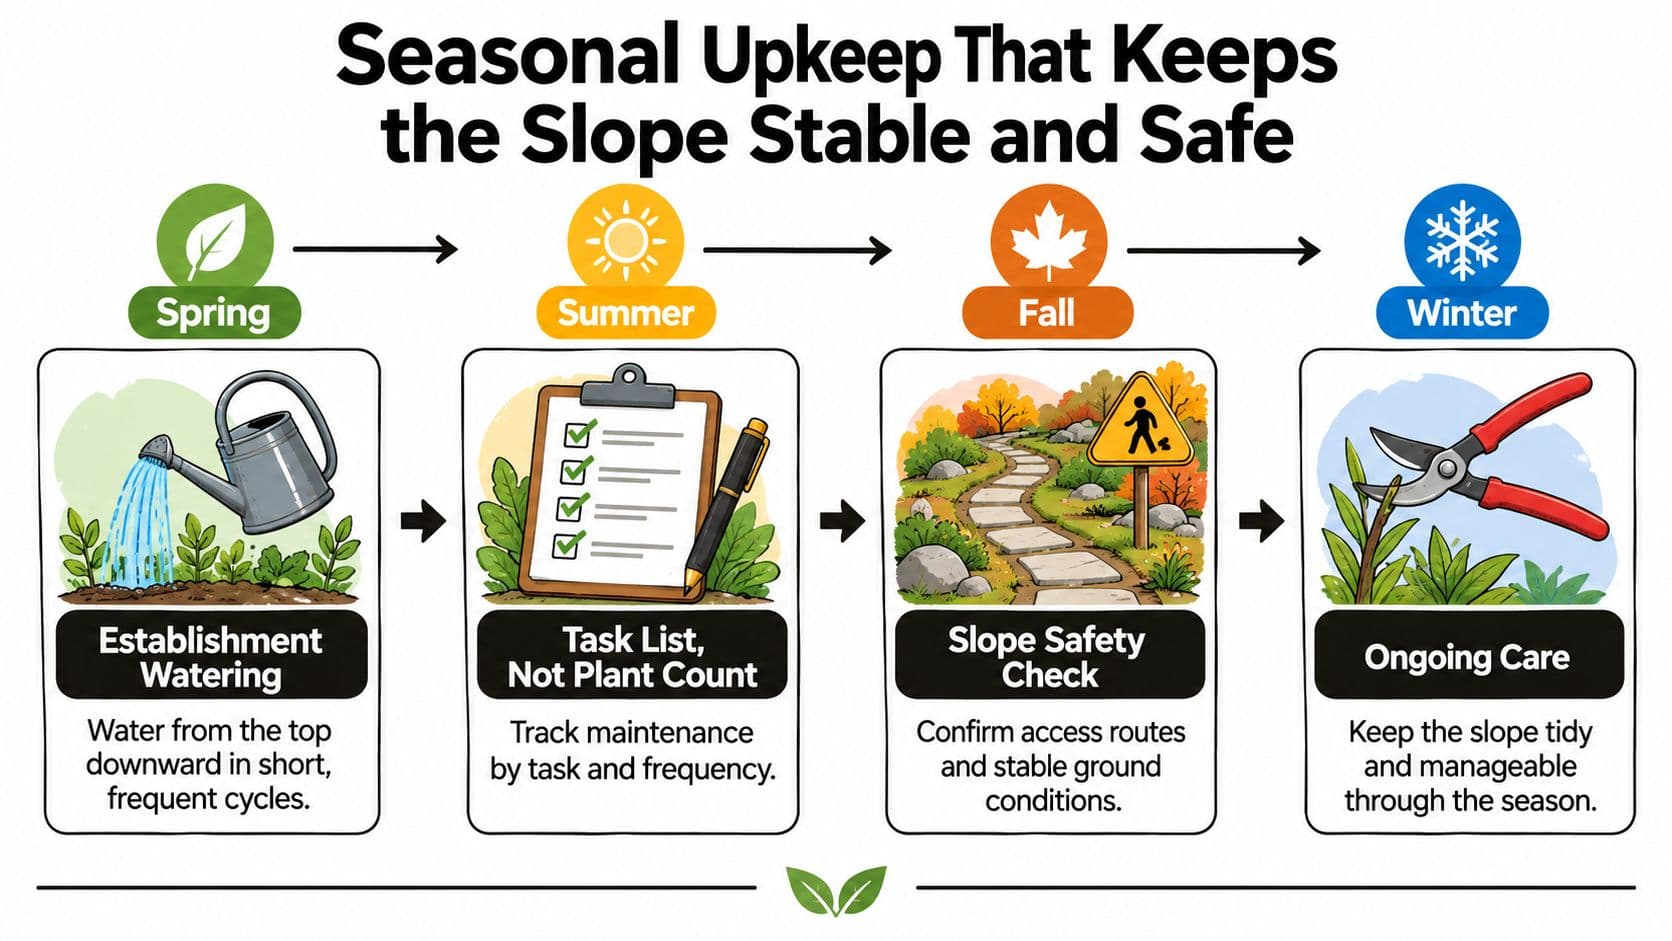
Define maintenance by task and frequency, not by plant count. A short list done on schedule keeps a slope stable. A vague promise of no maintenance lets thatch build up, invasives creep in, and small gullies hide under growth until they're repairs.
The timeline below frames the rhythm, from establishment watering to routine safety checks.
| Task | How often | Why it matters |
|---|---|---|
| Inspect for storm erosion and washed-out plants | After each major storm | Bare soil is the main erosion risk |
| Water new plants top-down in short cycles | Frequent during establishment, then taper | Prevents runoff and encourages deep roots |
| Space shrubs and small trees | At planting | Wider spacing on steep faces means less pruning later |
| Clear dead thatch and dry grass | Each season, before fire season where relevant | Removes continuous fuel |
| Prune lower tree limbs | Yearly | Lifts the canopy clear of ground fuels |
| Remove invasive plants | At least yearly | Stops them crowding out groundcover |
Watering and inspection come first
During establishment, water from the top downward in short, frequent cycles. Run water long enough to wet the root zone, stop before it sheets off, and repeat. That pattern soaks in instead of polishing the surface and carrying fines downhill. Taper as roots take hold, but keep checking after heat and wind, because upper slopes dry first.
After major rain, walk your access route with a bucket, hand trowel, and spare erosion fabric pins. Reset displaced mulch, firm lifted plants, clear swale debris, and photograph any new channel. Small fixes that week cost minutes. Deferred fixes become replanting.
The fire and drought trade-off
Low water doesn't automatically mean low risk. Fire-smart planning favors low, well-spaced woody plants over maintained groundcover, wider spacing on steep ground where fire climbs faster, and pruning of lower tree limbs so surface fuels can't carry flame into the canopy. Dead thatch and dry ornamental grasses get cleared before fire season, not after.
That spacing can feel sparse on day one, and here's the honest tension. Erosion control wants continuous cover, fire safety wants breaks in continuous fuel. Low shrubs placed apart over a dense groundcover resolve it, because the groundcover holds the soil while the gaps break up fuel. Unmanaged shrubs and grasses fused into one dry mass do neither job well.
Native, site-appropriate planting can reduce fertilizer, pesticide, and excess water needs, but native doesn't mean maintenance free.
Seasonal standard: If dead material, blocked drainage, or a new bare patch would stay hidden for months, your upkeep interval is too long.
Check local fire rules and climate-zone guidance before you finalize the palette. A plant that's a sensible drought choice in one county may be restricted, thirsty, or too flammable in another. Build your calendar around your rules, your grade, and the route your tools can travel.
Test Your Slope Design Before You Dig
Lock in one water-control structure, one planting palette, and one maintenance route before you spend money. If any of those three is still fuzzy, you are not ready to order materials or book a crew. A slope that looks settled on a sketch can still fail at the first storm, so test the whole plan on paper while changes are still free.
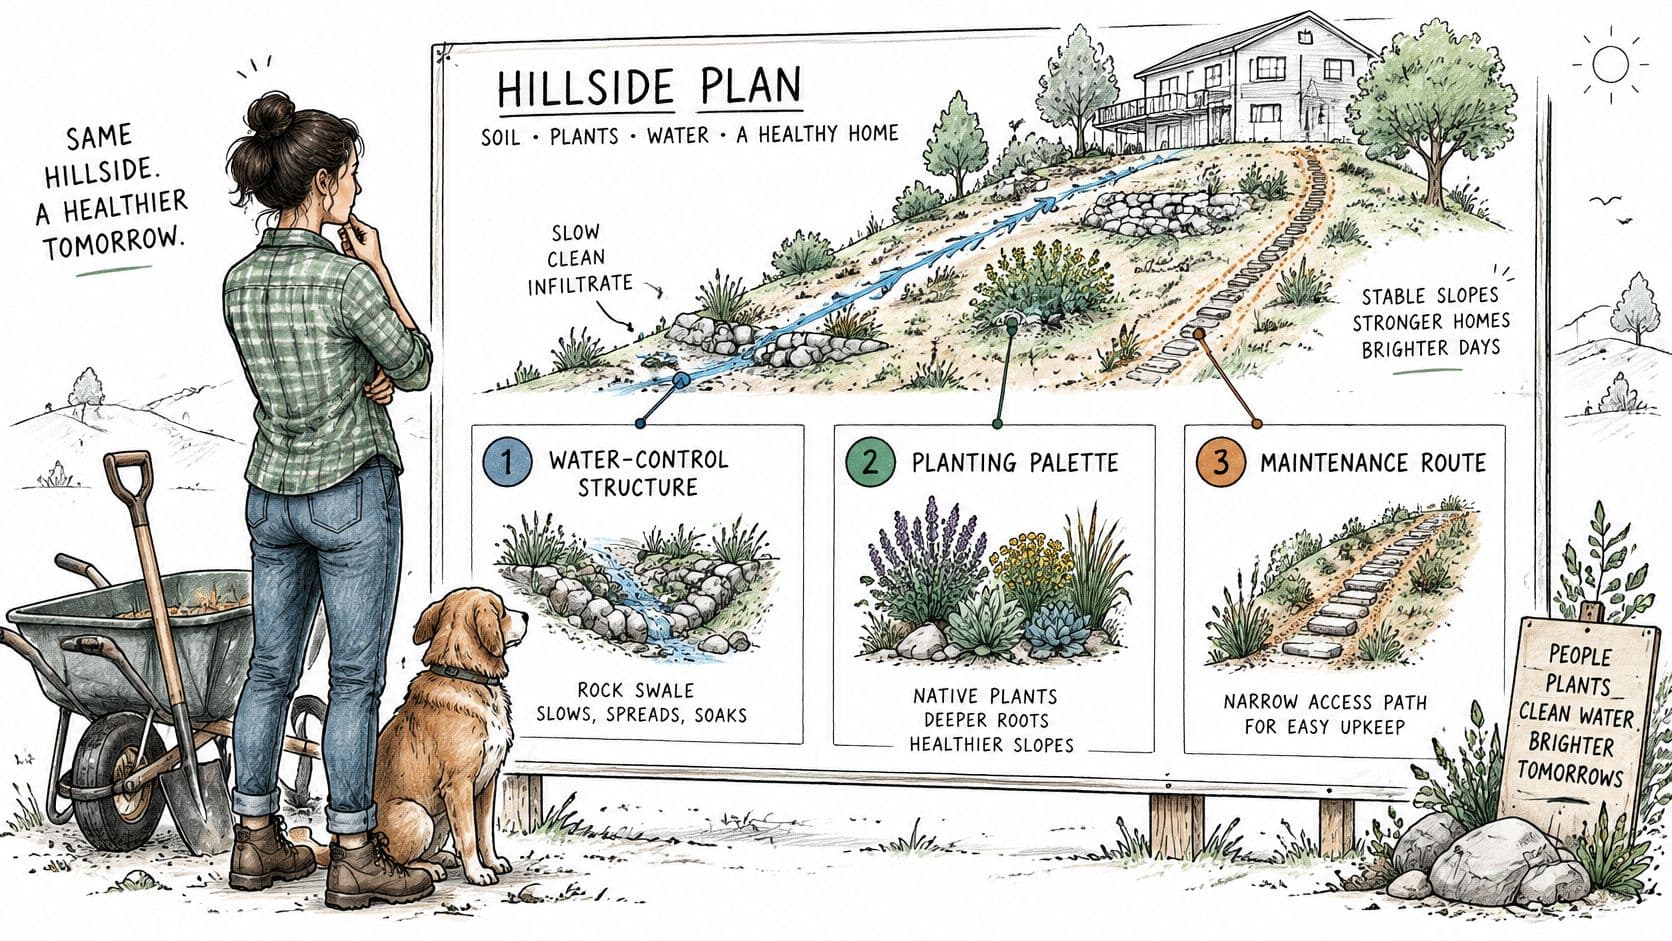
Run the final comparison
- Redraw your water sketch: Add the chosen structure, planting zones, outlets, and the access line on the same page, so you can see where runoff, feet, and tools will travel.
- Compare three versions: Sketch one drier palette, one denser cover for erosion, and one more open layout to satisfy fire spacing rules, then note the upkeep each adds by season.
- Walk the maintenance route on the drawing: Confirm a wheelbarrow, hose, and trimmer can reach every zone without crossing a fragile newly planted band.
- Check rules before buying: Confirm the palette against local fire requirements, invasive lists, and climate-zone guidance.
- Verify with qualified professionals: Use a site architect or engineer for grading and any retaining wall, an arborist for tree placement and clearance, and a licensed contractor for drainage, utilities, and permits.
A drawing cannot set your budget or prove a plant suits your soil. Costs, wall engineering, utility locations, and permit limits come from the professionals who inspect the site, so I would bring the sketch to those conversations to explain the plan, then let them price and engineer it.
For the visual side of that comparison, OutdoorBrite turns one photo of a backyard, garden, patio, or front yard into realistic redesign concepts in seconds. Upload a photo of your actual slope, pick a style such as xeriscape or cottage, and compare the concepts on your own yard before you buy a single plant. For a whole-yard redesign, use the AI design tool; for a single bed or wall, pick the matching tool. Then take the version you prefer to a qualified local professional, because the tool does not replace an architect, designer, contractor, arborist, or horticulturist for decisions about drainage, utilities, permits, and cost.
Use this three-part check as your gate. Water routes mapped. Structure chosen. Upkeep route confirmed. When all three boxes are ticked, your low maintenance hillside landscaping plan has a chance to stay low maintenance after the first storm, the first dry spell, and the first full season of growth.
See your yard reimagined
Start creating