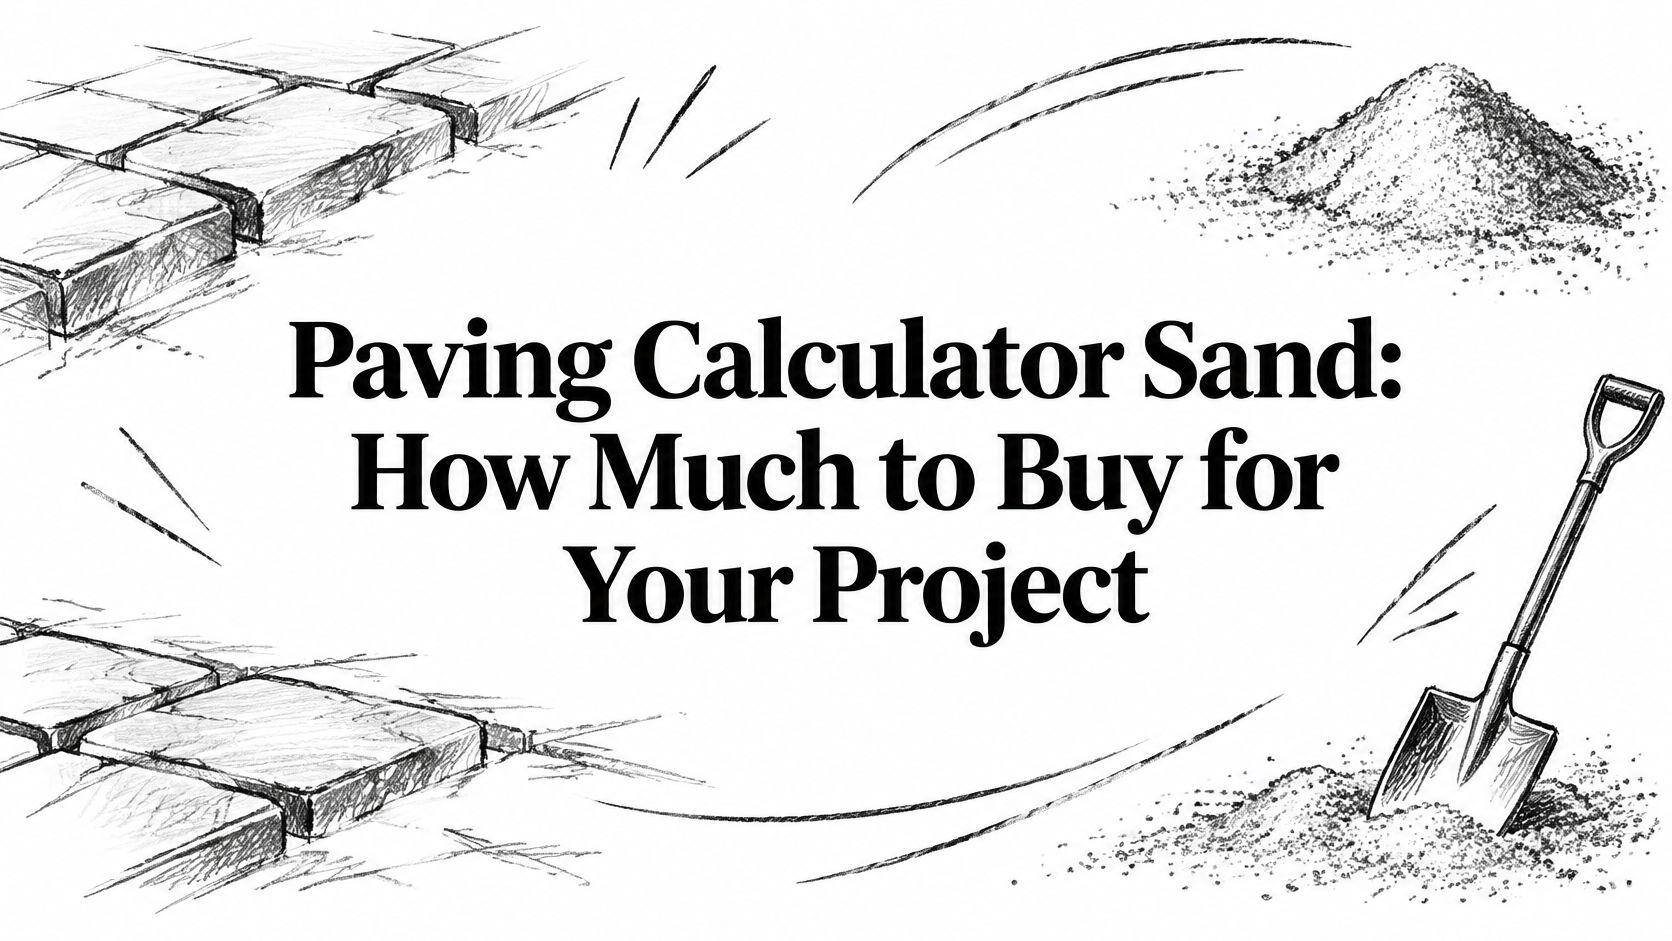
Paving Calculator Sand: How Much to Buy for Your Project
Use this paving calculator sand guide to size bedding and joint sand for patios and driveways, with tables, formulas and a waste allowance.
Start with the one-inch rule: for every 100 square feet of paving, plan on 8.33 cubic feet of loose bedding sand, which is about 0.31 cubic yards or roughly 1,000 pounds, measured before compaction and waste are added. That quantity covers the sand beneath the pavers only.
The sand between the pavers is a separate purchase, and it behaves nothing like the sand underneath them. Bedding sand gets screeded to a depth, so it scales with area. Jointing sand fills a gap, so it scales with joint width, joint depth, paver size, paver thickness and pattern. One number can't answer both questions, which is why a calculator that returns a single bags-needed figure drifts so far from the bag label.
The arithmetic is not the hard part. The hard part is knowing which of the two materials you're ordering, what allowance belongs on top, and how to prove afterward that the joints filled. Separate those two lines on your order and the rest is measurement, multiplication and one probe test at the end.
Table of Contents
- Sand Volume for Common Patio Sizes at a Glance
- Calculating Bedding Sand and Allowances
- Jointing Sand and Why Bag Counts Mislead
- Checking Joint Fill and Avoiding Calculator Errors
- Confirm Your Sand Order Before You Buy
Sand Volume for Common Patio Sizes at a Glance
For a 1-inch bedding layer, each 100 square feet of paving requires about 8.33 cubic feet of loose sand. Divide cubic feet by 27 to convert the volume to cubic yards, the unit many suppliers use.
| Paved area | Loose volume (cubic feet) | Cubic yards | Approx. weight (pounds) |
|---|---|---|---|
| 100 sq ft | 8.33 | 0.31 | 1,000 |
| 200 sq ft | 16.67 | 0.62 | 2,000 |
| 500 sq ft | 41.67 | 1.54 | 5,000 |
A 200-square-foot patio, roughly 15 by 13 feet, needs about 16.7 cubic feet of bedding sand for a 1-inch layer. That is approximately 0.62 cubic yard, or around 2,000 pounds.
These are typical loose-volume estimates before compaction and waste. Use them as a starting point for an order, then check the required depth and how the supplier sells the sand.
When the One-Inch Default Isn't Your Number
The project specification sets the bedding depth. Local requirements may call for a different depth, so confirm it before calculating. If the base has a low spot, correct the base rather than filling the dip with extra sand. A thicker pocket can settle and leave pavers unstable.
Measure the paved footprint in sections if the shape is irregular. Add the areas of curves, paths, and surrounds that will receive pavers, rather than relying on the overall dimensions of the yard.
The Three-Part Check
Before ordering, confirm these three details:
- Paved area: Measure the footprint in sections and add them together.
- Bedding depth: Use the project specification; 1 inch is the default used in these estimates.
- Quantity basis: Tell the supplier whether your estimate is for loose or compacted sand, so the depth is not counted twice.
If the layout is still taking shape, review patio materials, drainage, and budget before measuring. For projects involving more than one outdoor surface, countertop overhang and templating basics covers a separate kind of measurement.
Calculating Bedding Sand and Allowances
For a 12-by-12-foot patio, a 1-inch bedding layer takes 12 cubic feet of loose sand before any allowance. The calculation is area multiplied by depth, with each measurement expressed in the same units.
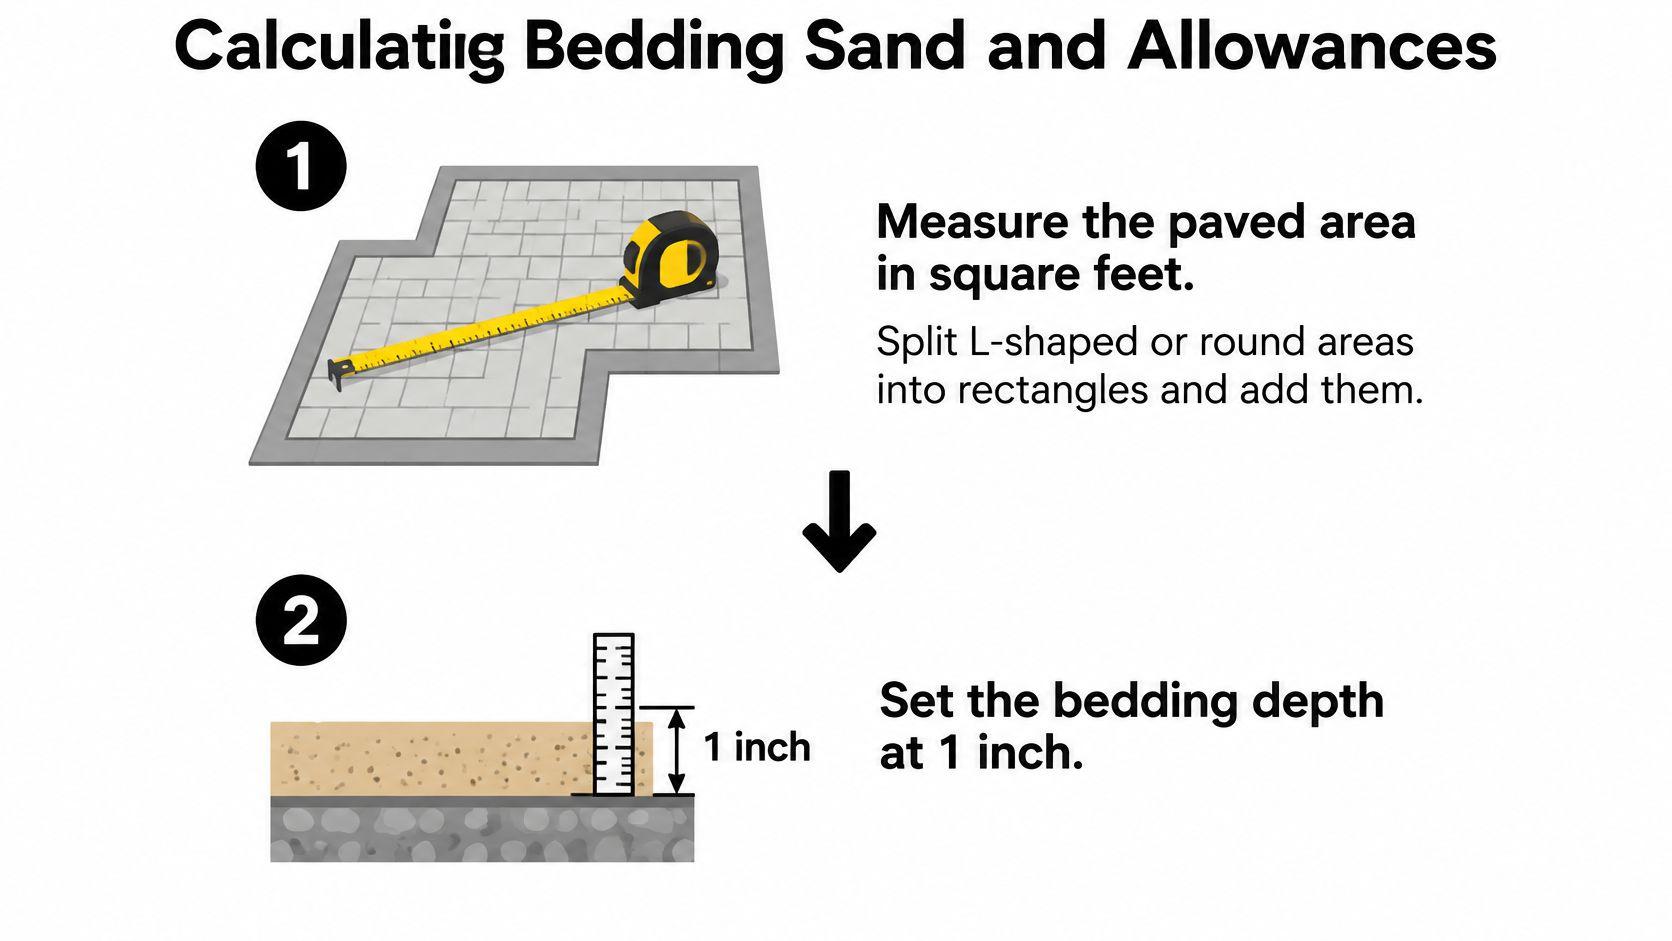
- Measure the paved area in square feet. For a rectangle, multiply length by width. For an L-shaped or circular patio, divide the footprint into simpler sections and add their areas. Measure the paver footprint, not the excavation: the gravel base may extend beyond the paving, but that extra area is not part of the bedding-sand calculation.
- Set the bedding depth. For sand-set pavers, use a nominal 1-inch loose layer unless the project specifications call for a different depth. The Concrete Masonry and Hardscapes Association guidance recommends spreading and screeding bedding sand to an uncompacted nominal thickness of 1 inch (25 mm). It also says not to use sand to correct an uneven or poorly compacted base.
- Convert the depth to feet. One inch is 1/12 foot, or about 0.0833 foot.
- Multiply area by depth. A 12-by-12-foot patio has 144 square feet of paving. Multiply 144 by 1/12 to get 12 cubic feet of loose bedding sand.
- Convert cubic feet to cubic yards if needed. Divide by 27. For this patio, 12 cubic feet is about 0.44 cubic yard.
- Use weight only as a cross-check. A 1-inch layer over 100 square feet is commonly estimated at about 1,000 pounds of sand. The 144-square-foot example is therefore about 1,440 pounds. Confirm the supplier's conversion because sand weight varies with moisture and material.
- Set aside a waste allowance. Adding 10% is a planning choice for screed loss, spills, and sand left in the pile. In the example, 12 cubic feet becomes 13.2 cubic feet.
- Keep jointing sand separate. Bedding sand goes beneath the pavers; jointing sand fills the gaps between them. If one delivery is intended for both jobs, calculate each quantity independently rather than adding a percentage of bedding sand as a substitute for a joint-fill estimate.
- Round up to the supplier's delivery unit. Write down whether the order is in cubic feet, cubic yards, or pounds to prevent a second conversion.
Why the Plan Is in Loose Cubic Feet
Bedding sand is spread and screeded before the pavers are set, so the volume calculation starts with the loose layer. The sand then compacts beneath the pavers. Treating the finished, compacted depth as the amount to order can leave too little material for spreading and screeding.
Keep the bed close to the specified depth. If the aggregate base dips, correct and compact the base before screeding rather than filling the low spot with extra sand. That keeps the bedding layer consistent and reduces the risk of pavers settling unevenly.
The rule that survives every project: the sand bed is a leveling layer, never a repair layer. If the base dips, fix the base.
Where the Allowances Grow and Shrink
A straightforward rectangle on a level, compacted base is easier to measure and screed than a curved patio or a pattern with many cuts. Separate curved areas into sections when calculating, then add their areas. For herringbone and other patterns, follow the paver layout and product guidance when estimating material; do not treat a bedding-sand allowance as a jointing-sand estimate.
Allowances also depend on the job and supplier. Spills and sand left in the pile can justify a modest extra amount, while a supplier that accepts unopened bags may make a smaller buffer practical. Keep the bedding and jointing quantities distinct when you compare paver setting tips for Austin patios with your installation plan. For related material math for DIY backyard projects, use the same area, depth, and unit conversions.
Jointing Sand and Why Bag Counts Mislead
Bedding sand and jointing sand sit a few inches apart on the same patio and share almost nothing else. One is bought by depth. The other is bought by coverage, and coverage depends on the gap you leave between pavers.
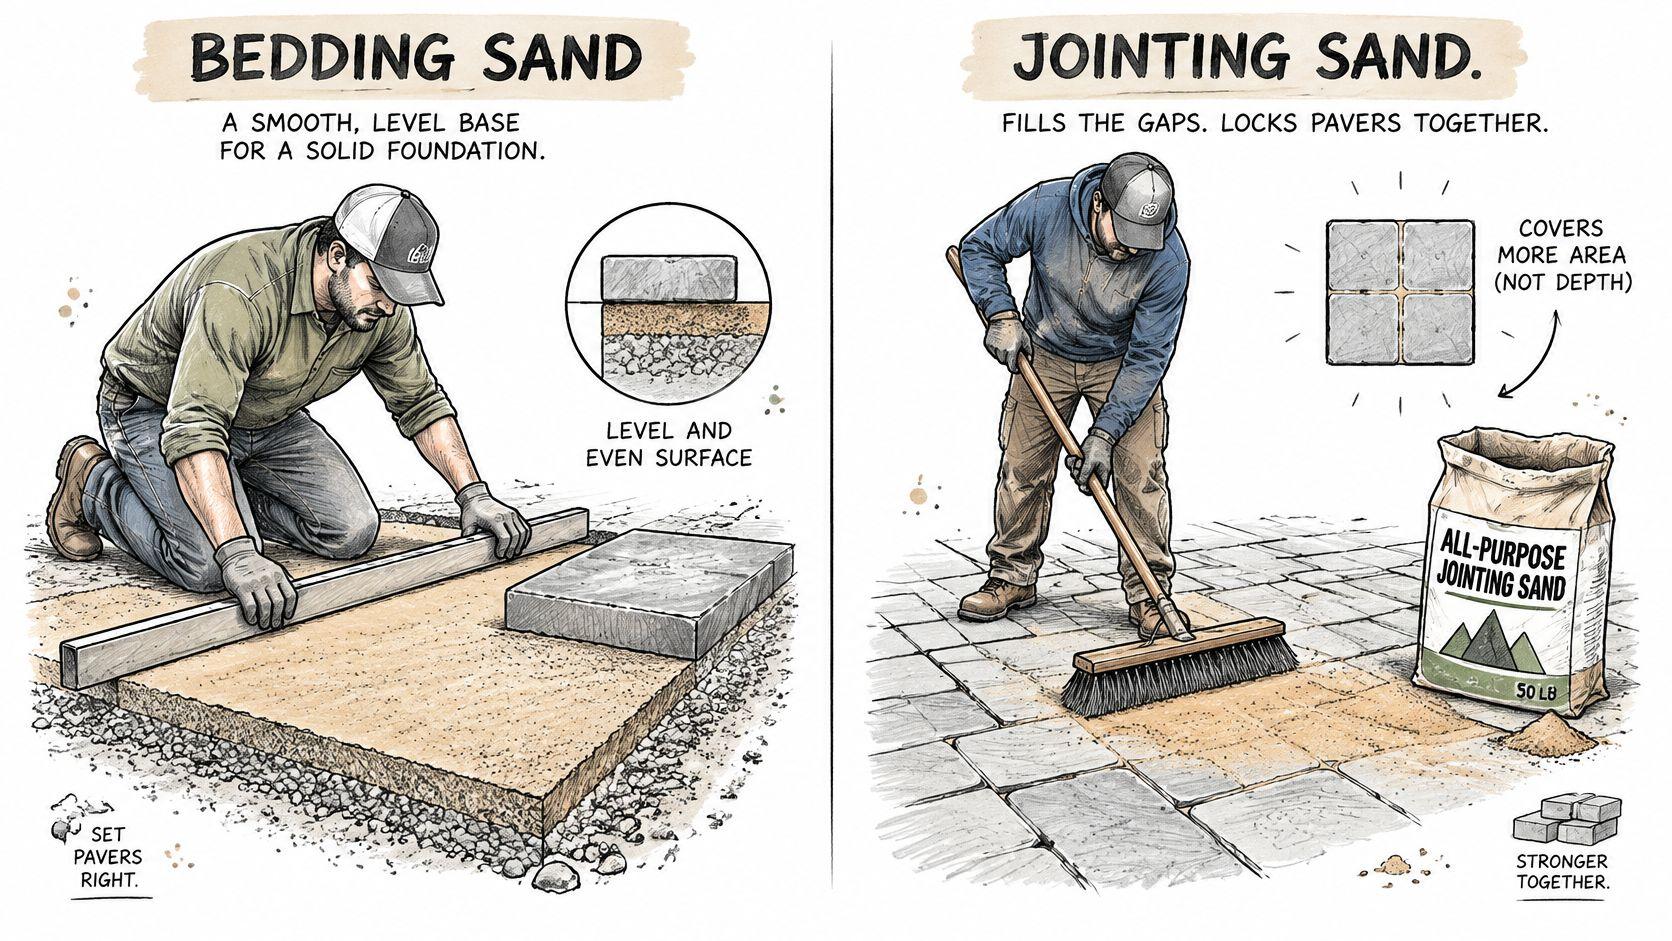
A single bags-needed figure treats those two sands as one purchase. They are not. Bedding sand fills a layer you can measure with a ruler: area times depth. Jointing sand fills the cracks, the way grout fills the lines between tiles. Widen the joint and the same patio can take two or three times as many bags.
That swing is printed on product coverage, not guessed. A 2025 technical datasheet for one polymeric sand puts a 50-lb bag at roughly 65–85 square feet in narrow joints but only 22–42 square feet in wide joints for the same 2⅜-inch paver, as published in the Alliance Gator Maxx Bond G2 datasheet.
| Joint width | Coverage per 50-lb bag | Bags for 150 sq ft |
|---|---|---|
| Narrow joints | 65–85 sq ft | 2–3 |
| Wide joints | 22–42 sq ft | 4–7 |
On 150 square feet, narrow joints land at 2–3 bags and wide joints at 4–7. The patio did not grow. The gap did.
Why the Calculator and the Bag Label Disagree
Joint sand quantity depends on paver length, paver width, joint width, joint depth, paver thickness, and pattern, and on whether that product's label calls the joints narrow or wide. Area alone cannot resolve any of those inputs. A calculator that returns one bag count has already chosen a joint width for you, often without saying which one.
A calculator worth using asks for those inputs and returns a low and a high estimate, then shows what moved the range. One number sets up two bad buys: leftover bags that sit in the garage, or a shortage when you are three rows from the edge and the joints are still taking sand.
Watch a full joint-filling sequence before you trust either number. The label cannot tell you the joints are full. Only the finished joints can, so the count is a starting range, not a receipt you can trust before the sand is in.
Two details sit outside the geometry and still change the count. Coverage figures apply only to the named product on the named paver, so a number printed for one polymeric sand does not transfer to another brand. Jointing sand also has to be dry when it goes on. Damp grains clump, bridge over voids, and will not flow into a 2 mm gap. That is about the jointing product in your hand. Pages on construction sand sourcing for UAE projects cover bulk construction sand for building work, a different material decision from choosing a dry joint sand for pavers.
On existing work, measure joint width at several points before you pick the narrow row or the wide row. If the gaps are not uniform, one coverage line on the bag will not describe the patio you have.
Checking Joint Fill and Avoiding Calculator Errors
A bag count can look right on the receipt and still leave hollow joints. After the last compaction pass, push a thin rigid probe into the sand. Resistance near the top means the joint is holding. A probe that drops toward the paver base means the "full joint" the calculator assumed never happened.
The sequence that gets you to that test is short. Set the pavers on the screeded bed, sweep dry jointing sand across the face, compact, refill the voids you can see, and compact again until the joints stop taking material. CMHA installation guidance for segmental pavements treats that refusal point as the benchmark for a finished joint.
Joint widths should generally stay between 2 and 5 mm (1/16 to 3/16 inch). Specs commonly limit joints wider than 6 mm (1/4 inch), because a wide gap swallows sand and lets pavers drift out of line. Bedding sand and jointing sand are separate piles. Bedding supports the units from below. Jointing sand locks the edges. One bags-needed total blends those jobs, so you cannot tell which pile came up short.
The Probe Test That Proves the Estimate
Sample joints across the whole area, not only the ones in front of your boots. A thin rigid probe should meet sand close to the surface. Typical inspection practice reads a shallow stop as a filled joint and a deep drop as a void. If more than a small share of the spots you test let the probe sink well down, the joints are not full. Add sand and run the plate again.
The compactor has to seat the sand, not just buzz it across the top. A machine that is too light leaves pockets no area-times-depth sum can see. Sand in a joint works like flour in a measuring cup: the surface looks level while an air pocket sits underneath until you tap it through.
A joint that looks black and full from standing height can still swallow a probe to the paver base. Test with your hand, not your eyes.
Four repeatable mistakes throw the estimate off. Each one has a direct fix.
| Mistake | What it causes | Fix |
|---|---|---|
| Using wet sand | Clumping, uneven fill and poor joint compaction | Buy and store dry jointing sand |
| Ignoring joint width variation | Bag count off by several bags | Measure joints at several spots and pick the narrow or wide row |
| Using nominal depth | Bedding comes up short after compaction | Plan on loose volume and confirm the base is level |
| No refill allowance | Joints sink after vibration or the first rain | Add a refill pass and keep spare sand on site |
Those rows share one cause. The calculator was asked a smaller question than the job. Compaction, joint geometry, and the condition of the base all sit outside a plain area times depth sum, and each one changes the quantity you should buy.
Confirm Your Sand Order Before You Buy
Turn the calculation into an order by checking six lines, in this sequence.
- Measured square feet, per section, added together and written down.
- A loose depth, confirmed against the project specification rather than assumed.
- Waste and compaction allowance, applied once to the bedding figure.
- Joint sand bags from a coverage range, chosen from the width you measured.
- A rounded delivery unit, whether that's bulk cubic yards or whole bags.
- A dry storage plan, because damp joint sand is the most common reason a bag count fails.
Say the patio is 240 square feet. Multiply by 1/12 and you get 20 cubic feet of loose bedding, about 0.74 cubic yard and roughly 2,400 pounds. Add 10% waste and the order becomes 22 cubic feet, or 0.81 cubic yard, which rounds to whatever unit your supplier sells. The joint sand is priced separately, from the coverage table rather than from the bedding volume.
Then sequence the delivery. Order the bedding sand first and the jointing sand second, and hold the balance until the base is level and the first section of pavers is down. A pallet of joint sand arriving before excavation is a pallet sitting in the rain.
The last check is the one often skipped. Before ordering anything, walk the route from the street to the work area and note gate widths, soft ground and overhead branches, since a bulk delivery you can't place near the patio becomes a wheelbarrow job. If you're weighing material costs against a contractor quote, the OutdoorBrite patio paver cost guide breaks down where the money goes.
The bag count is a starting point. The number that matters is whether the joints are full after compaction and still full after the first rain.
OutdoorBrite's paver design tool shows full paver patterns and colors on a photo of your own patio, so the layout, joint lines and material choice are settled before you price a single bag of sand. Upload a photo, pick a pattern such as herringbone or basketweave, and compare the redesign against your original before you commit. Start your design at OutdoorBrite.
See your yard reimagined
Start creating